Creating and Sending a WhatsApp Campaign
Once the target audience, template content, and sender account are prepared, you can create a WhatsApp marketing campaign.
Procedures
In the SmartLink top sidebar,select WhatsApp, then select Regular under Campaigns.
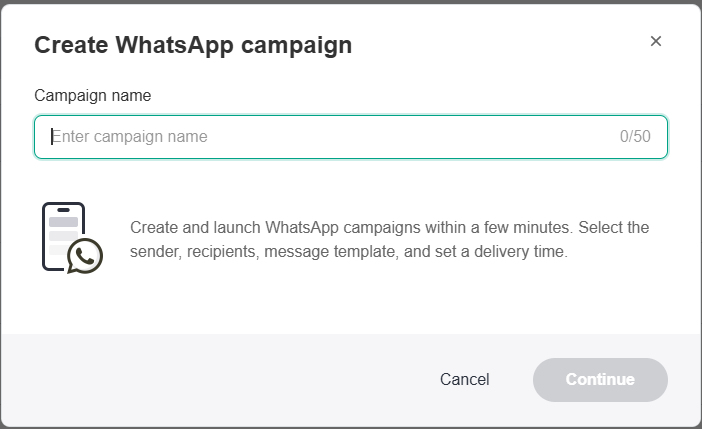
Click Create WhatsApp campaign and enter a Campaign name for your WhatsApp campaign.
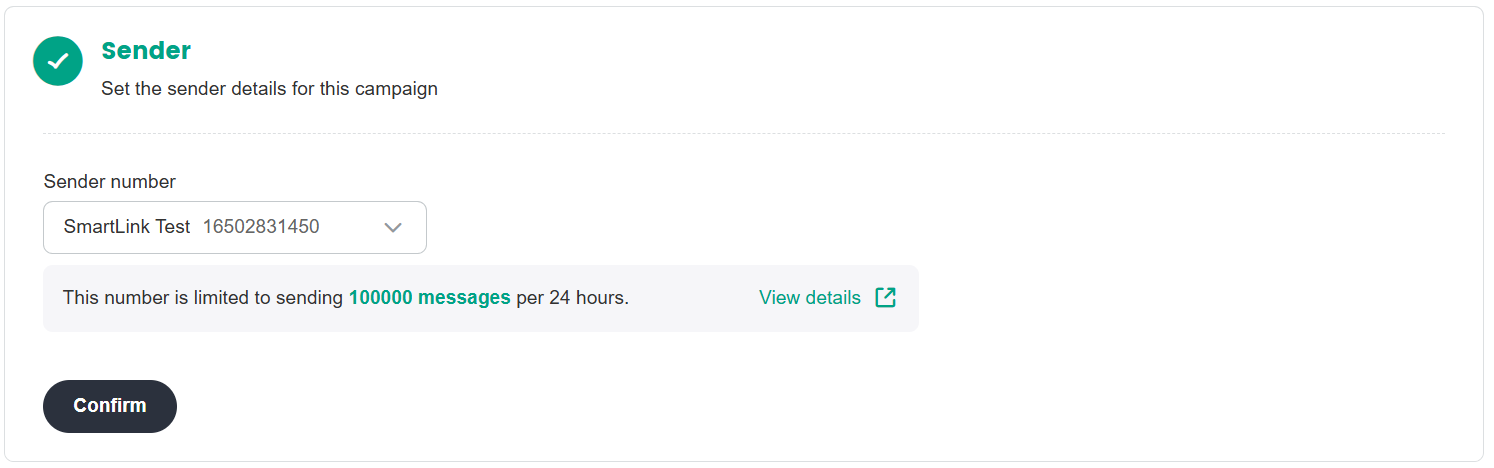
- Select your Sender Phone Number.
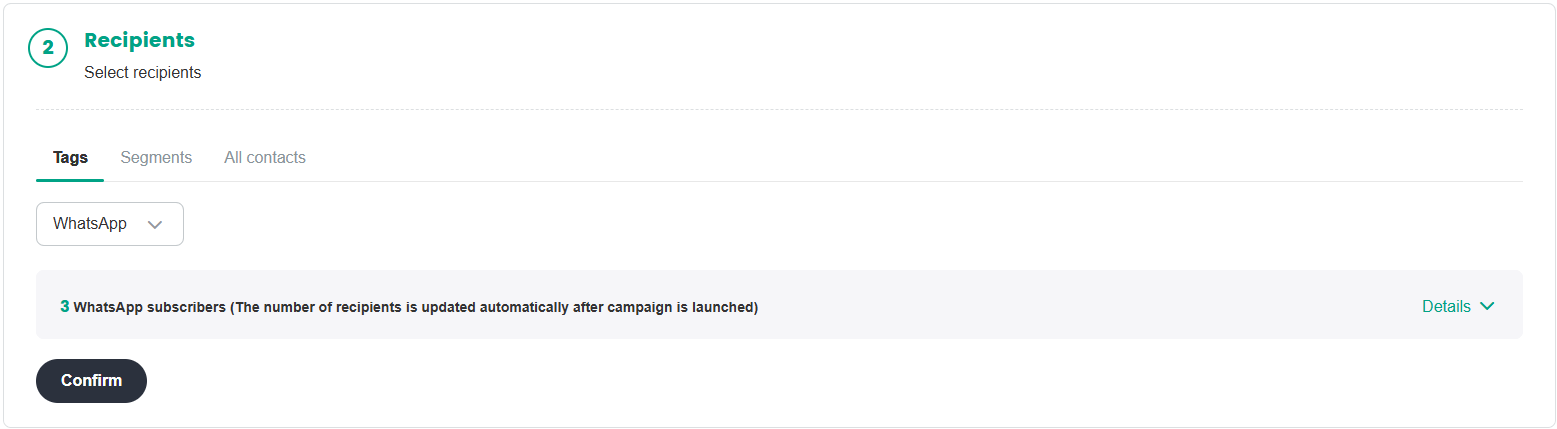
- Select the recipients for this campaign. You can select your target audience by selecting a specific Tag. It is currently only possible to segment audiences by tags
Select the WhatsApp template for this campaign.
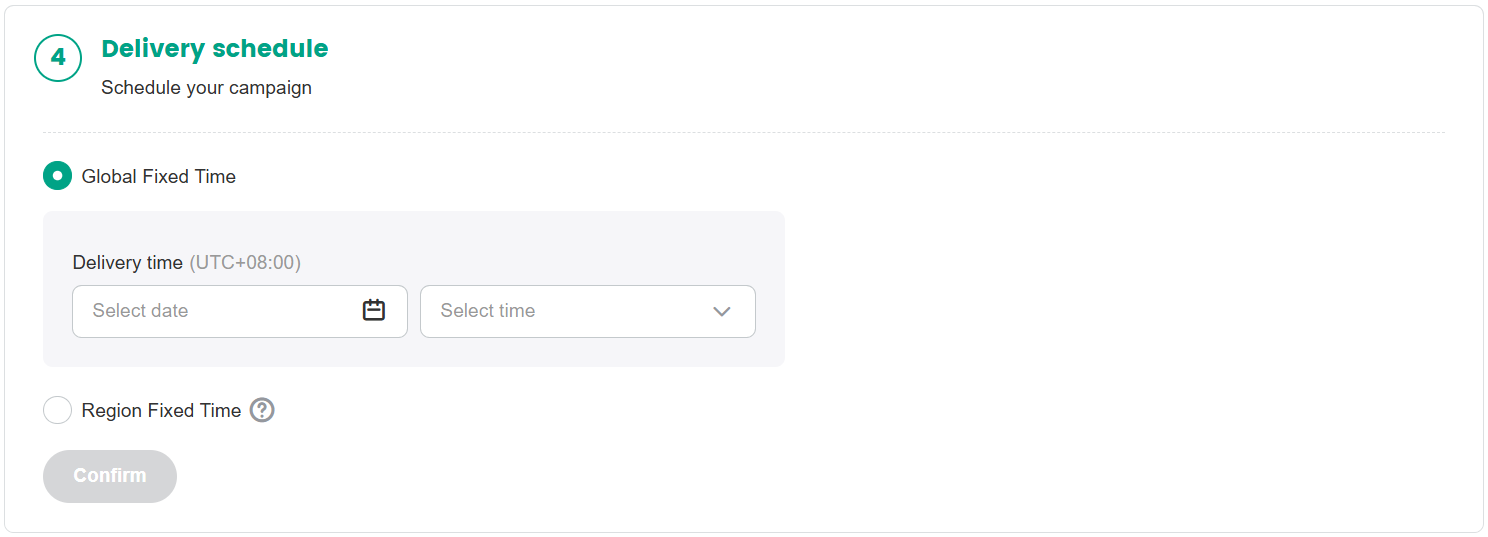
Set the Delivery Schedule, to define the delivery start time of your campaign.
- Global Fixed Time: Start sending the campaign at the same time to all users. Applicable when your audience are from the same time zone, or when it is impossible to identify the time zones of your audience.
- Region Fixed Time: Start sending the campaign at the same local time for each user. Applicable when your audience are from different regions in the world, and you want to reach them during their local daylight hours to improve the open rate of your campaign.
After everything has been set up, click Schedule, then click Confirm in the pop-up.
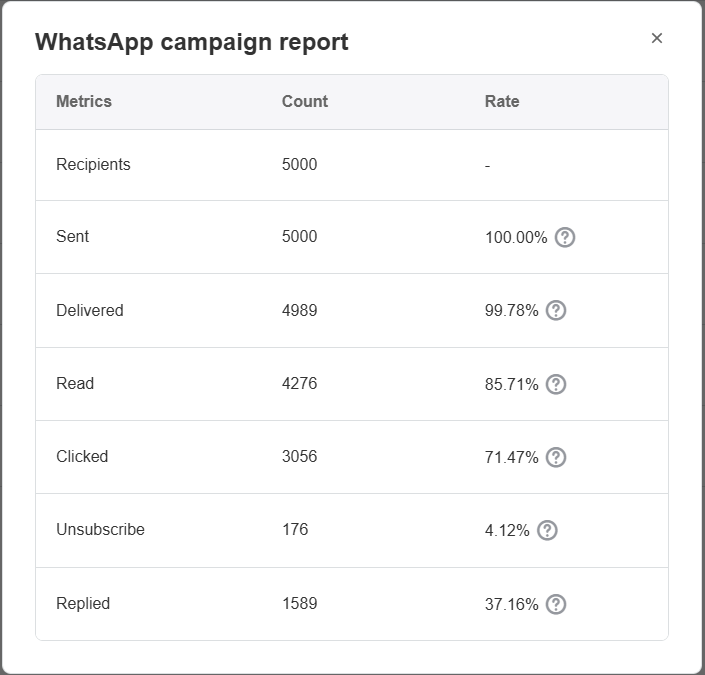
After launching the campaign, you can view its status in the campaigns list. Click View report to view the WhatsApp campaign delivery data.
| Metric Name | Metric Definition |
|---|---|
| Recipients | Number of contacts in the campaign |
| Sent | Number of contacts to whom the campaign has been sent out |
| Delivered | Number of messages successfully delivered to WhatsApp servers |
| Read | Number of users who opened the message |
| Clicked | Number of users who clicked a link |
| Unsubscribe | Number of users who successfully unsubscribed |
| Replied | Number of users who replied to the message |
Reference for Partial Undelivered Reasons:
| Error Type | Error Code | Details | Possible Causes and Solutions |
|---|---|---|---|
| Meta Protection Mechanisms | 130472 User's number is part of an experiment | Message was not sent as part of an experiment. | See Marketing Message Experiment. |
| Meta Protection Mechanisms | 131049 Meta chose not to deliver. | This message was not delivered to maintain healthy ecosystem engagement. | If you do receive this error code and suspect it is due to the limit, wait at least 24 hours before resending the template message. Doing so will only result in another error response since the limit may be in effect for differing periods of time. See Per-User Marketing Template Message Limits for additional information. |
| Recipient Number Issues | 131026 Message Undeliverable | Unable to deliver message. Reasons can include: (1)The recipient phone number is not a WhatsApp phone number. (2)Recipient has not accepted our new Terms of Service and Privacy Policy. (3)Recipient using an old WhatsApp version; must use the following WhatsApp version or greater: •Android:2.21.15.15 •SMBA:2.21.15.15 •iOS:2.21.170.4 •SMBI:2.21.170.4 •KaiOS:2.2130.10 •Web:2.2132.6 | Using a non-WhatsApp communication method, ask the WhatsApp user to: •Confirm that they can actually send a message to your WhatsApp business phone number. •Confirm that they have accepted our latest Terms of Service (Settings >Help,or Settings >Application information will prompt them to accept the latest terms/policies if they haven't done so already) •Update to the latest version of the WhatsApp client. |
For details on other error codes, see WhatsApp Error Codes.