Set Sender Information
The sender information of a campaign email generally consists of 3 parts:

- (1) Sender name
- (2) Prefix of the sender's email address
- (3) Domain of the sender's email address
Sender information is crucial to campaign emails. Emails with easily identifiable sender information is more likely to be trusted by recipients, thereby increasing the open rate and click-to-open rate of emails.
Set sender address
At the top of the SmartLink sidebar, click your account name, then select Project settings.
In the Project settings page, select Settings under Sender address.
In the Sender address page, click Add sender email prefix.
Enter your Sender address, then click Confirm.
It is recommended to use a recognizable sender email prefix, such as your studio name, or the name of the game.

Set sender name
At the top of the SmartLink sidebar, click your account name, then select Project settings.
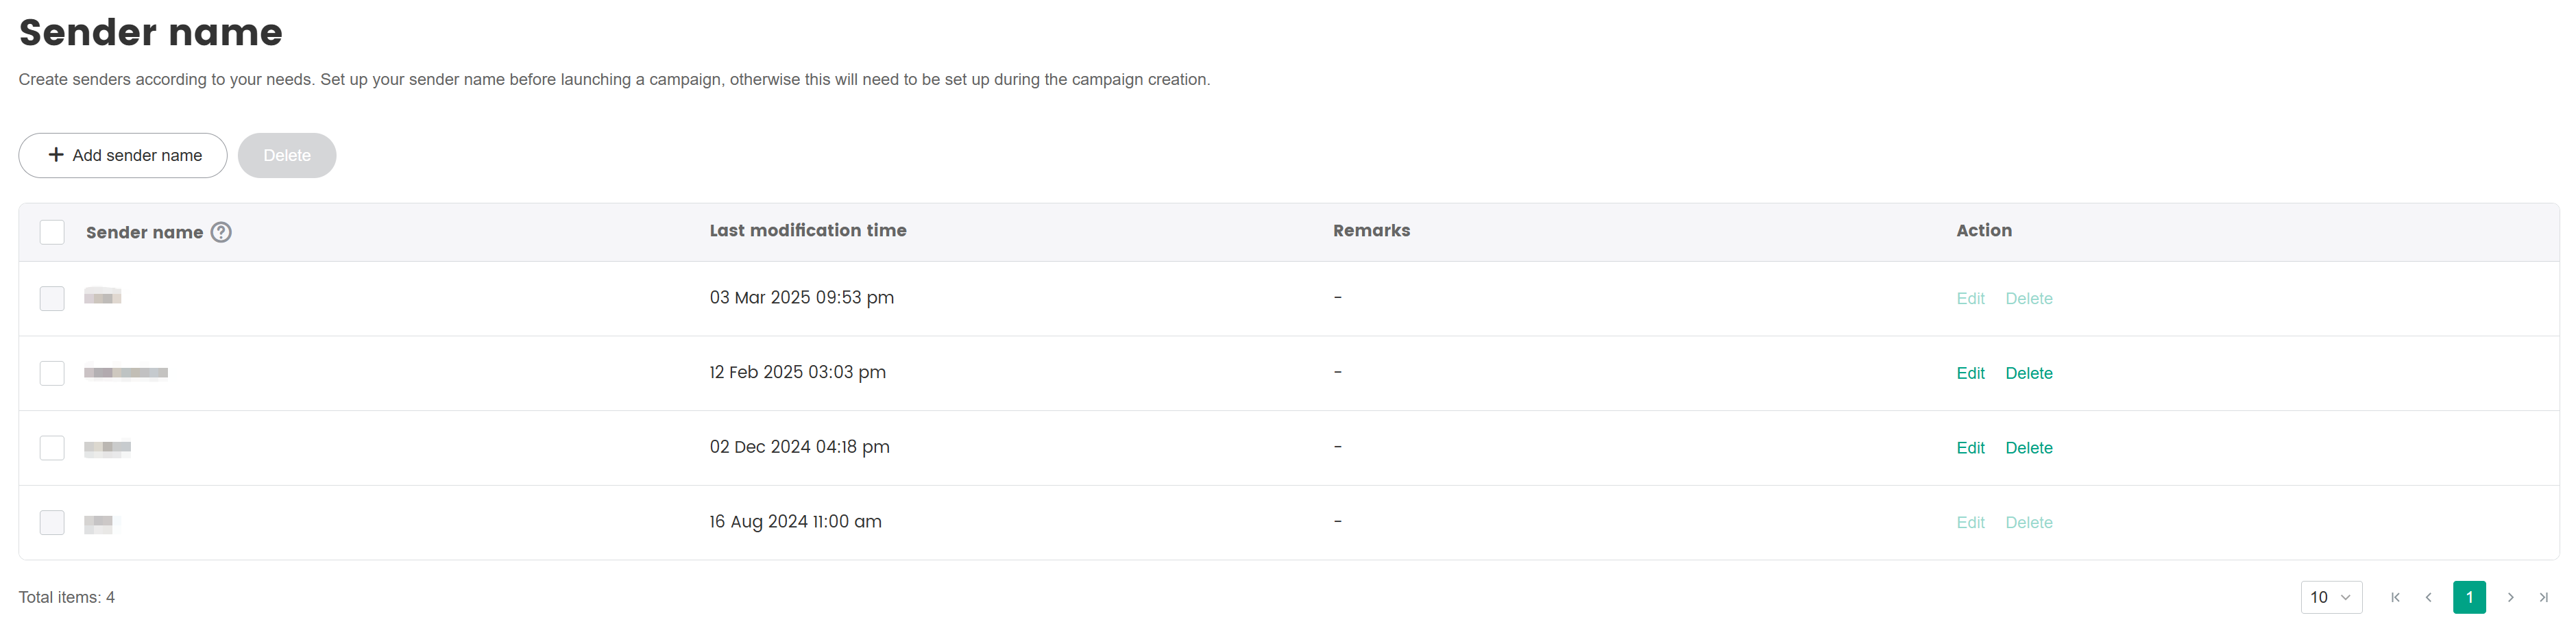
In the Project settings page, select Settings under Sender name.
In the Sender name page, click Add sender name.
Enter your Sender name and any Remarks, then click Confirm.
It is recommended to use a recognizable sender name, such as Game A Product Team, or Studio B Account Team.