Import Contacts
Before using SmartLink to create a delivery campaign, you need to determine where to obtain the target contacts. This article takes importing offline contacts as an example to introduce how to create contacts. After being imported, contacts will be stored and managed in SmartLink, which allows you to send marketing messages to these contacts when needed.
This import method is applicable when you have already obtained an offline contact list from an external source and wish to send emails to the contacts. For more ways to import contacts, see Combine Contacts from Multiple Sources.
Ensure that consent to send marketing emails has been obtained from all imported contacts, otherwise you may face consequences such as user complaints, which can pose a legal risk.
For more information regarding the laws and regulations for marketing emails worldwide, you may consult the [International Privacy and Data Protection Centre](pdp_intlpdp@tencent.com).
Import offline contact data
In the SmartLink navigation bar, select Contacts page,then select All Contacts under Contacts.
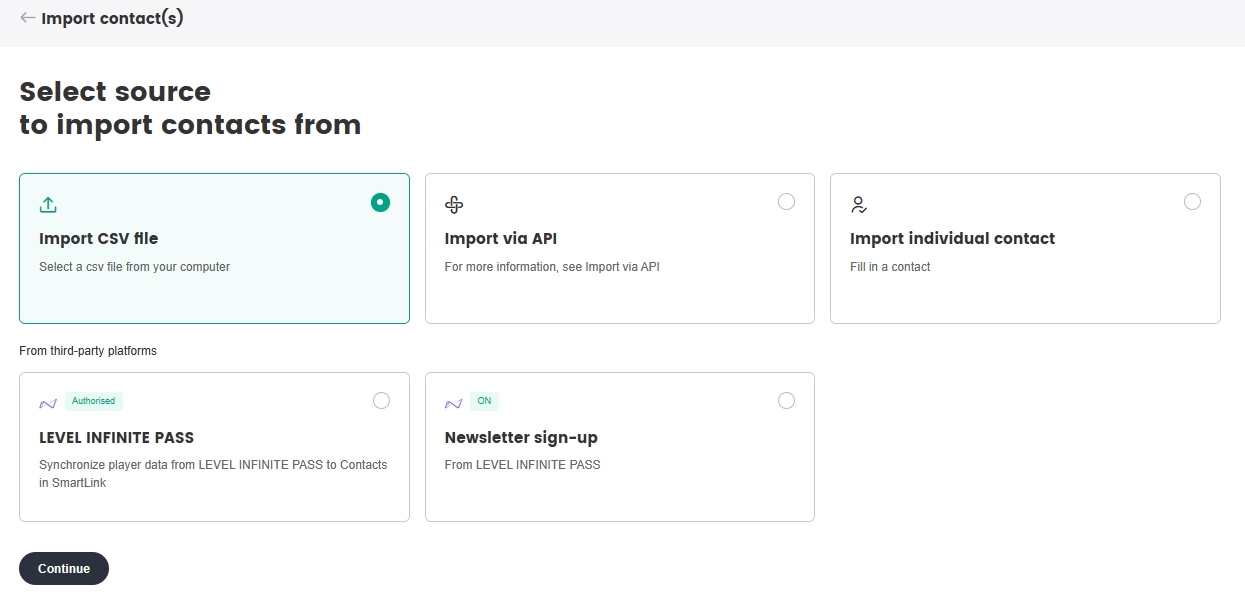
Click Import contact(s) and select Import CSV file,then click Continue.
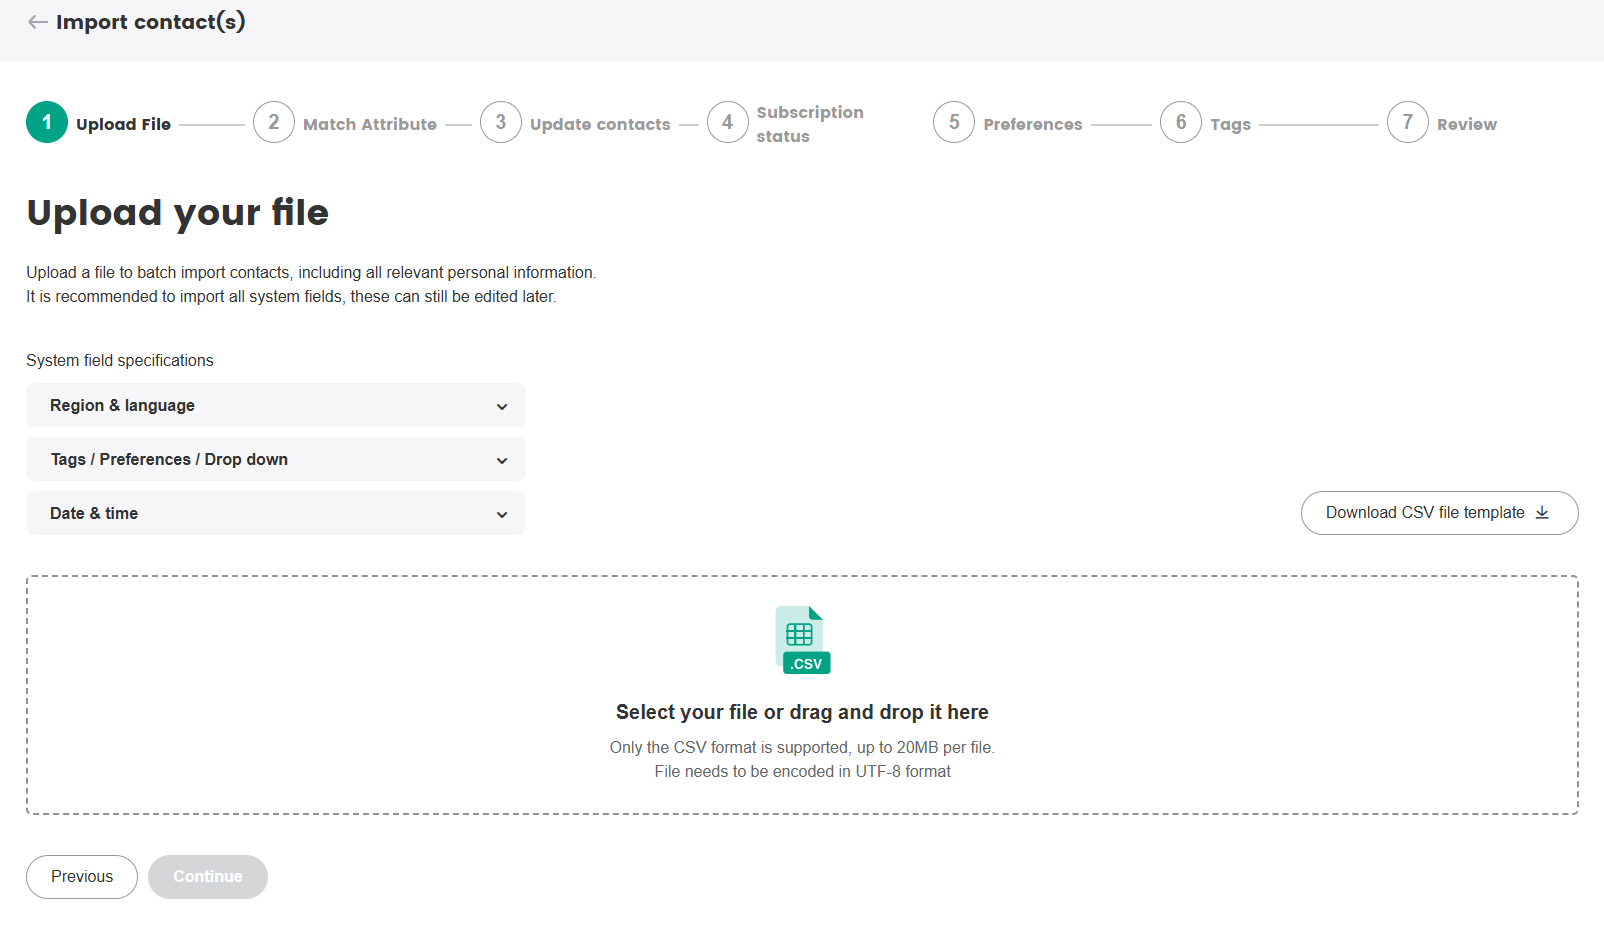
Download the offline CSV template and organize your contact data according to the template.
Upload the completed CSV template, then click Continue after the upload is complete. The template to be uploaded cannot exceed 20MB, and only one file may be uploaded at a time.
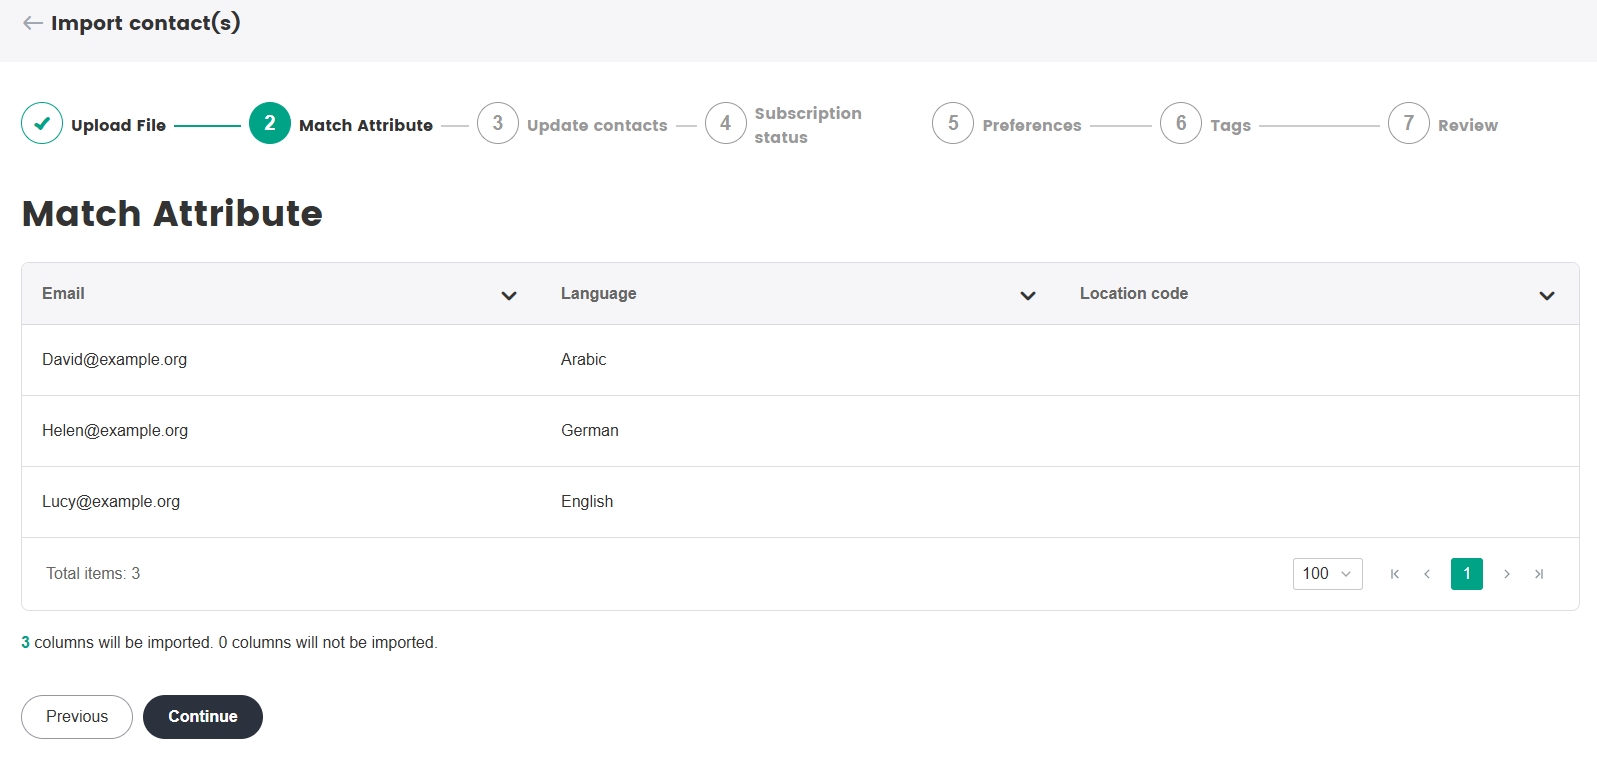
The imported attribute data can be viewed after the upload is complete, verify the contents and click Continue.
 note
noteOnly the email address is a required attribute, while the rest are optional attributes found from existing contacts in your project. You are free to create new attributes if needed, and up to a maximum of 100 can be created, for attributes such as date of birth or age.
The imported attribute data can be used in user segmentation, to achieve a more refined campaign reach. For more information about custom attributes, see Manage Custom Attributes.
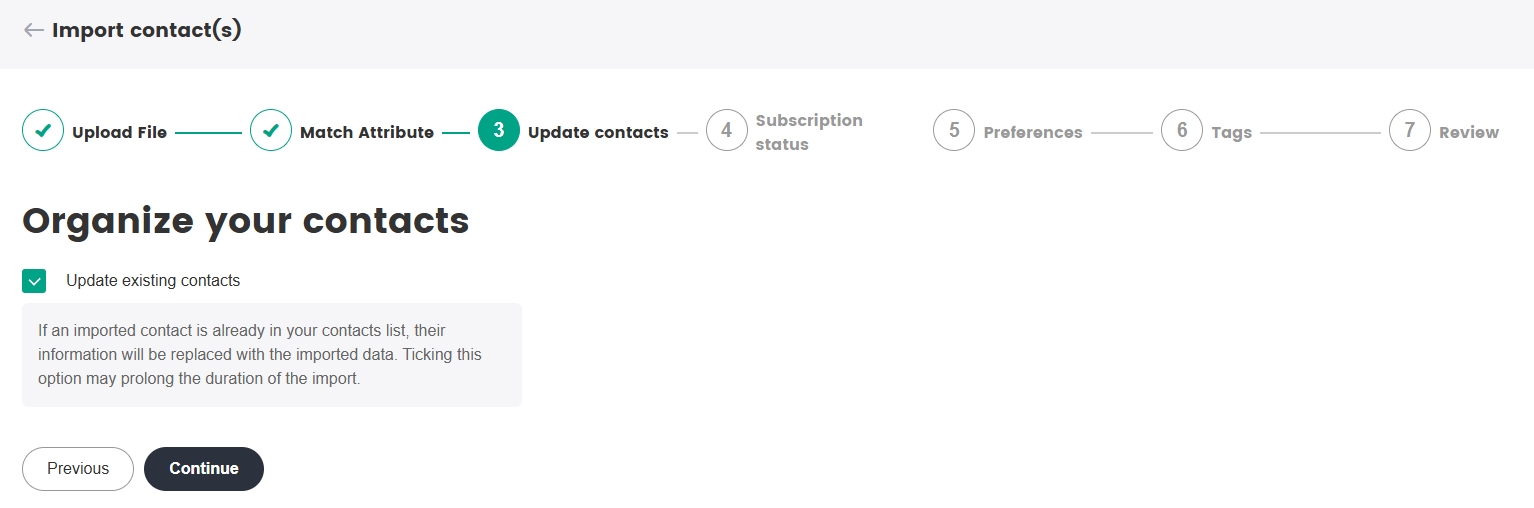
Select whether to Update existing contacts with the imported information, then click Continue. If enabled, the information of imported contacts that already exist in your contact list will be overwritten.
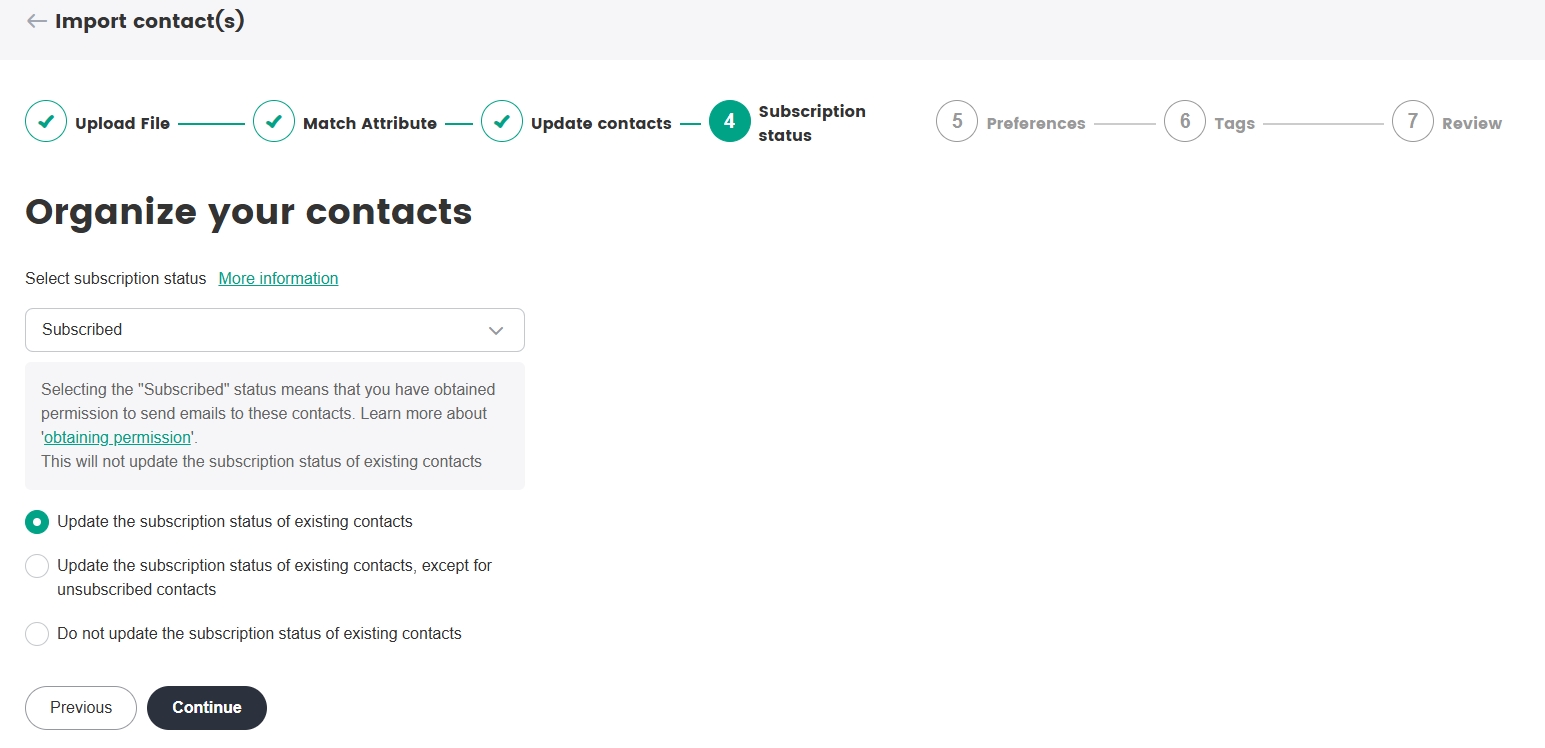
Select the subscription status for your contacts, then click Continue.
- Subscribed: Set the status of newly imported contacts to Subscribed.
- Unsubscribed: Set the status of newly imported contacts to Unsubscribed.
- Non-subscribed: Set the status of newly imported contacts to Non-subscribed.
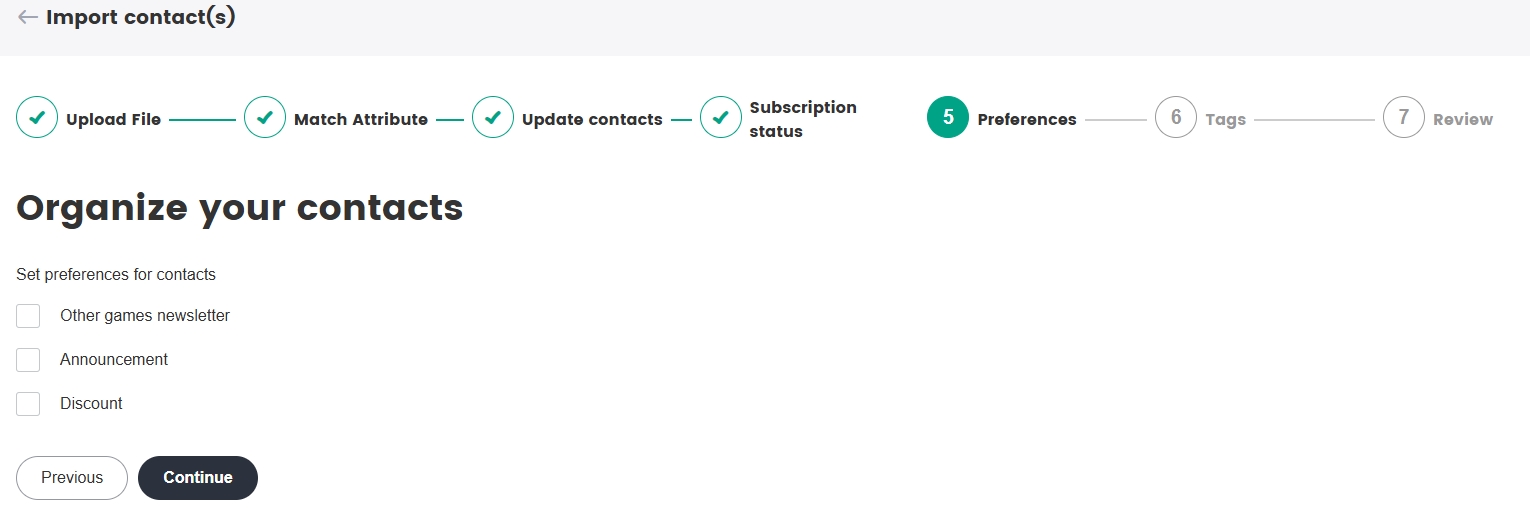
Set preferences for your contacts, then click Continue. For more information about subscription preferences, see Manage Contact Subscriptions.
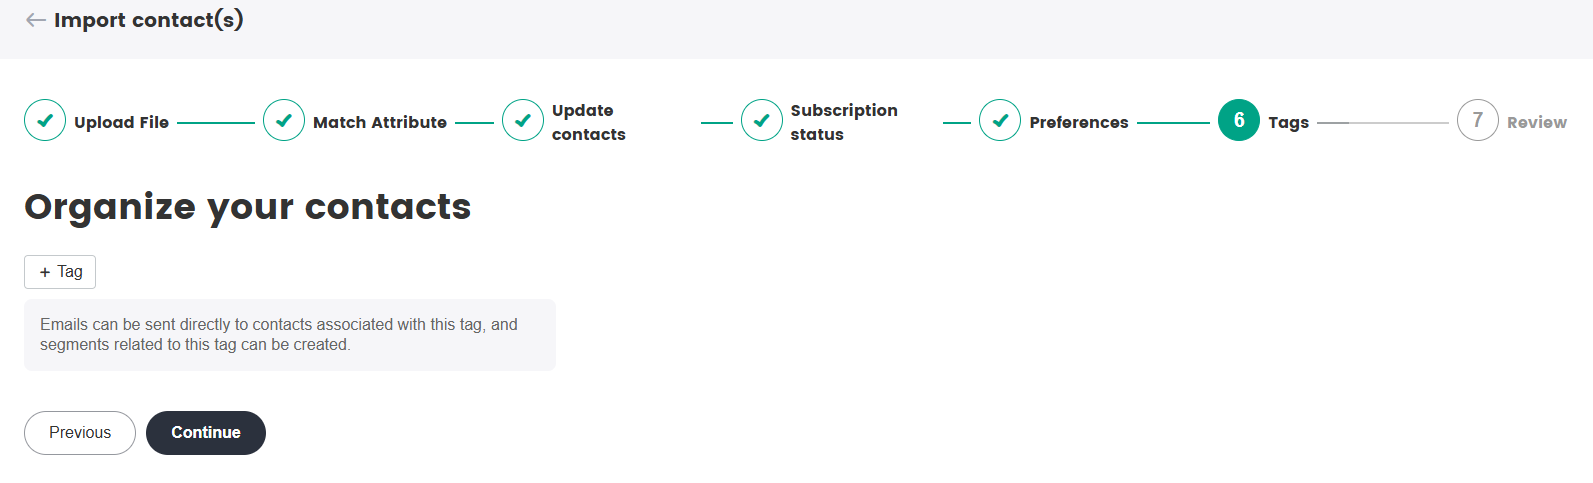
Add tags for your contacts, then click Continue. Tags can be used to distinguish the contacts from other contacts that were not uploaded this time. For more information about using tags, see Manage Contacts by Tags.
Confirm the contact information uploaded, then click Confirm import.
