Manage Contact Preferences
In an email marketing system, identifying the subscription subscriber preferences of a contact can help classify subscribers by their interests and subscriber preferences. This can be used in segmentation, where emails can be targeted to users with specific subscriber preferences.
Set up subscription groups
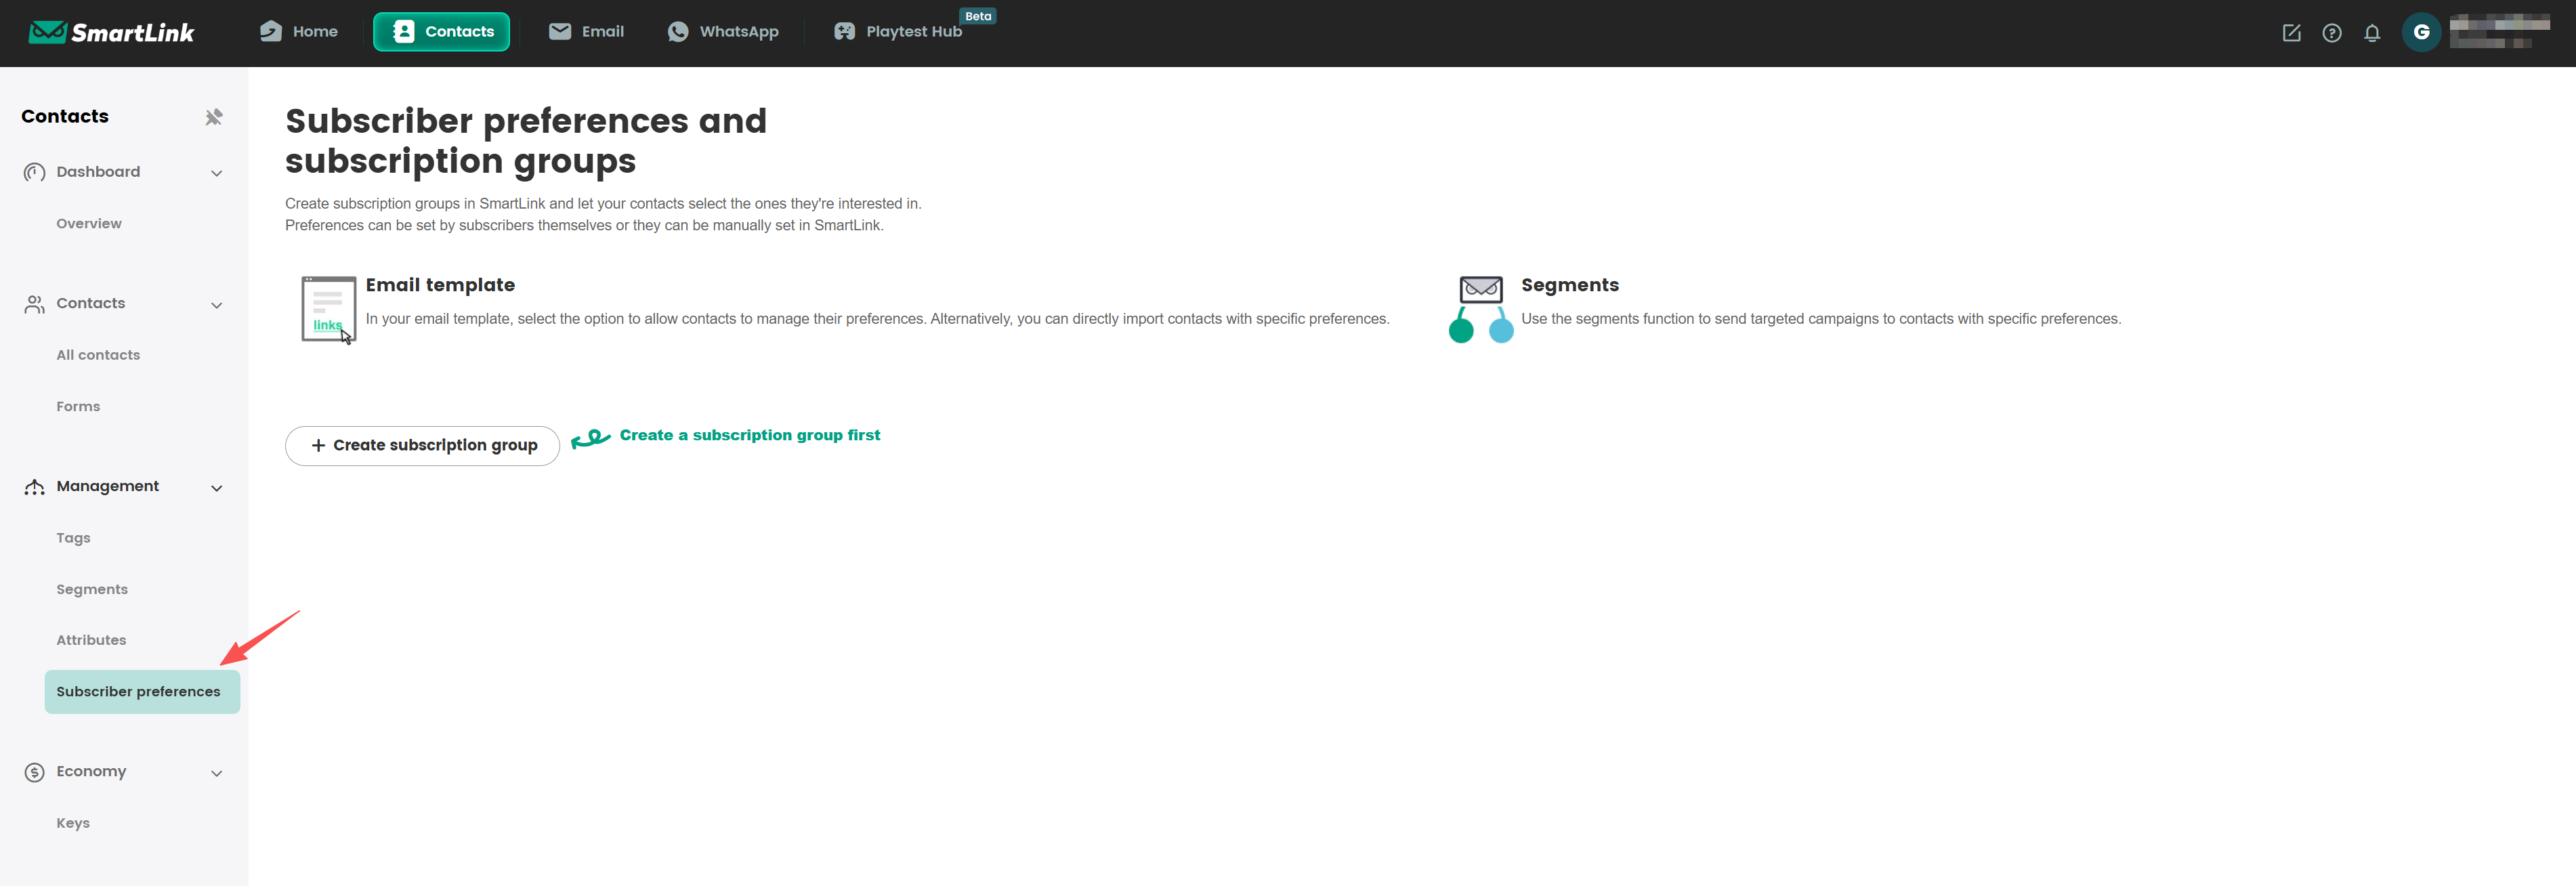
In the SmartLink navigation bar, select Contacts page,then select Subscribe preferences under Management.
To create a new subscription group, click Create subscription group, fill in the Name and Description, and adjust the sort order by dragging the groups up and down if necessary.
noteUp to 20 subscription groups can be created, the sort order will reflect the order groups displayed when contacts update their subscriber preferences.
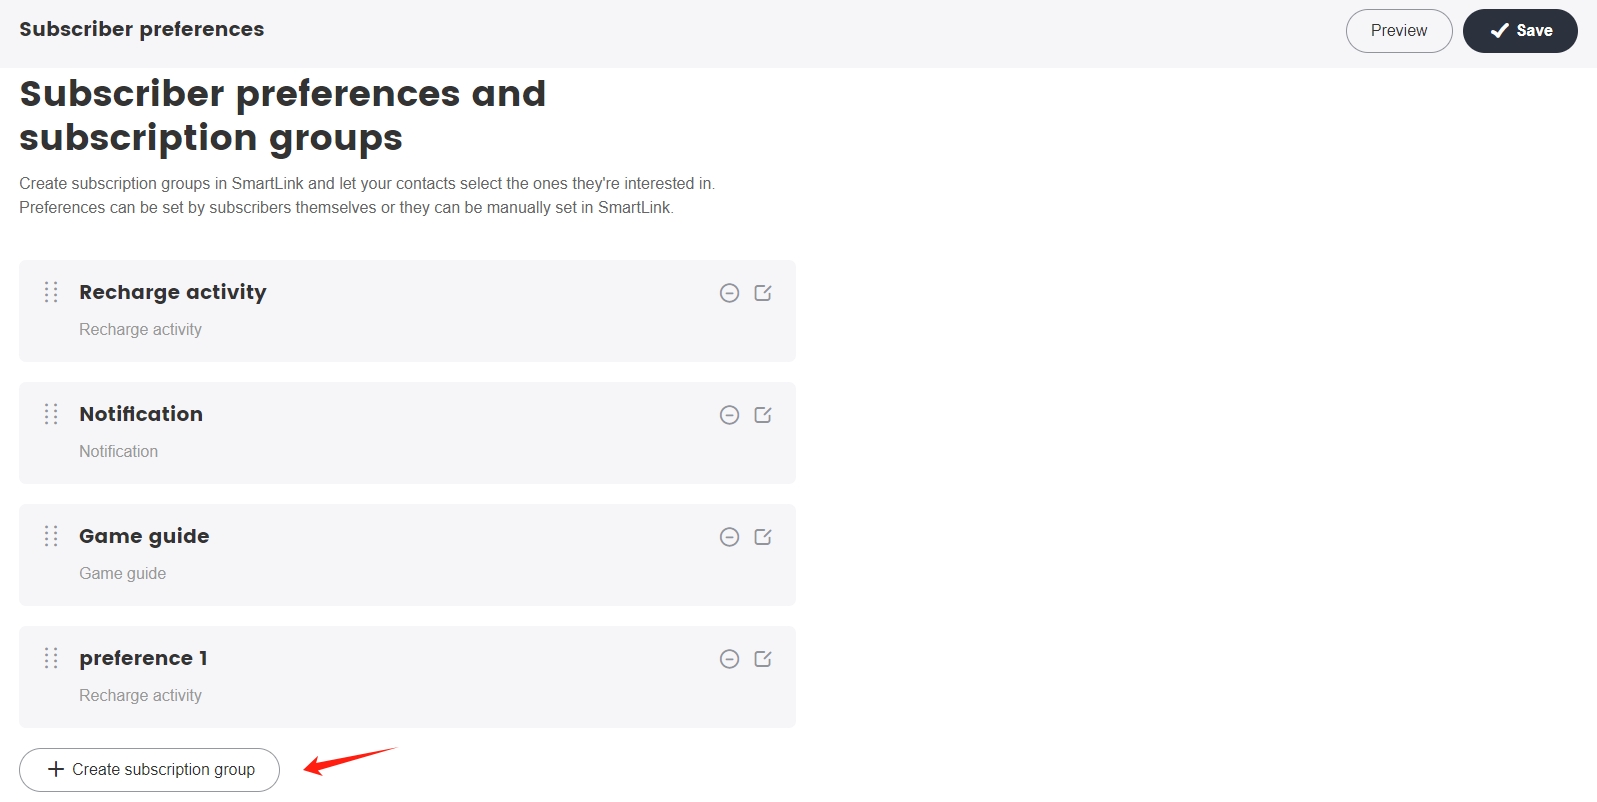
Click Preview to make sure that the configured subscription groups are correct, then click Save.
noteAfter saving, the settings will take effect in real time via the links at the footer of your emails.
Configure templates
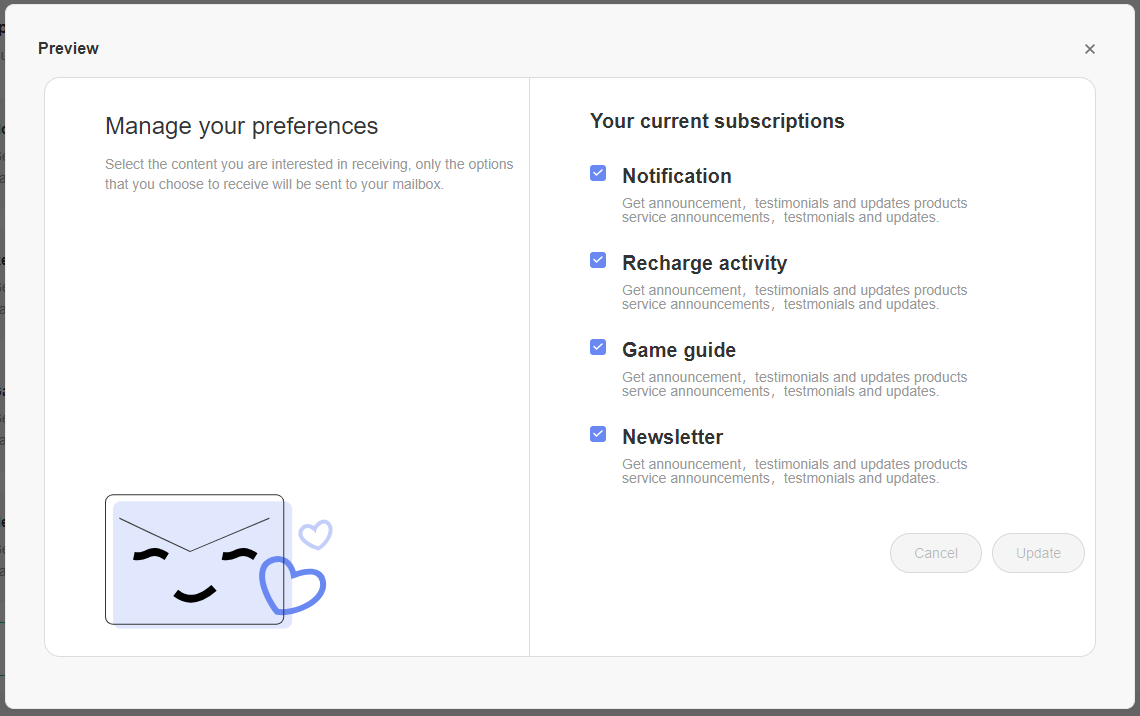
Insert subscriber preferences into the email template. When a contact receives the email, they can click on the links at the footer of the email to configure their subscription groups.
In the SmartLink navigation bar,select Email, then select Marketing under Templates.
Create an email template, see Create Email Content for more information.
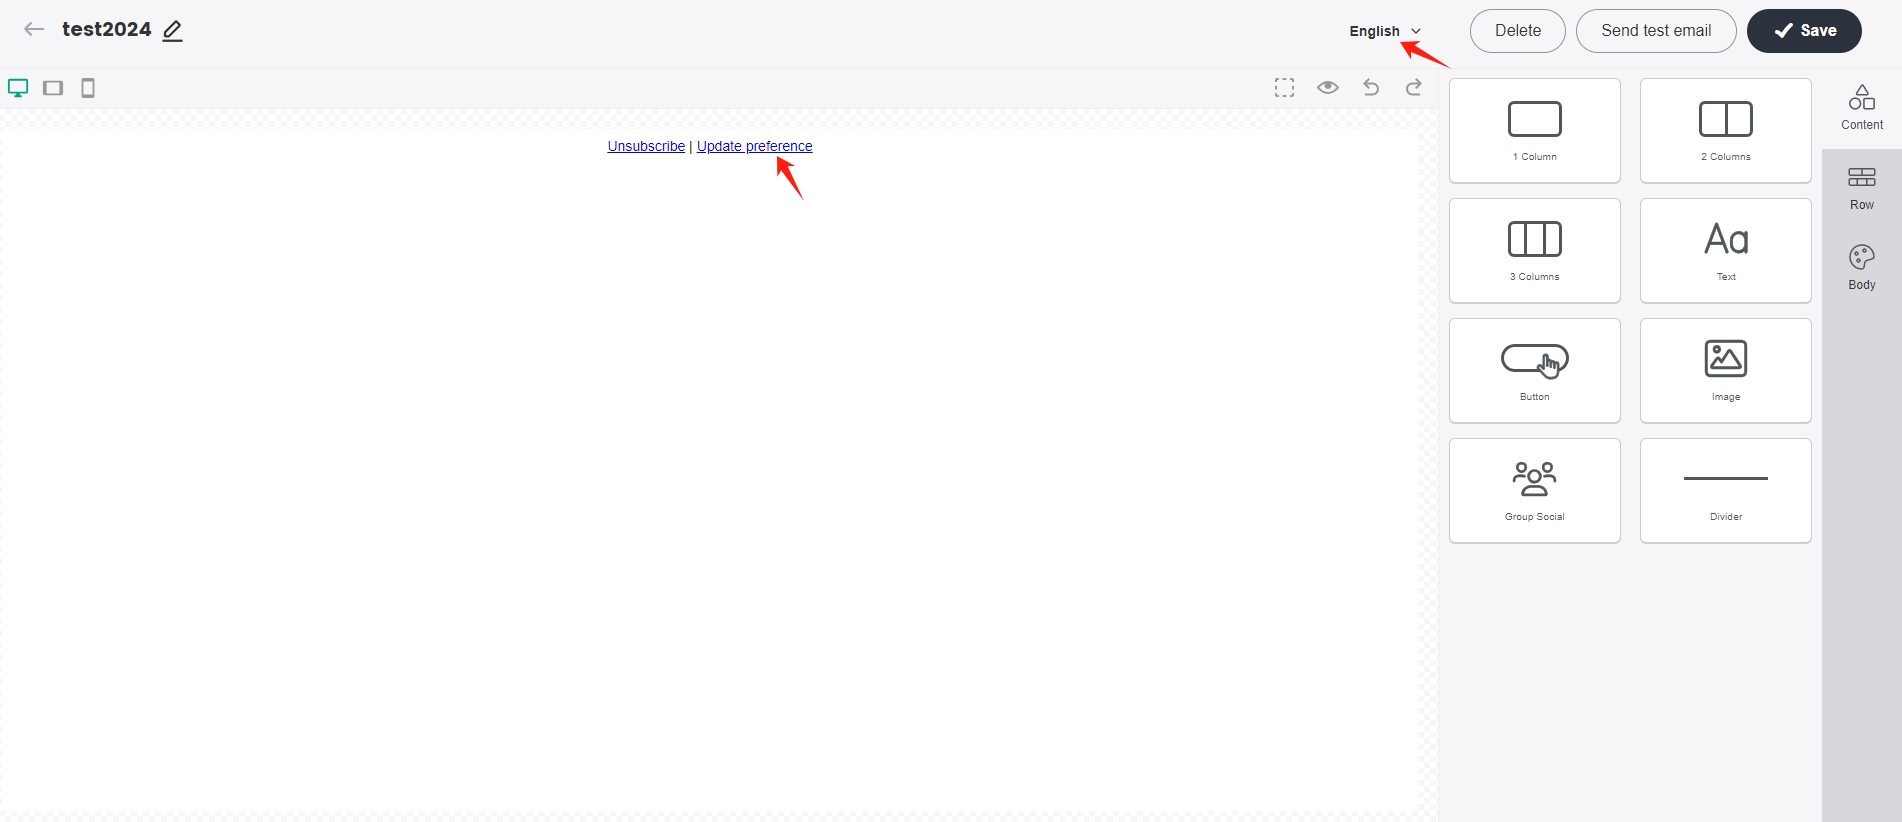
From the template edit page, click Unsubscribe & Set preferences at the bottom to select the type of footer to be sent, according to your needs. The language on the email preference settings page will change according to the language of the emails.
Import contact subscription groups
When importing contact information, subscription groups can be imported as contact preferences.
Import offline
For the offline import of contacts, see Import Contacts.
Download the CSV template file and fill in your contact data accordingly. You can directly add multiple subscriber preferences to a contact and seperate them using "|".
 note
noteYou can only add subscriber preferences that have already been created in SmartLink, otherwise the upload will fail.
Upload the contact file to save the subscription groups for the contacts.
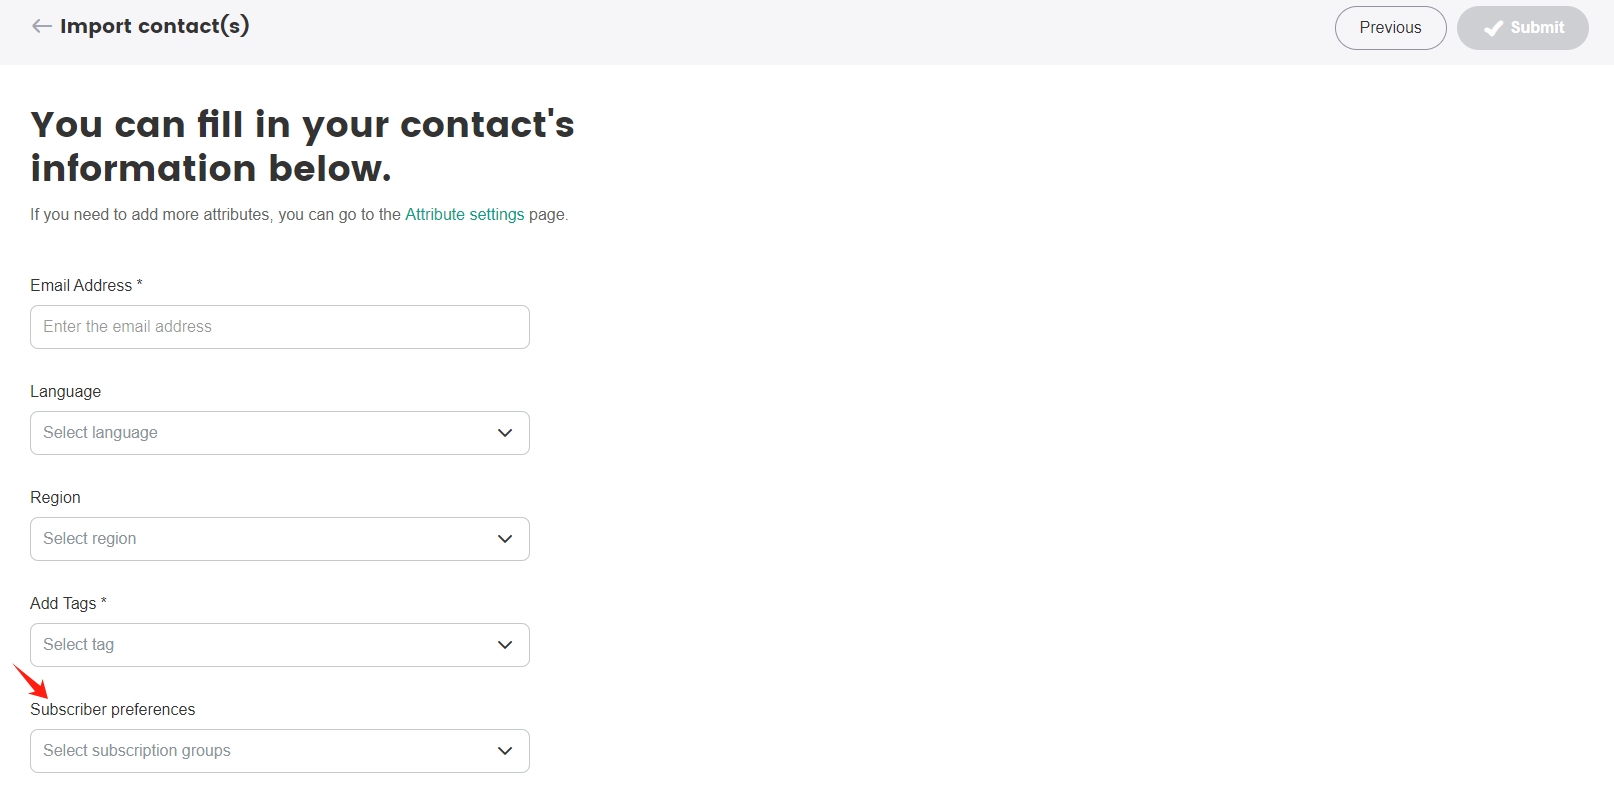
Import a single contact
For the adding of contacts, see Integrate Contacts from Multiple Sources.
Select the subscription groups for the contact from the preference attribute, with support for multiple selection.