Manage Custom Attributes
When managing SmartLink contacts, custom attributes can be used to store and track personalized information about the contacts, such as their name, in-game nickname, and time of subscription. Custom attributes enable you to create email content that is more personalized and attractive, by targeting the specific needs and characteristics of your users.
4 custom attribute types are currently supported in SmartLink, String, Number, Date, and Drop down.
- String: General attribute
- Number: Numeric attribute
- Date: Date attribute including the time zone, in either
2001-03-07+08:00or2001-03-07 00:00:00+08:00format - Drop down: Attribute with multiple options
Create new attributes
SmartLink provides the following 2 methods to create new attributes:
Method 1: Create new attributes directly
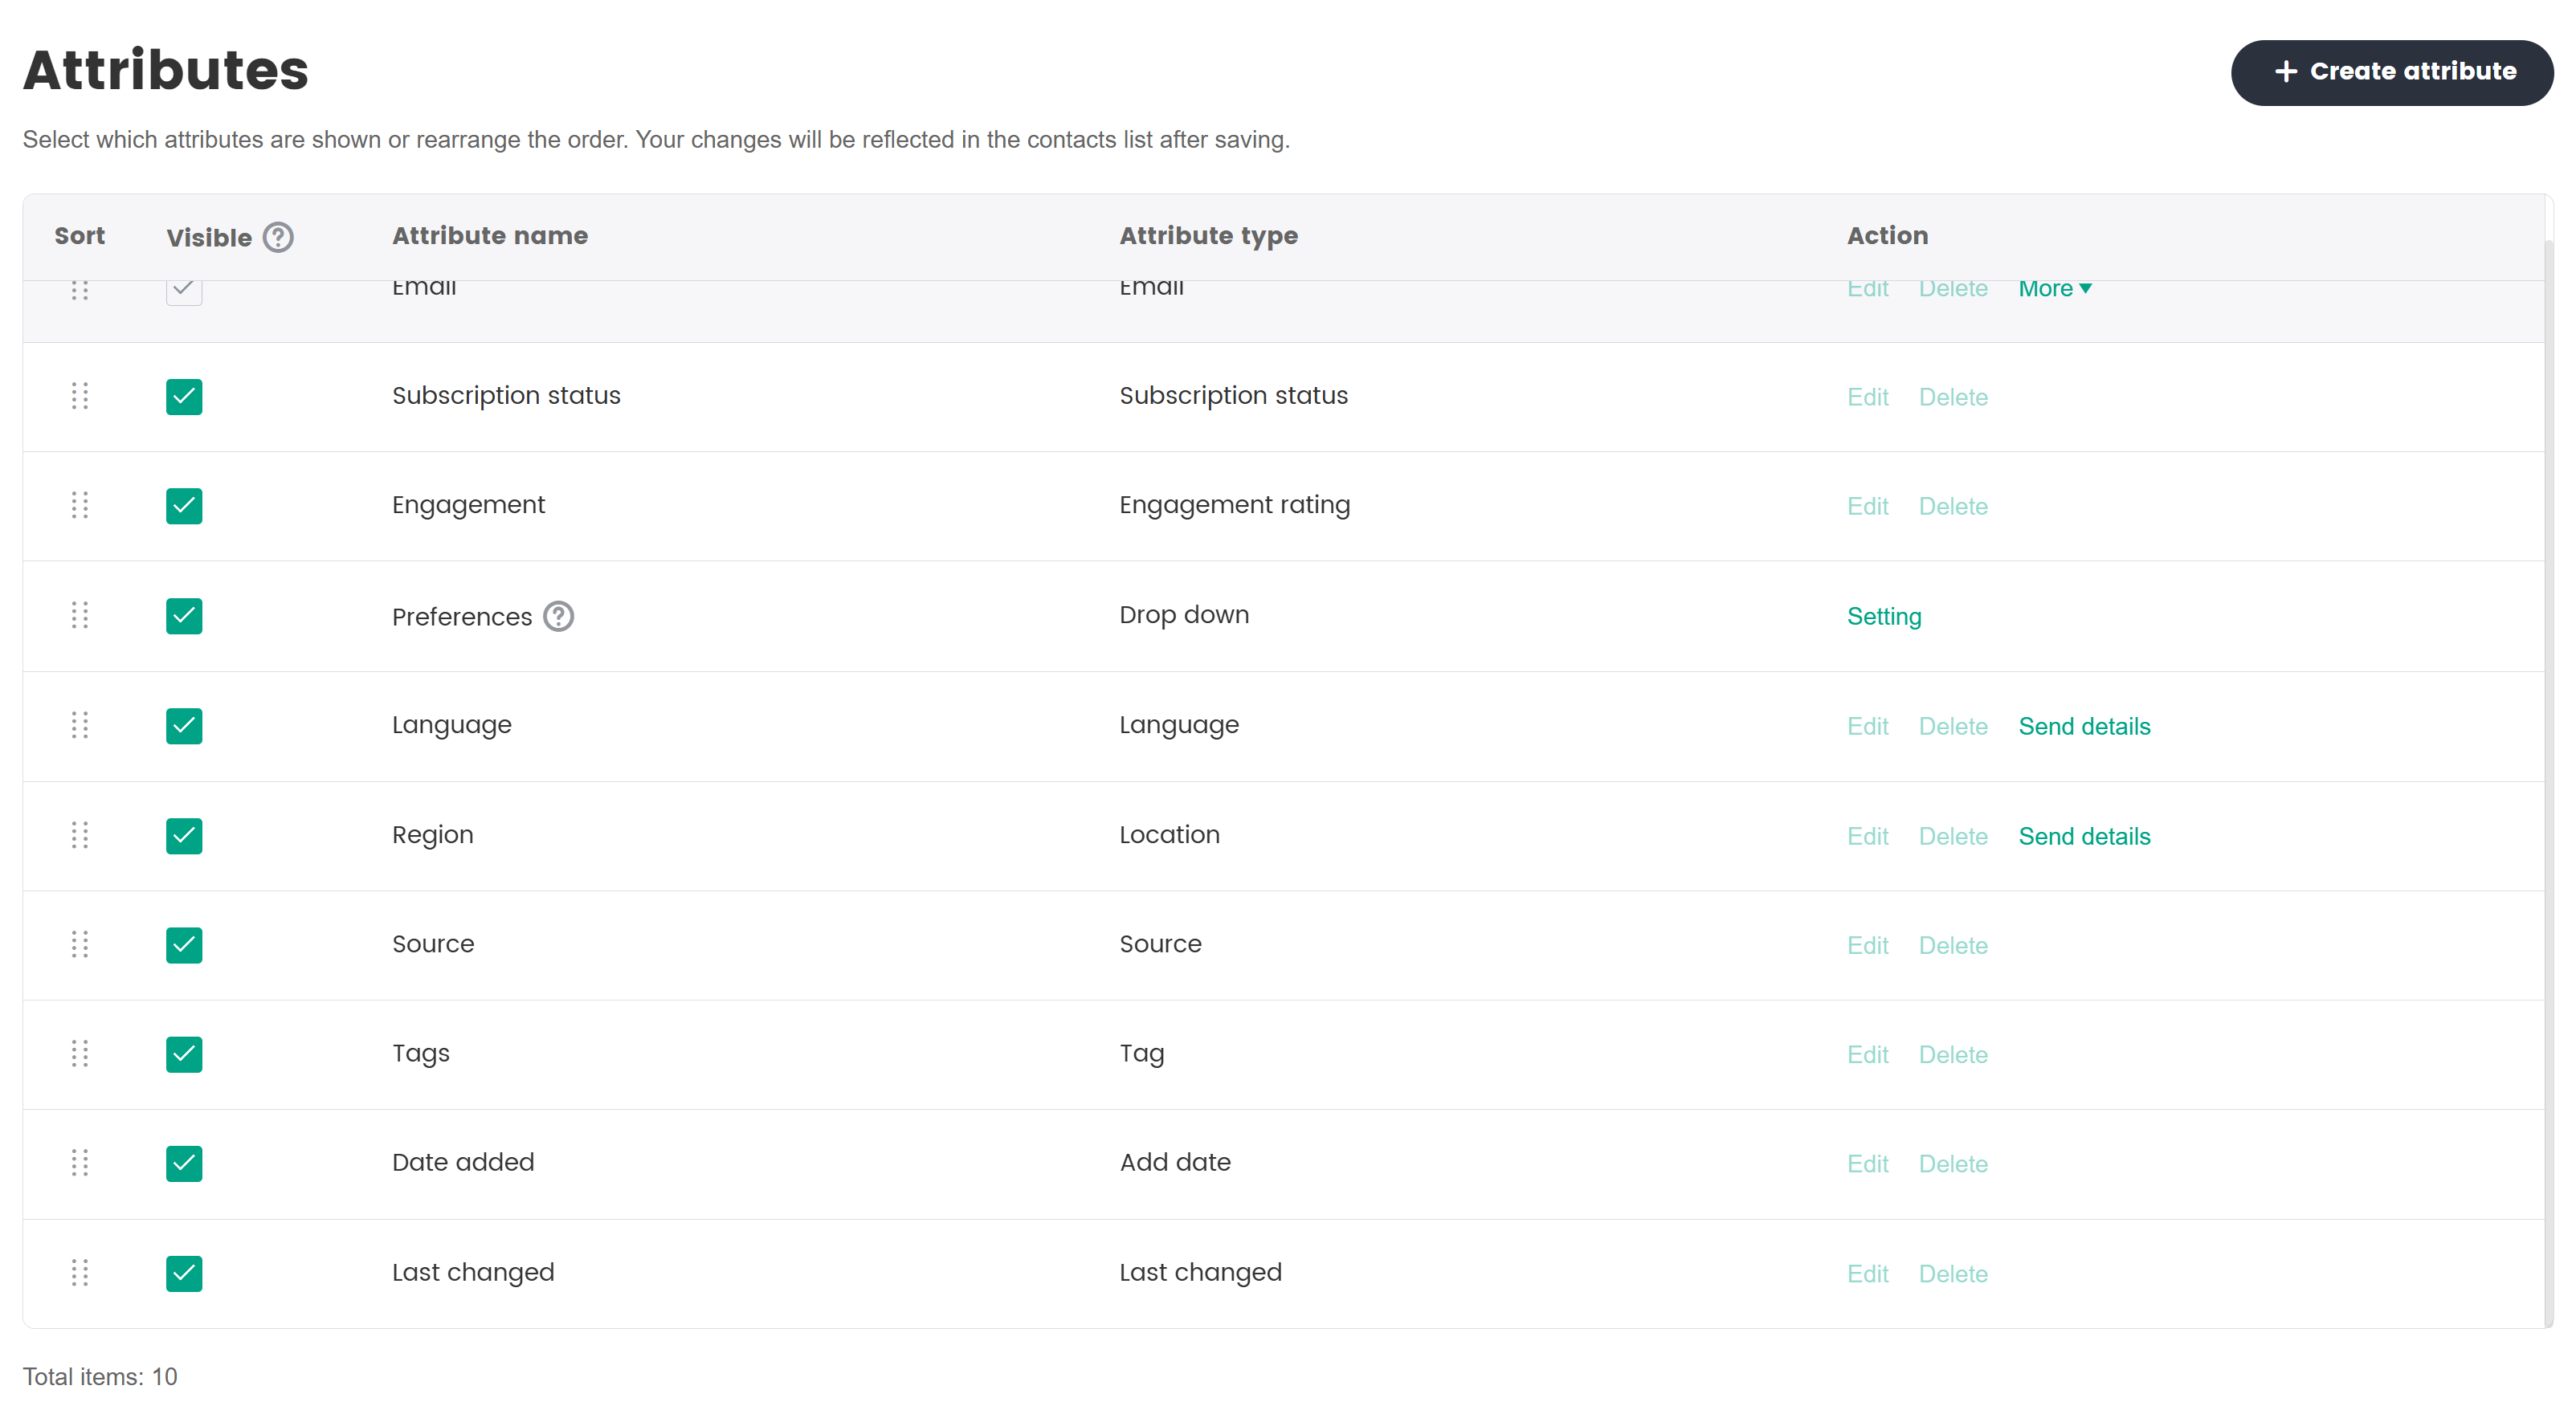
In the SmartLink navigation bar, select Contacts page,then select Attributes under Management.
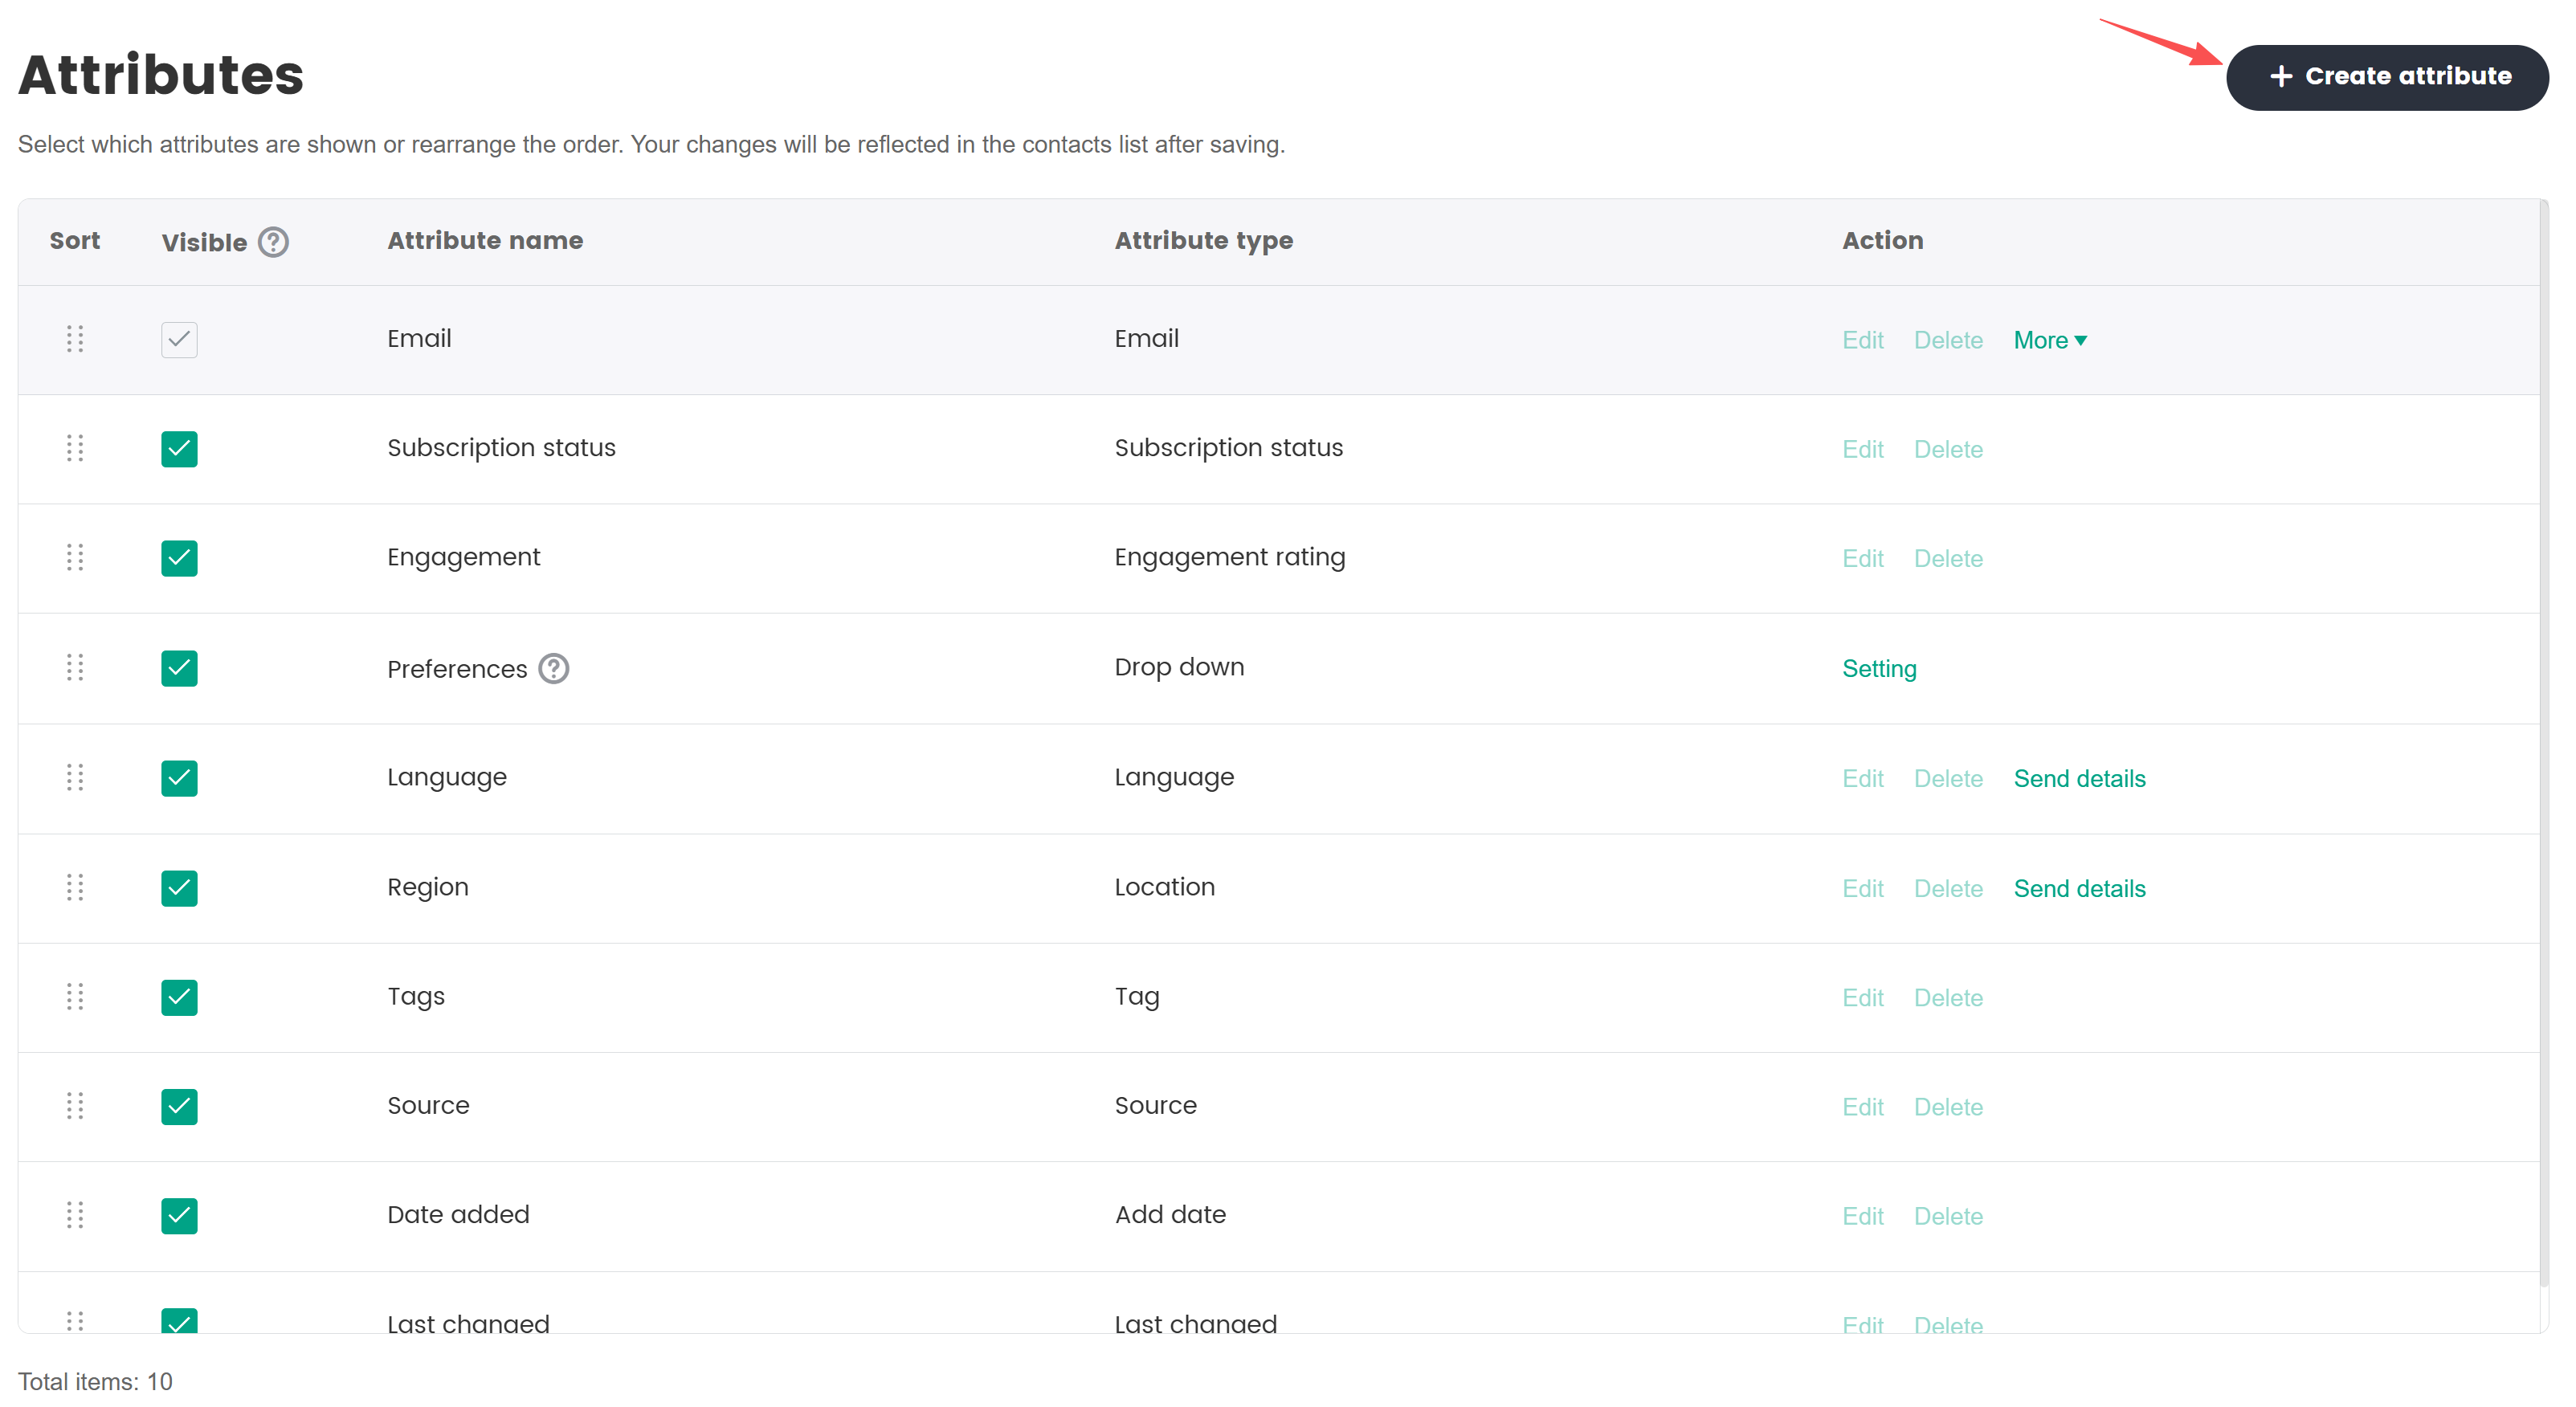
Click Create attribute.
Enter a name and select the type for the attribute in the popup, then click Confirm.
After the new attribute is created successfully, it will appear at the bottom of the list of attributes.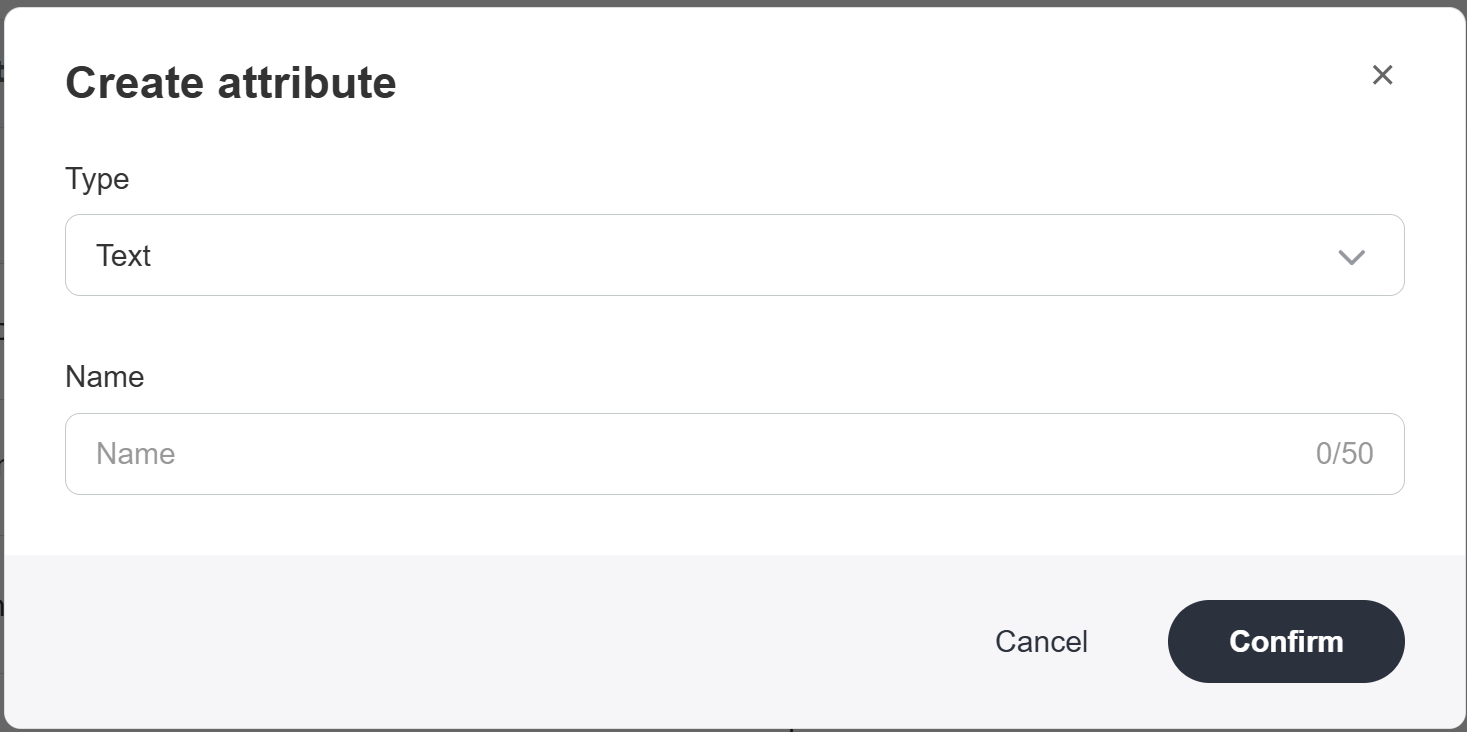
[Optional] To update your contacts with the custom attributes, follow the instructions from Create new attributes from an offline file to upload the CSV file template to SmartLink. For more information on importing contacts, see Import Contacts.
Method 2: Create new attributes from an offline file
In the SmartLink navigation bar, select Contacts page,then select All Contacts under Contacts.
Click Import contact(s), select Import CSV file, then click Continue.
Download the CSV file template and fill in all the contact information as required, custom attributes can be entered directly starting from Column D.
 note
noteDrop down attributes cannot be created this way, create the Drop down attributes in SmartLink first before uploading your file.
Upload the CSV file to SmartLink, then click Continue.
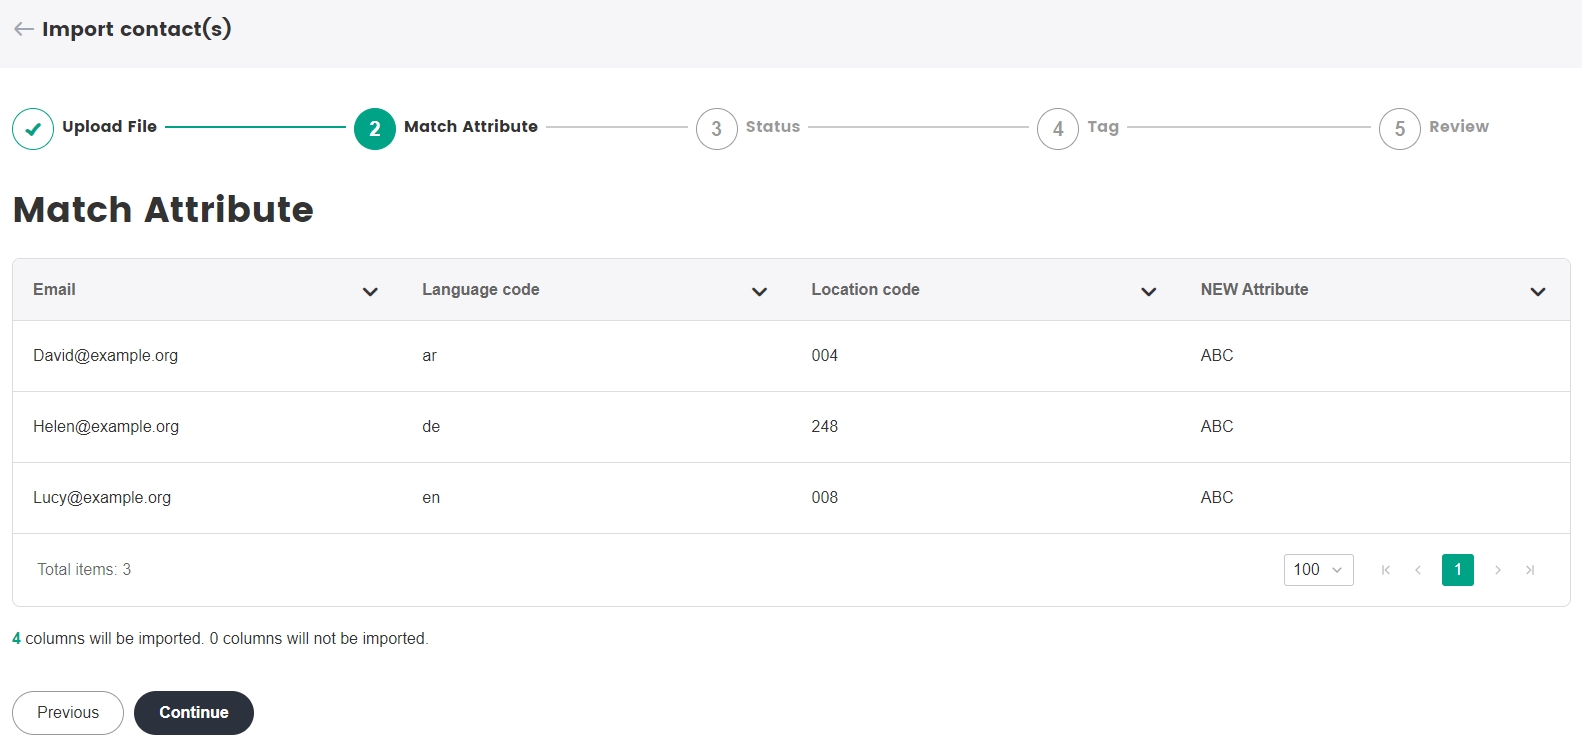
After the upload, view the custom attributes from the Match Attribute page and click Create a new attribute.
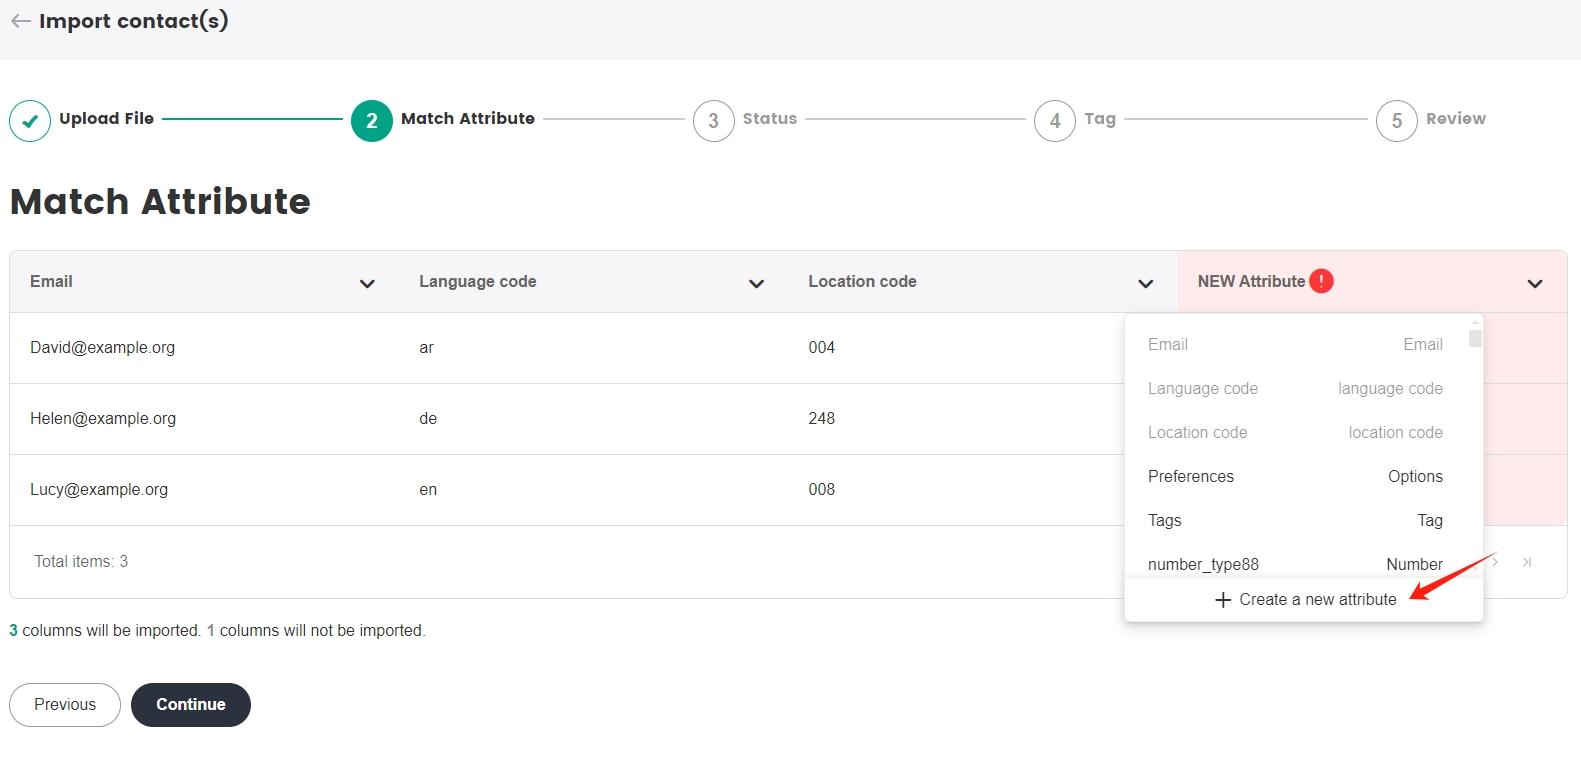
Enter a name and select the type of the attribute to complete the attribute creation.
 note
noteAttribute matching is to match the attributes uploaded from the CSV file with the attributes present in the system. If the attribute does not exist in the system, add it in this step, or the corresponding attribute data (column displayed in pink) will not be added, and the upload of other custom attributes remains unaffected.
[Optional] To continue with the contacts import, continue with Step 6 from Import Contacts.
Manage attributes
In the SmartLink navigation bar, select Contacts page,then select Attributes under Management.
Manage the attributes from the attribute settings page.
- Rearrange the fixed attributes and the attributes utilized by the API, both of which cannot be edited or deleted.
- Edit or delete all other attributes