Manage Contact List
The contact list function in SmartLink provides many convenient options to manage contacts, allowing you to organize your contacts and create new campaigns more efficiently.
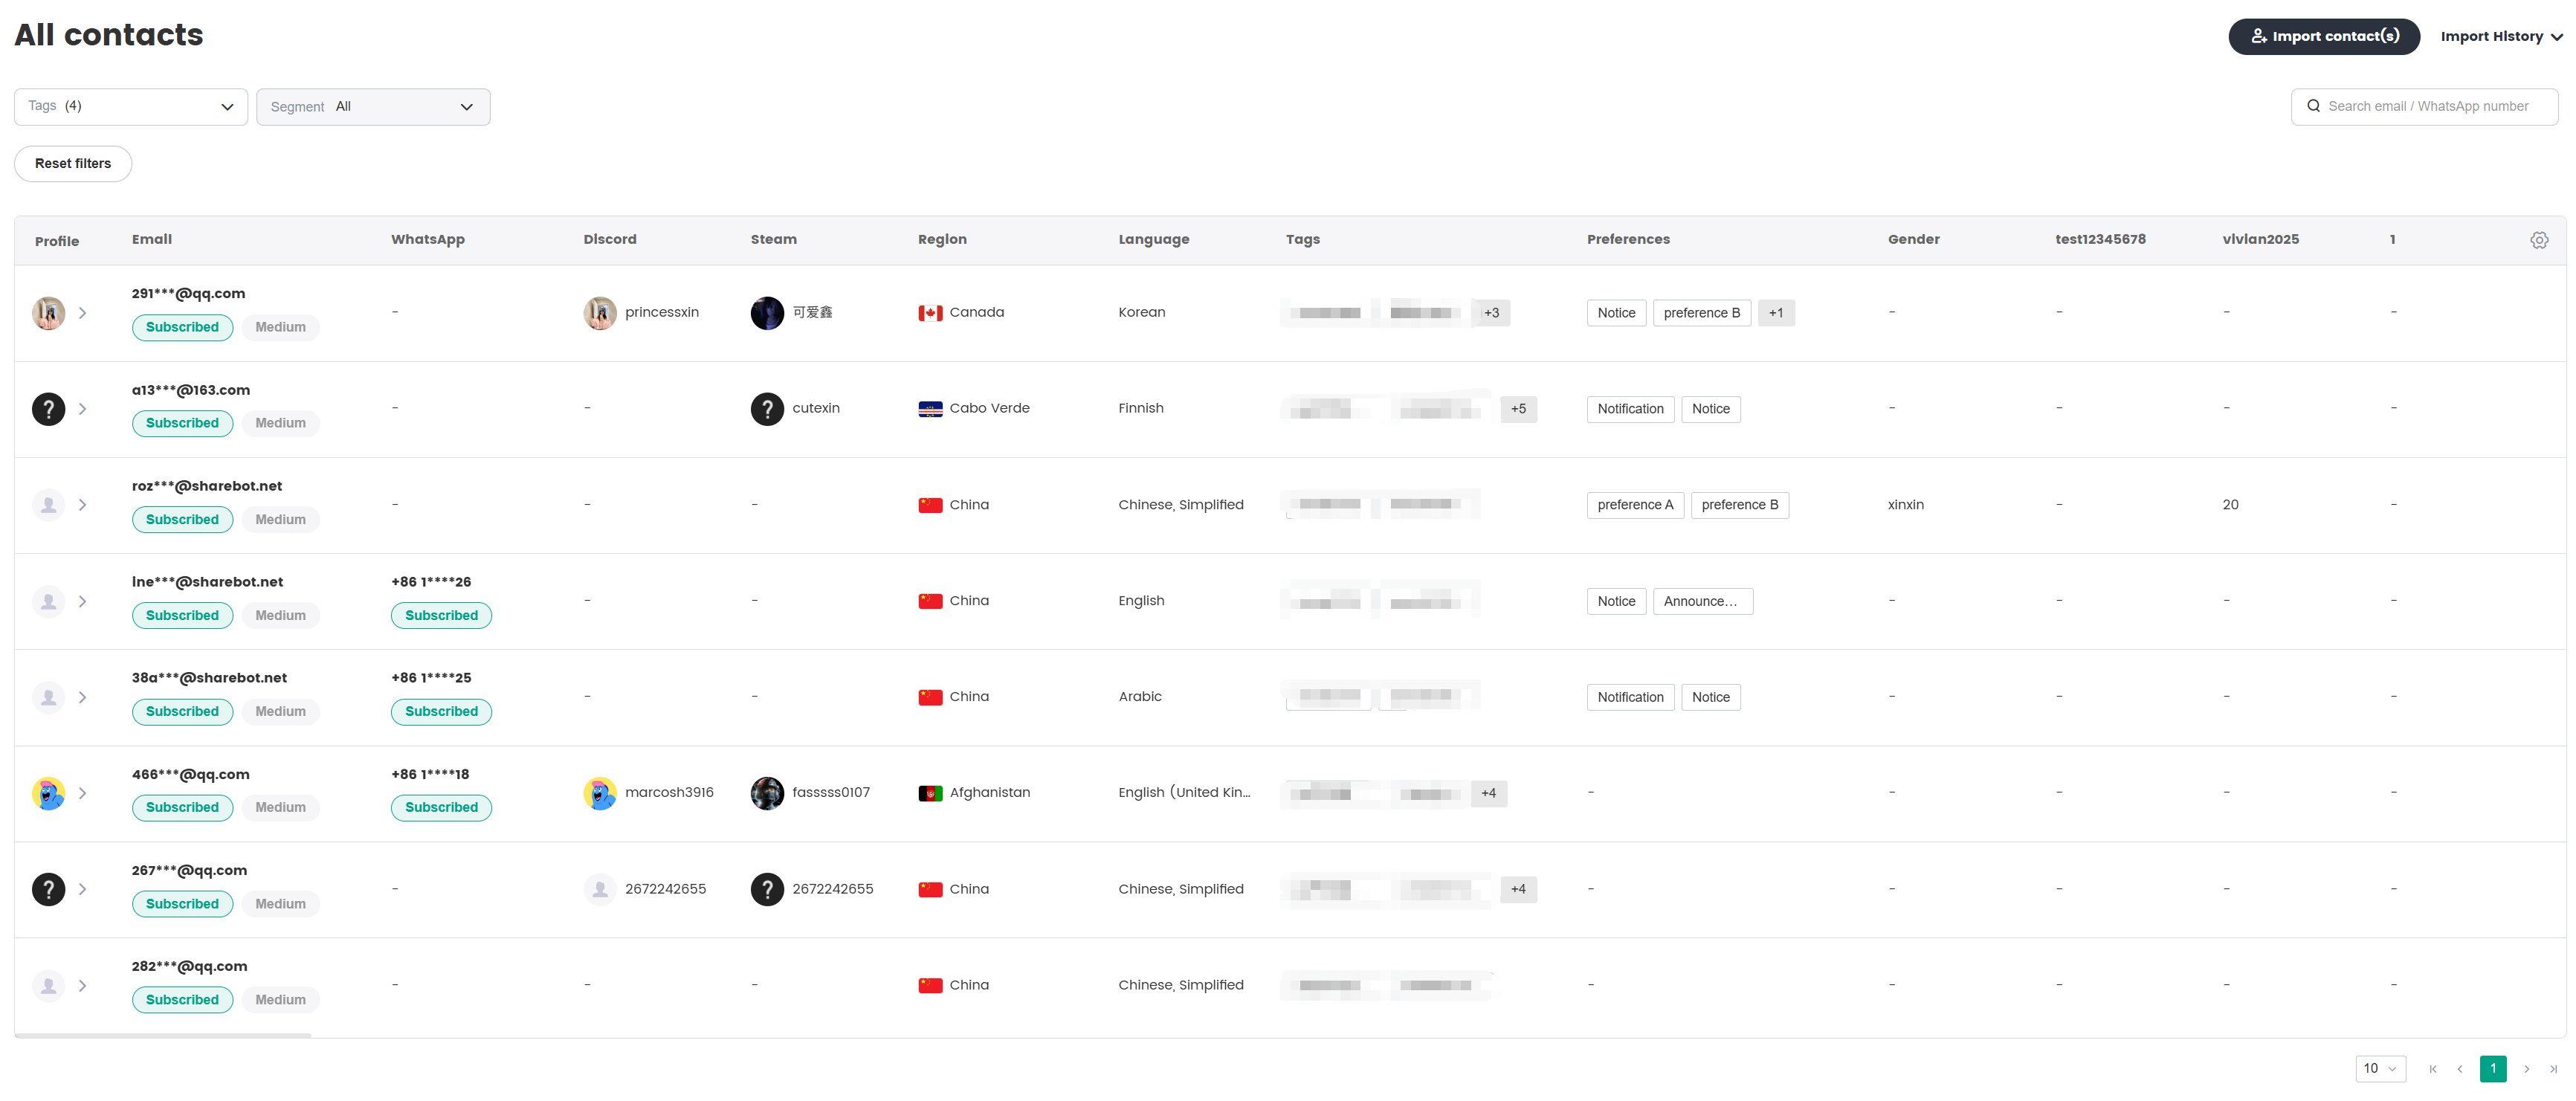
Filter contacts
Contacts uploaded from different sources can be managed from the contact list, which can be filtered by source, tags, and segments. You can instantly create campaigns for the filtered contacts.
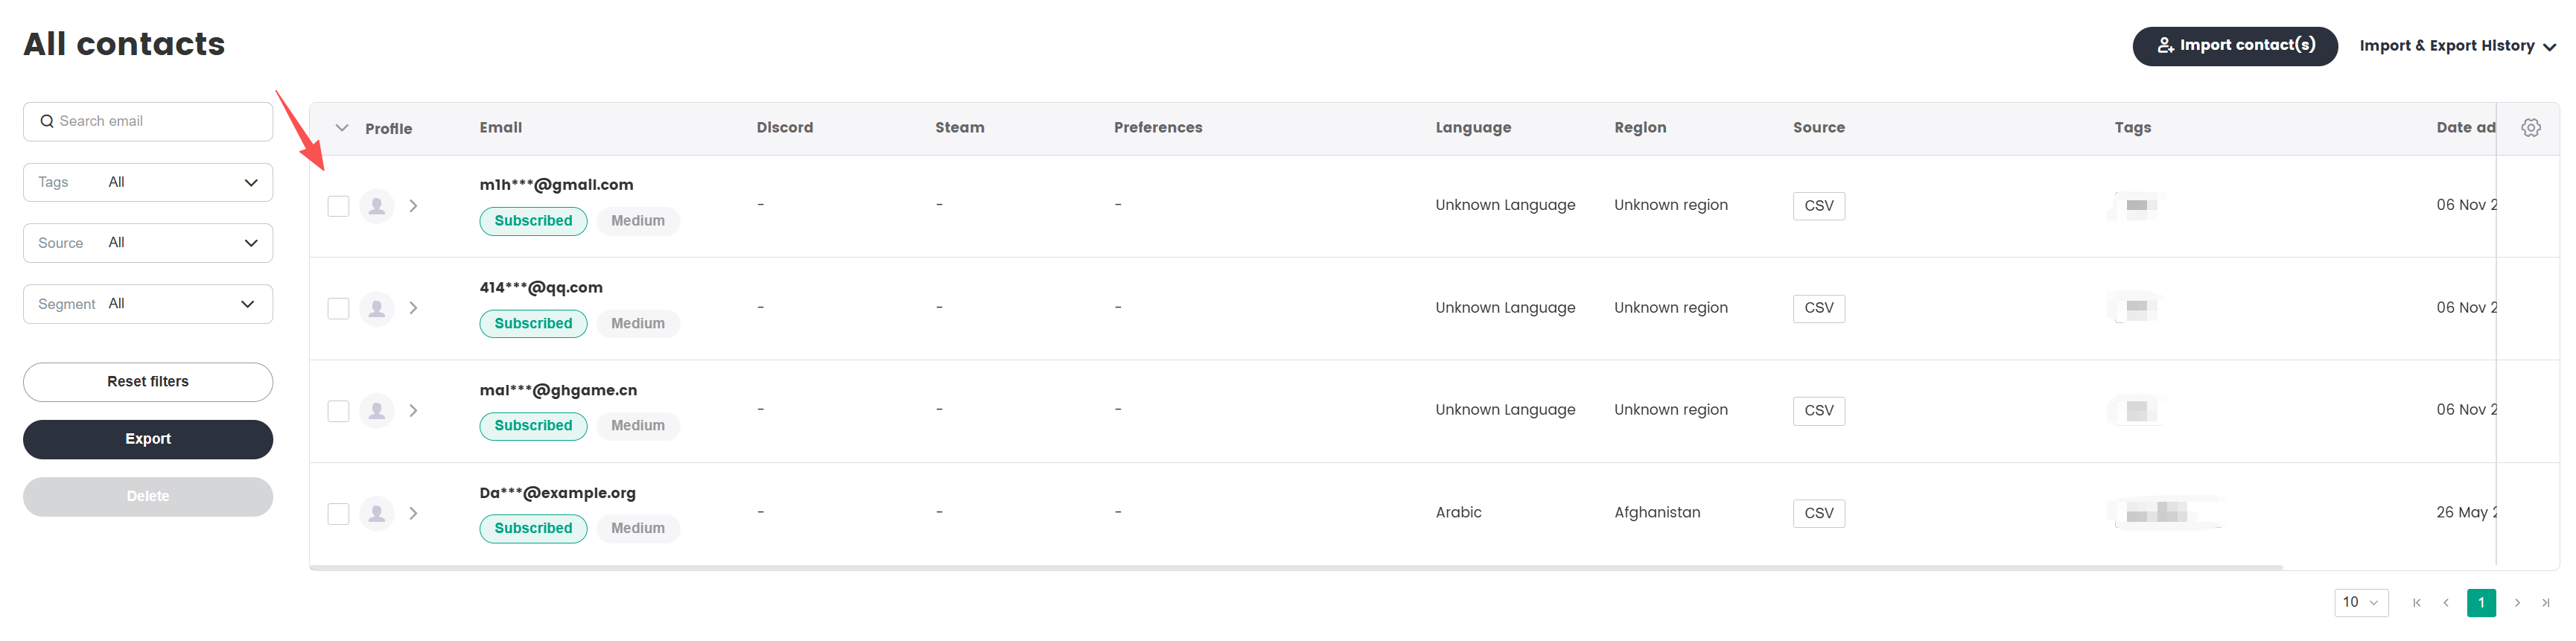
In the SmartLink navigation bar, select Contacts page,then select All Contacts under Contacts.
Filter contacts based on your needs, and the list of contacts that match the conditions selected will be shown.
Contact engagement rating
SmartLink assesses the activity of contacts intelligently, providing you with an intuitive display of the value and quality for each of your contacts. For contacts with low engagement scores, caution is advised when including them in your campaigns to avoid wasting resources. In addition, SmartLink also recommends pruning your contact list regularly to maintain data accuracy.
To view the Engagement rating of your contacts, go to the Contacts management page from Contacts under Contacts.
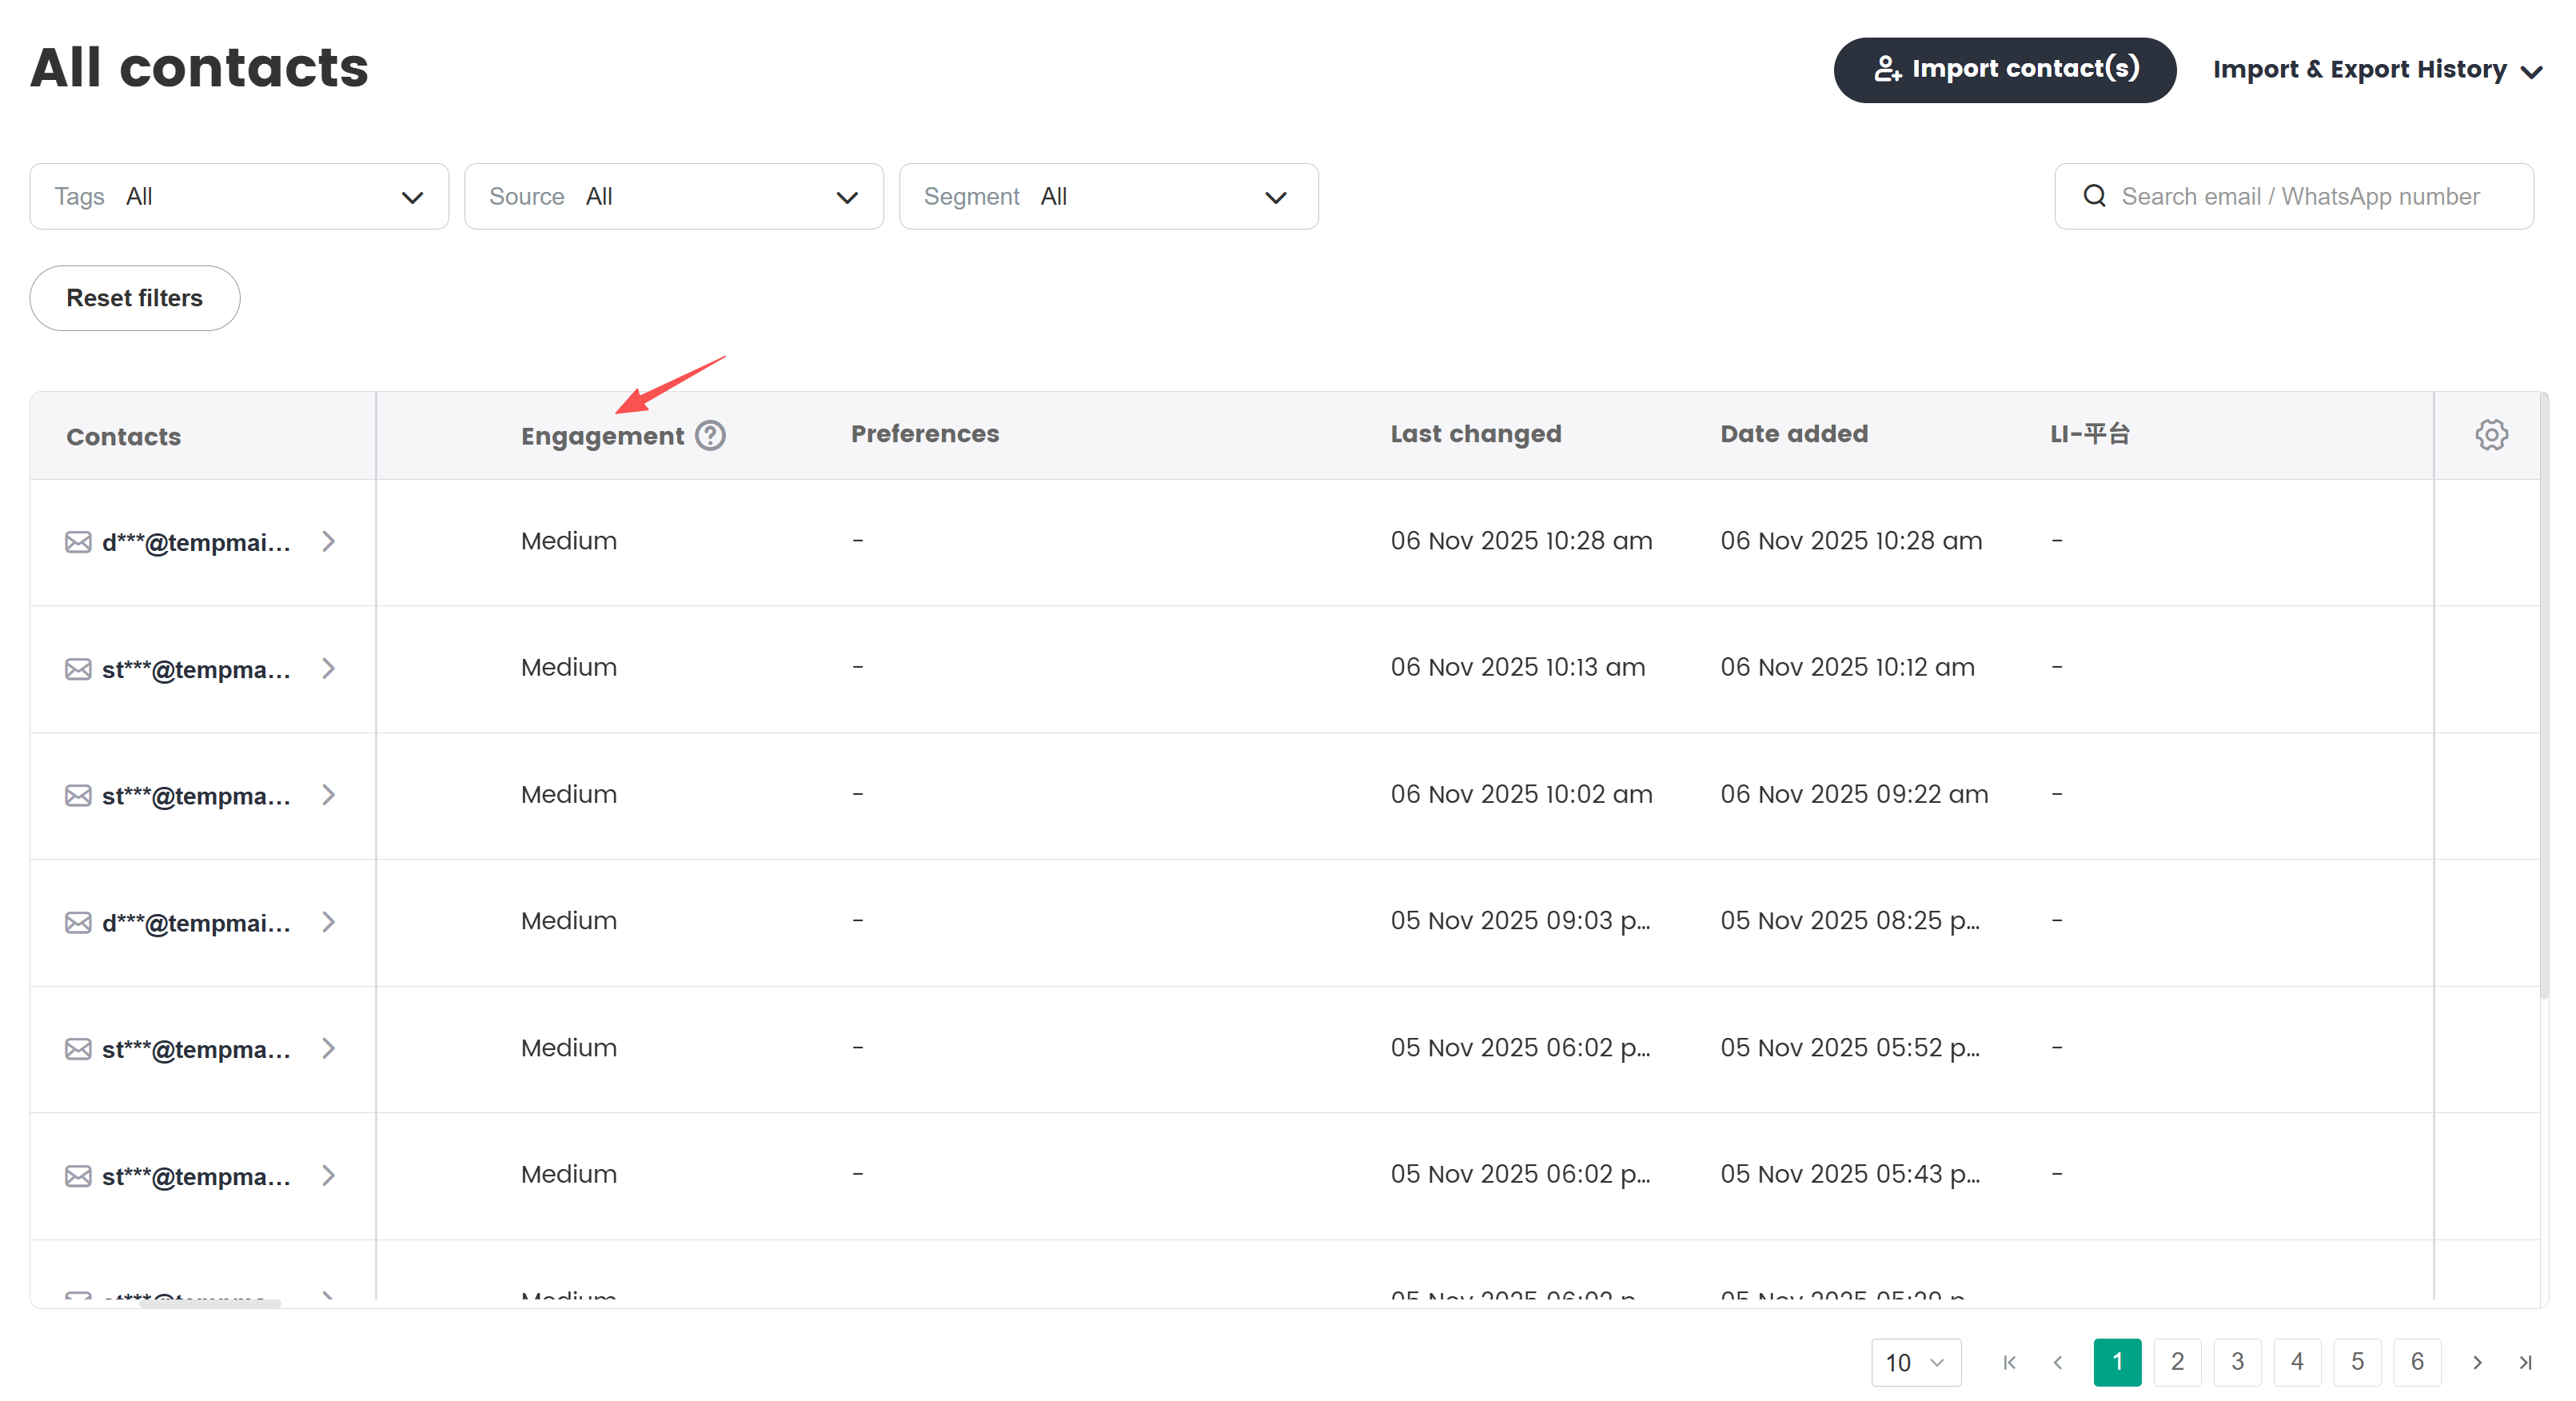
| Engagement rating | Definition |
|---|---|
| Low | Contact with low engagement, emails not recommended to be sent to contacts with this rating. |
| Medium | Contact with medium engagement, regular observation of contacts with this rating is advised, content that are more appealing should be sent. |
| High | Contact with high engagement, emails recommended to be sent to contacts with this rating, to maintain good levels of interaction. |
The engagement rating is system assigned, and cannot be modified. When adding a new contact, this field cannot be enetered, and the default engagement rating for a contact is Rating 2.
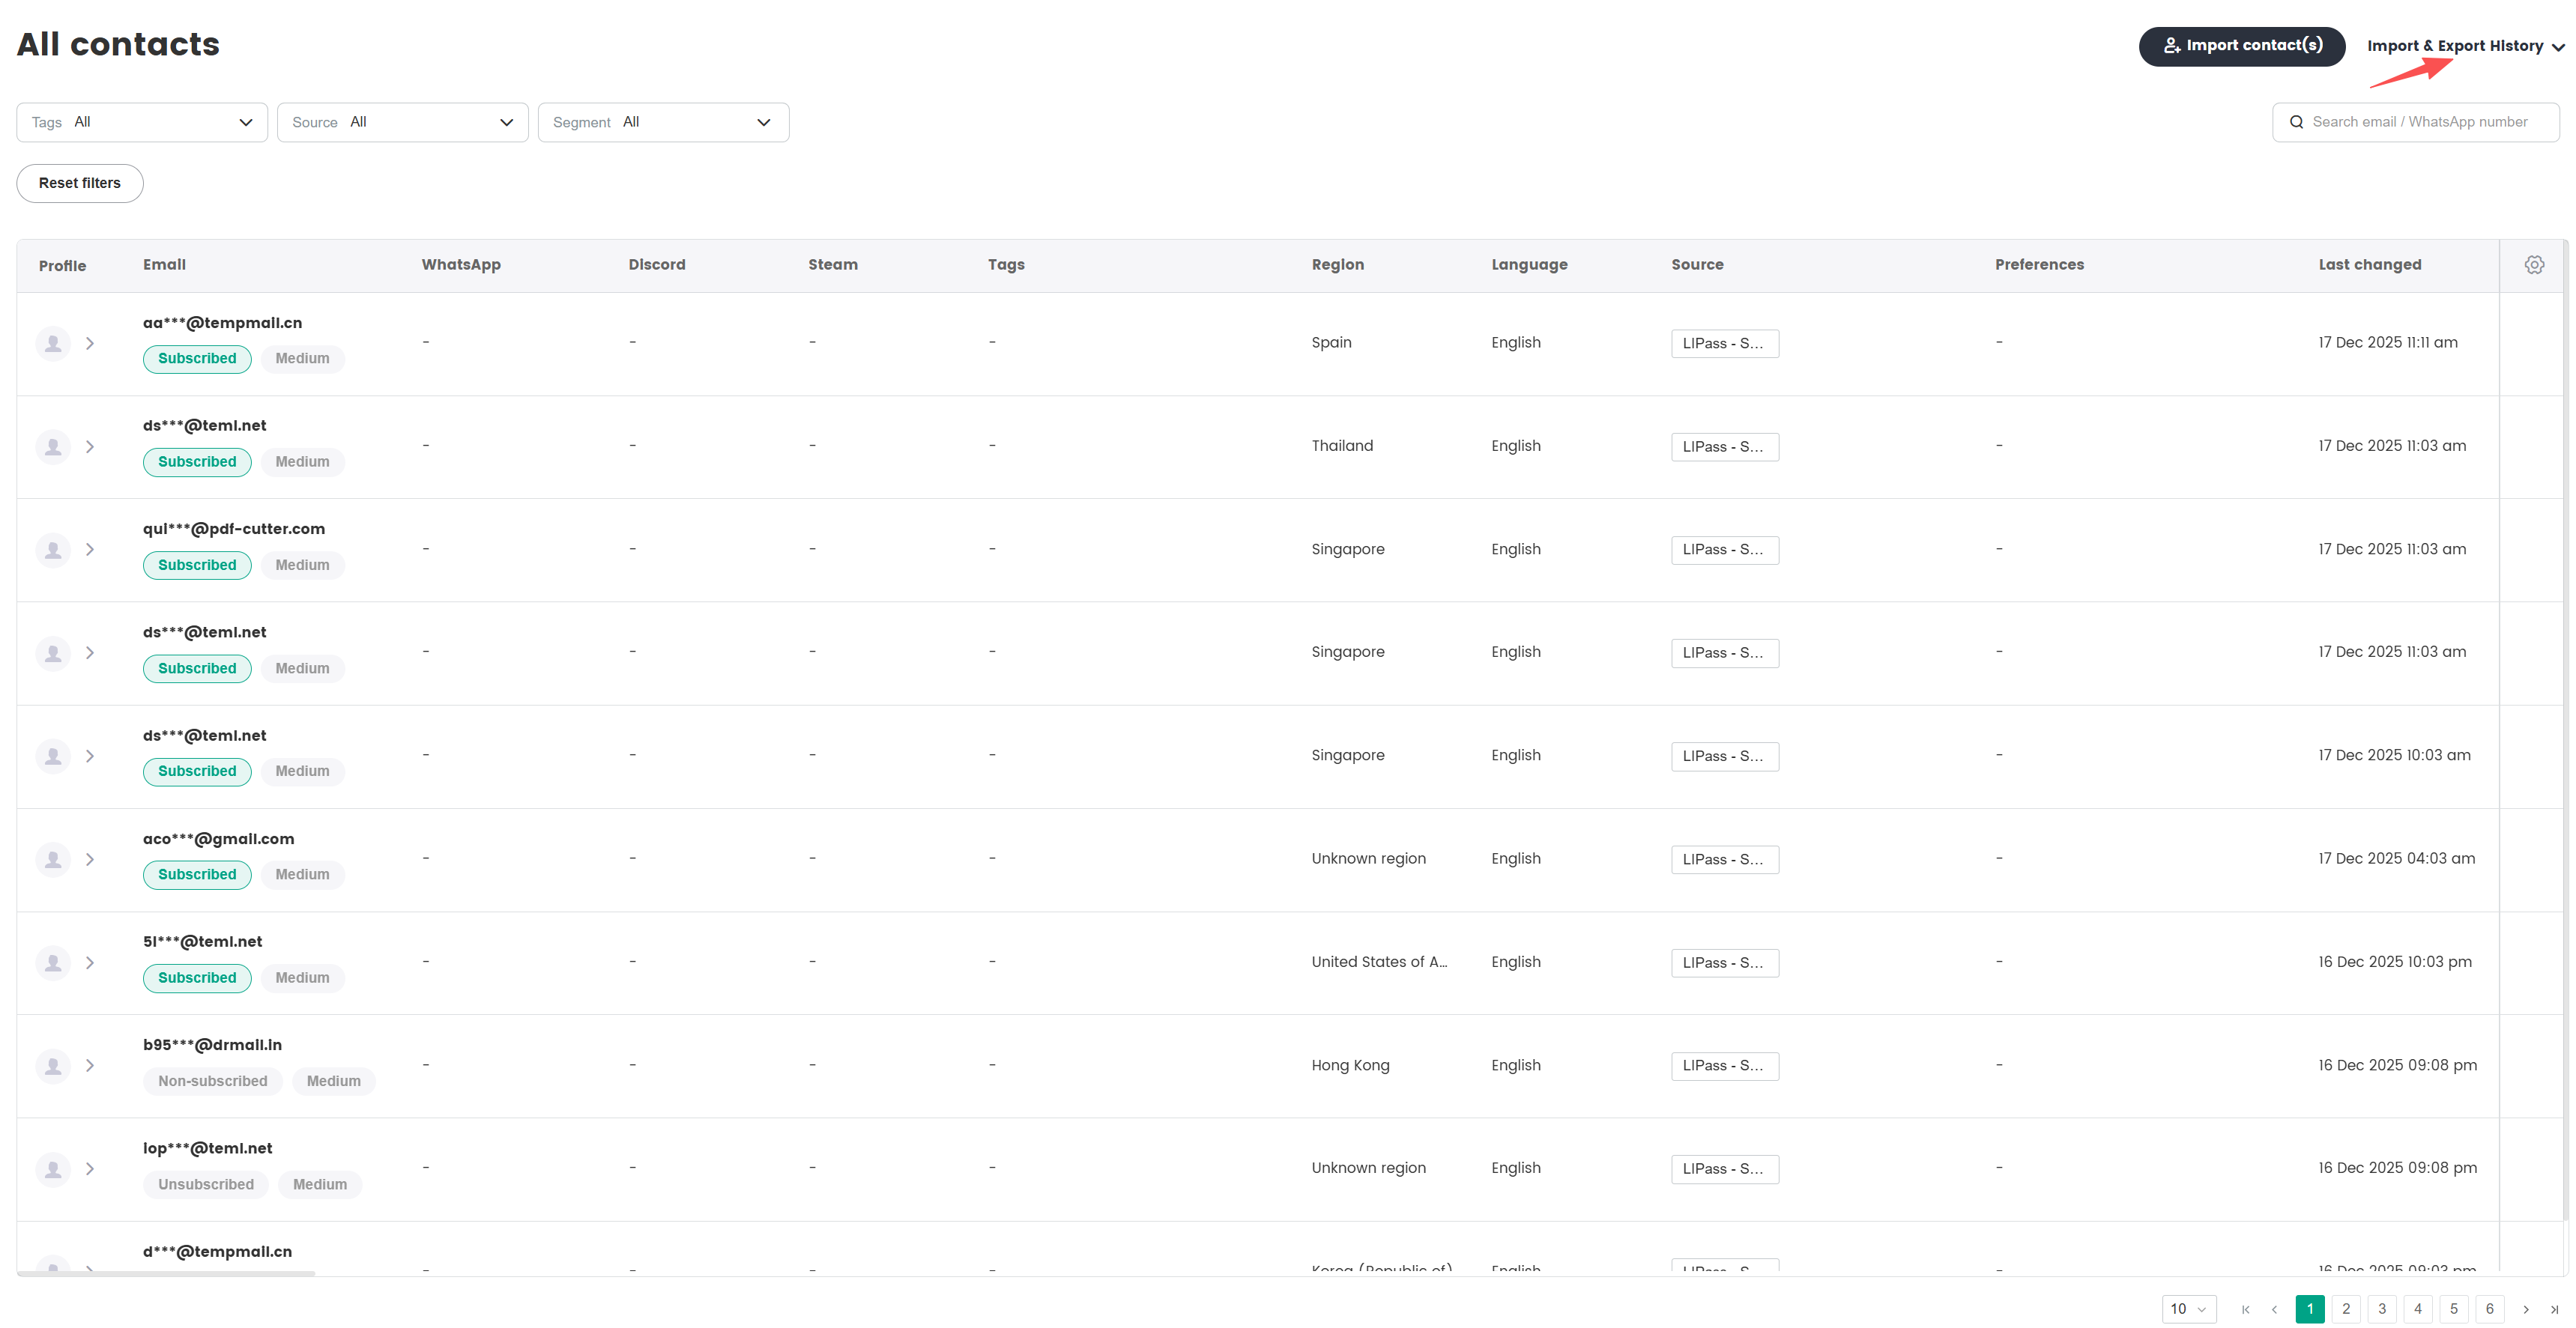
Verify and export contact import logs
A record of previous contact imports can be viewed from the contact import logs, which can be used to export contact lists as well as contacts that have unsubscribed.
In the SmartLink navigation bar, select Contacts page,then select All Contacts under Contacts.
Go to Manage contacts > Import history from the top right of the page.
Verify the import time, operator, amount of contacts imported and other information from the Import history page.
To export the list of contacts involved, click Export under the Action column, then choose an export format.

Export formats
- Uploaded CSV file: Export the original file that was uploaded
- Successful log: Export the list of contacts that were uploaded successfully
- Exception logs: Export the list of contacts that failed to be uploaded
- Unsubscribers: Export the list of contacts that are present in both the system and the original file at the time of upload, but are not subscribed
View removal history of contacts
The removal records of contacts on SmartLink can only be viewed by the Owner role.
In the SmartLink navigation bar, select Contacts page,then select All Contacts under Contacts.
Go to Manage contacts > Delete history from the top right of the page.
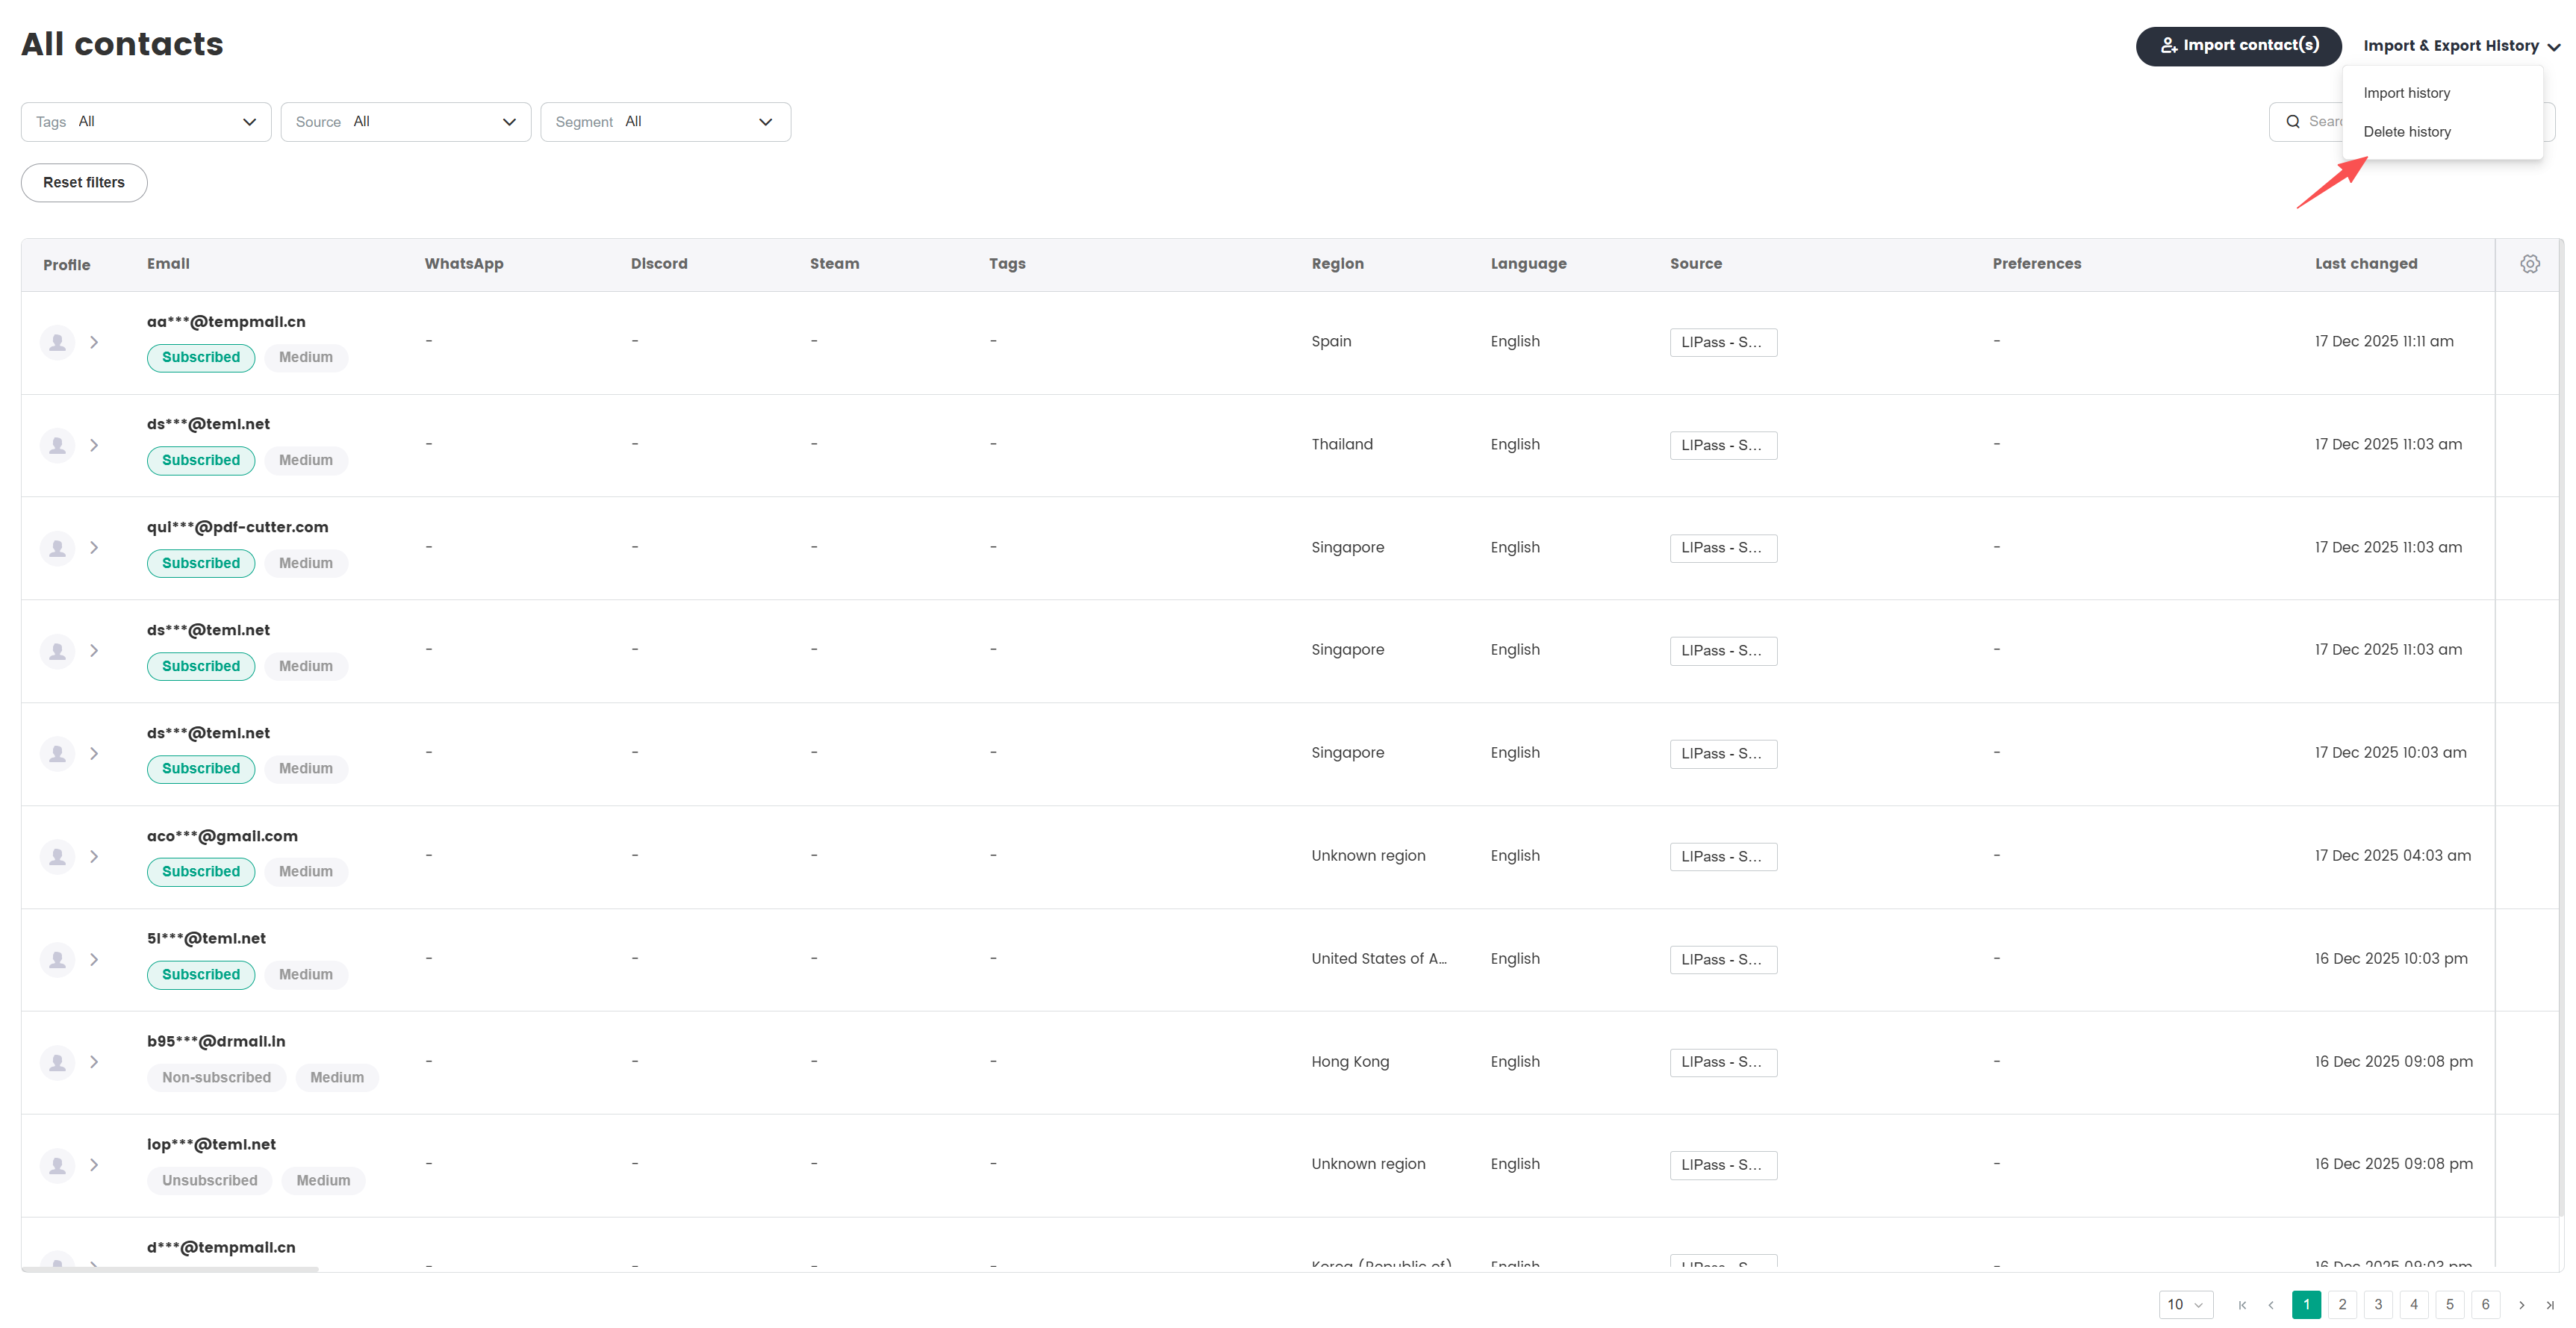
- View all contact deletion records from the Delete history.
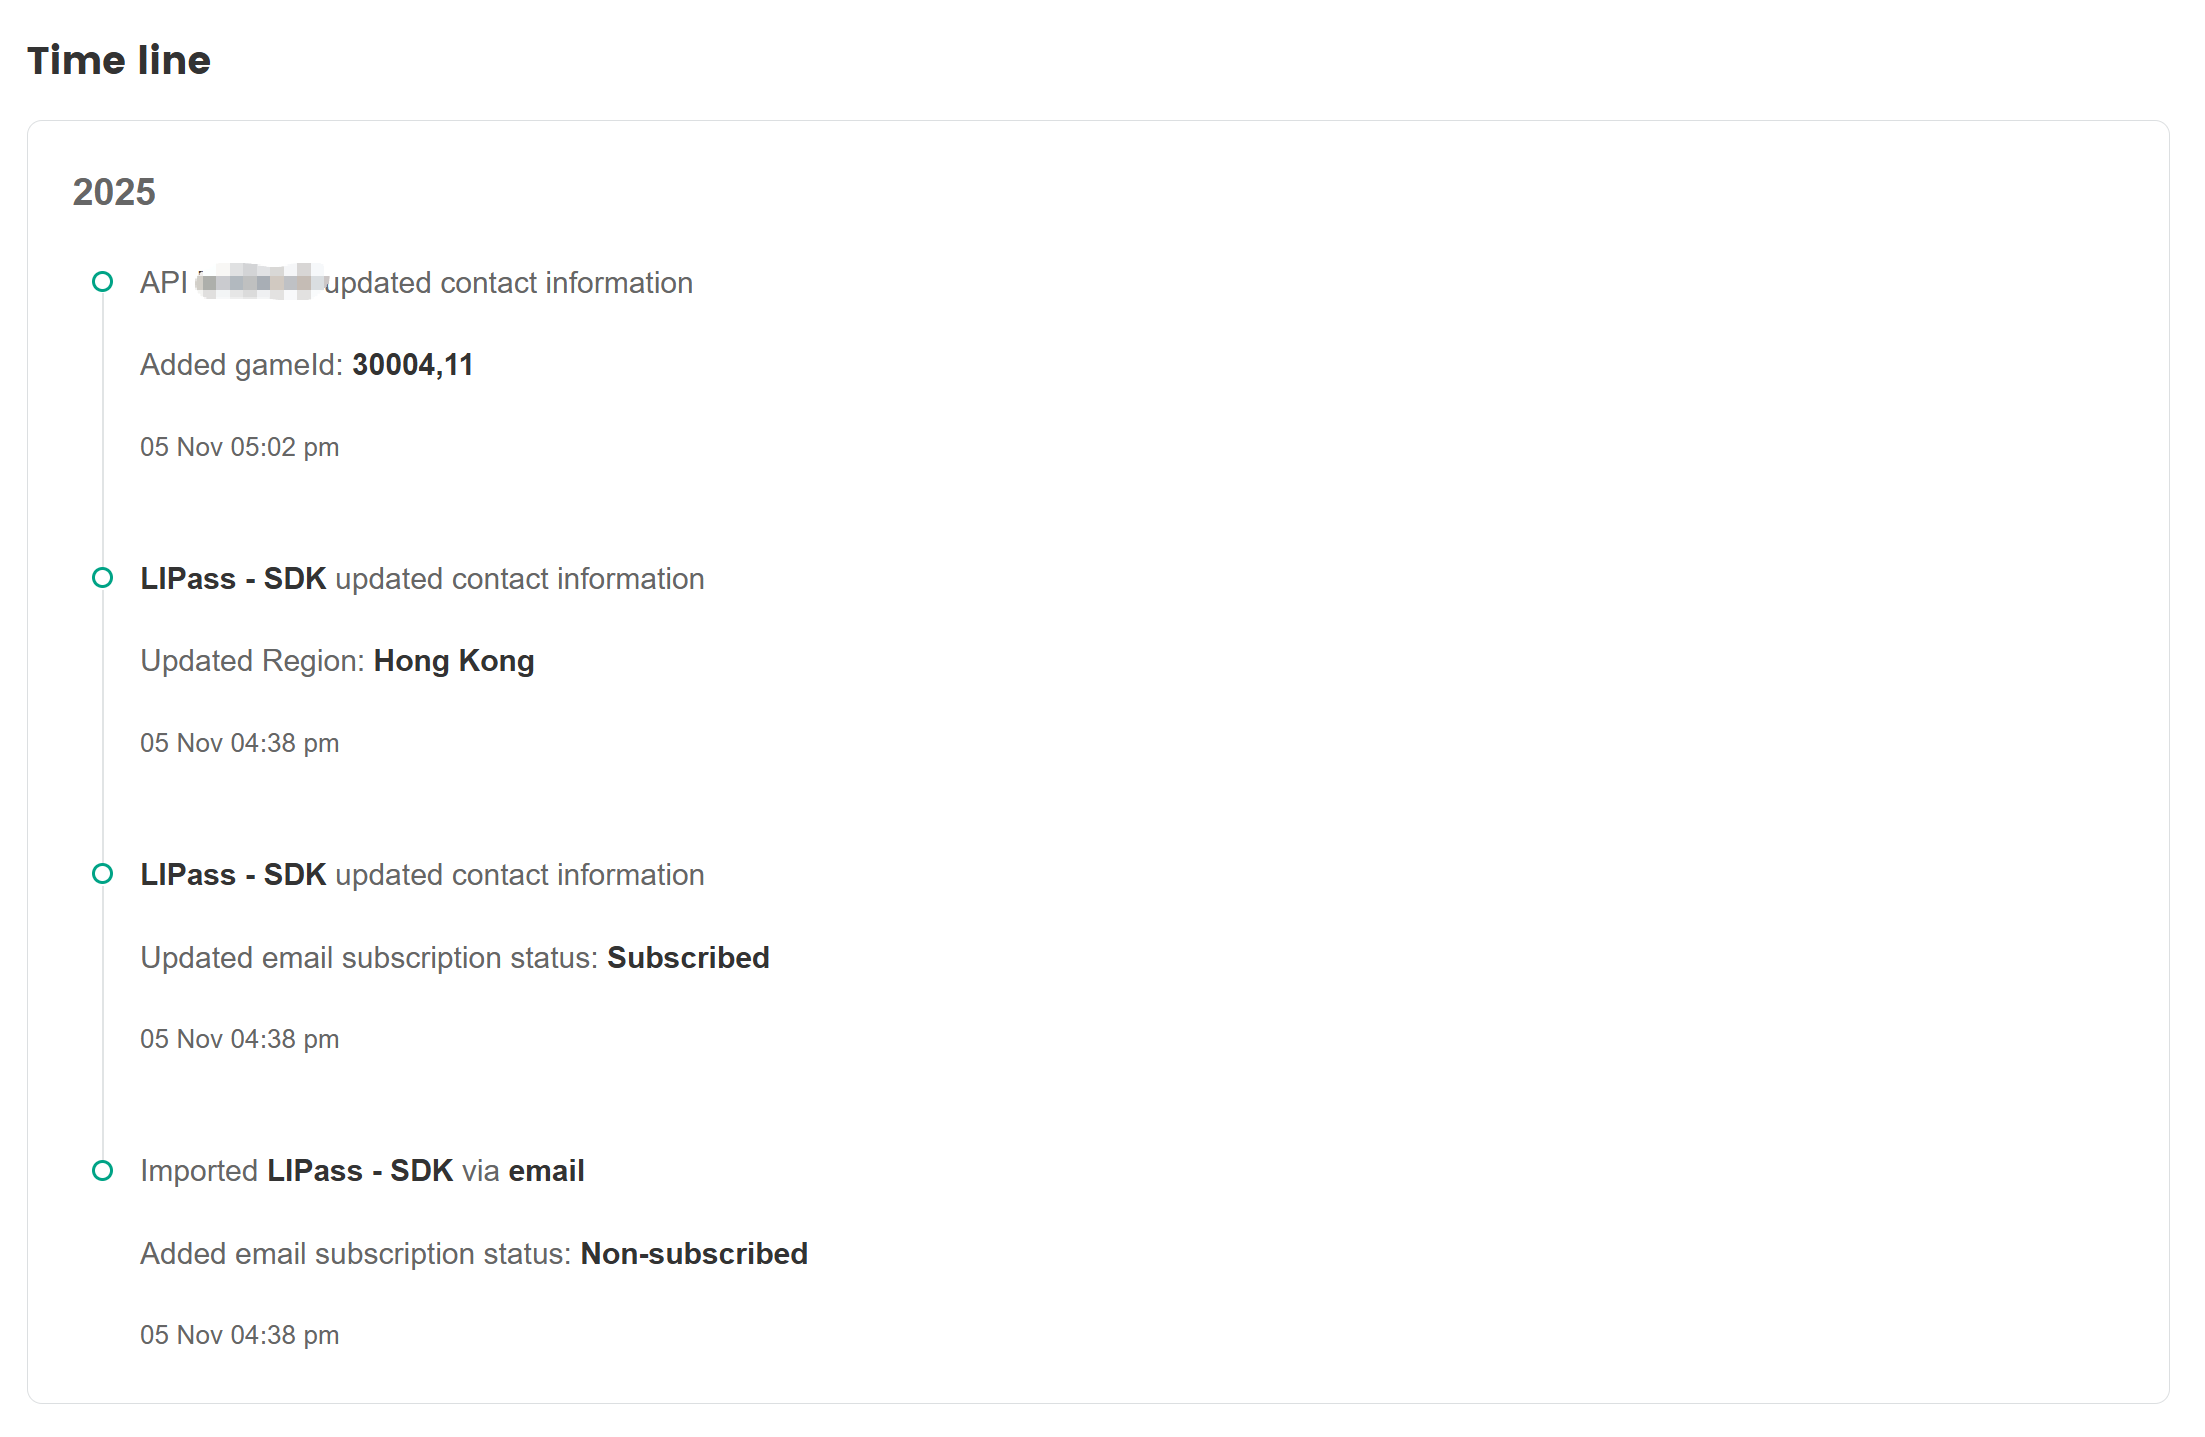
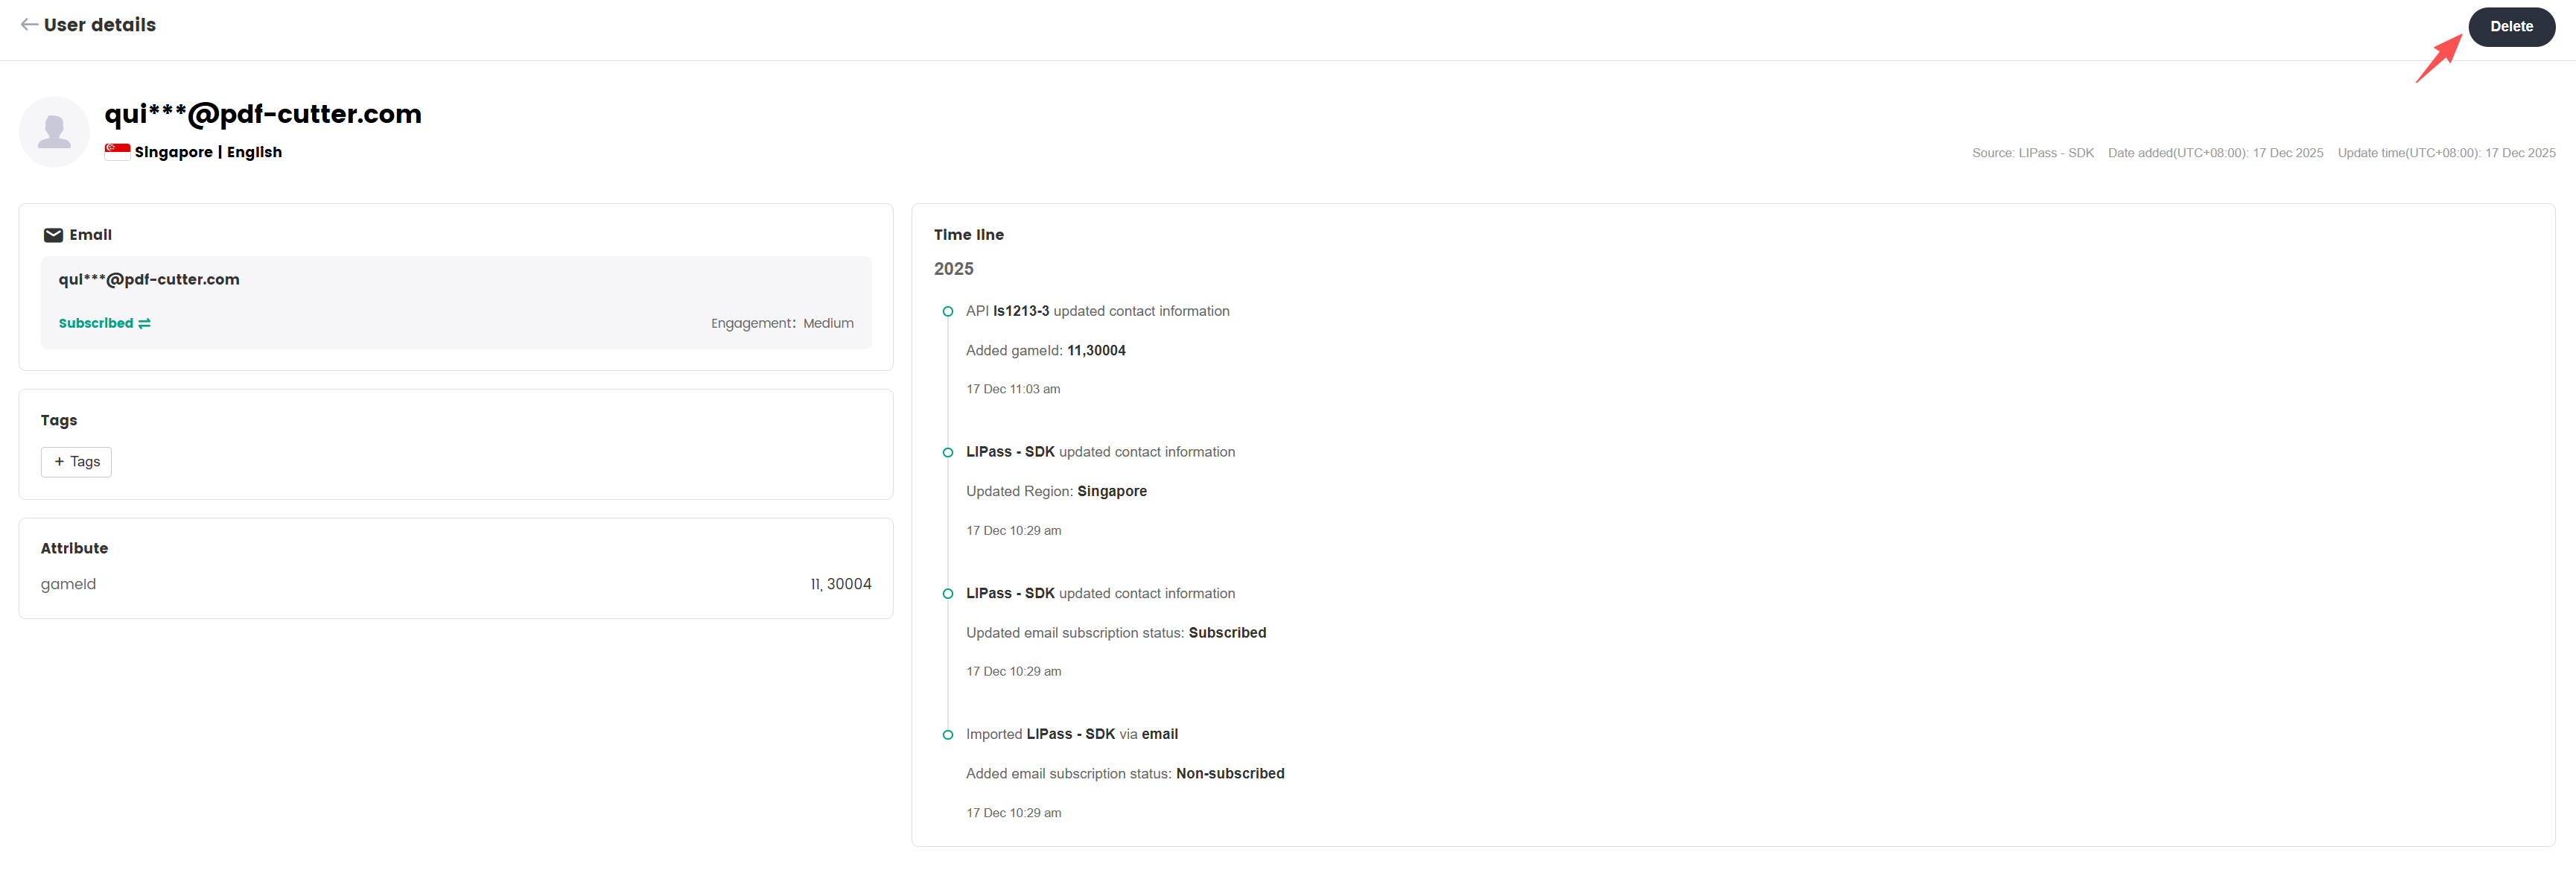
Manage contact details
Click on any contact email from the contact list to access the Contact details page, where a detailed Time line of recorded information is shown, including:
- Logs of any addition or changes to personal information
- Logs of changes to subscription status
- Records regarding campaign reach
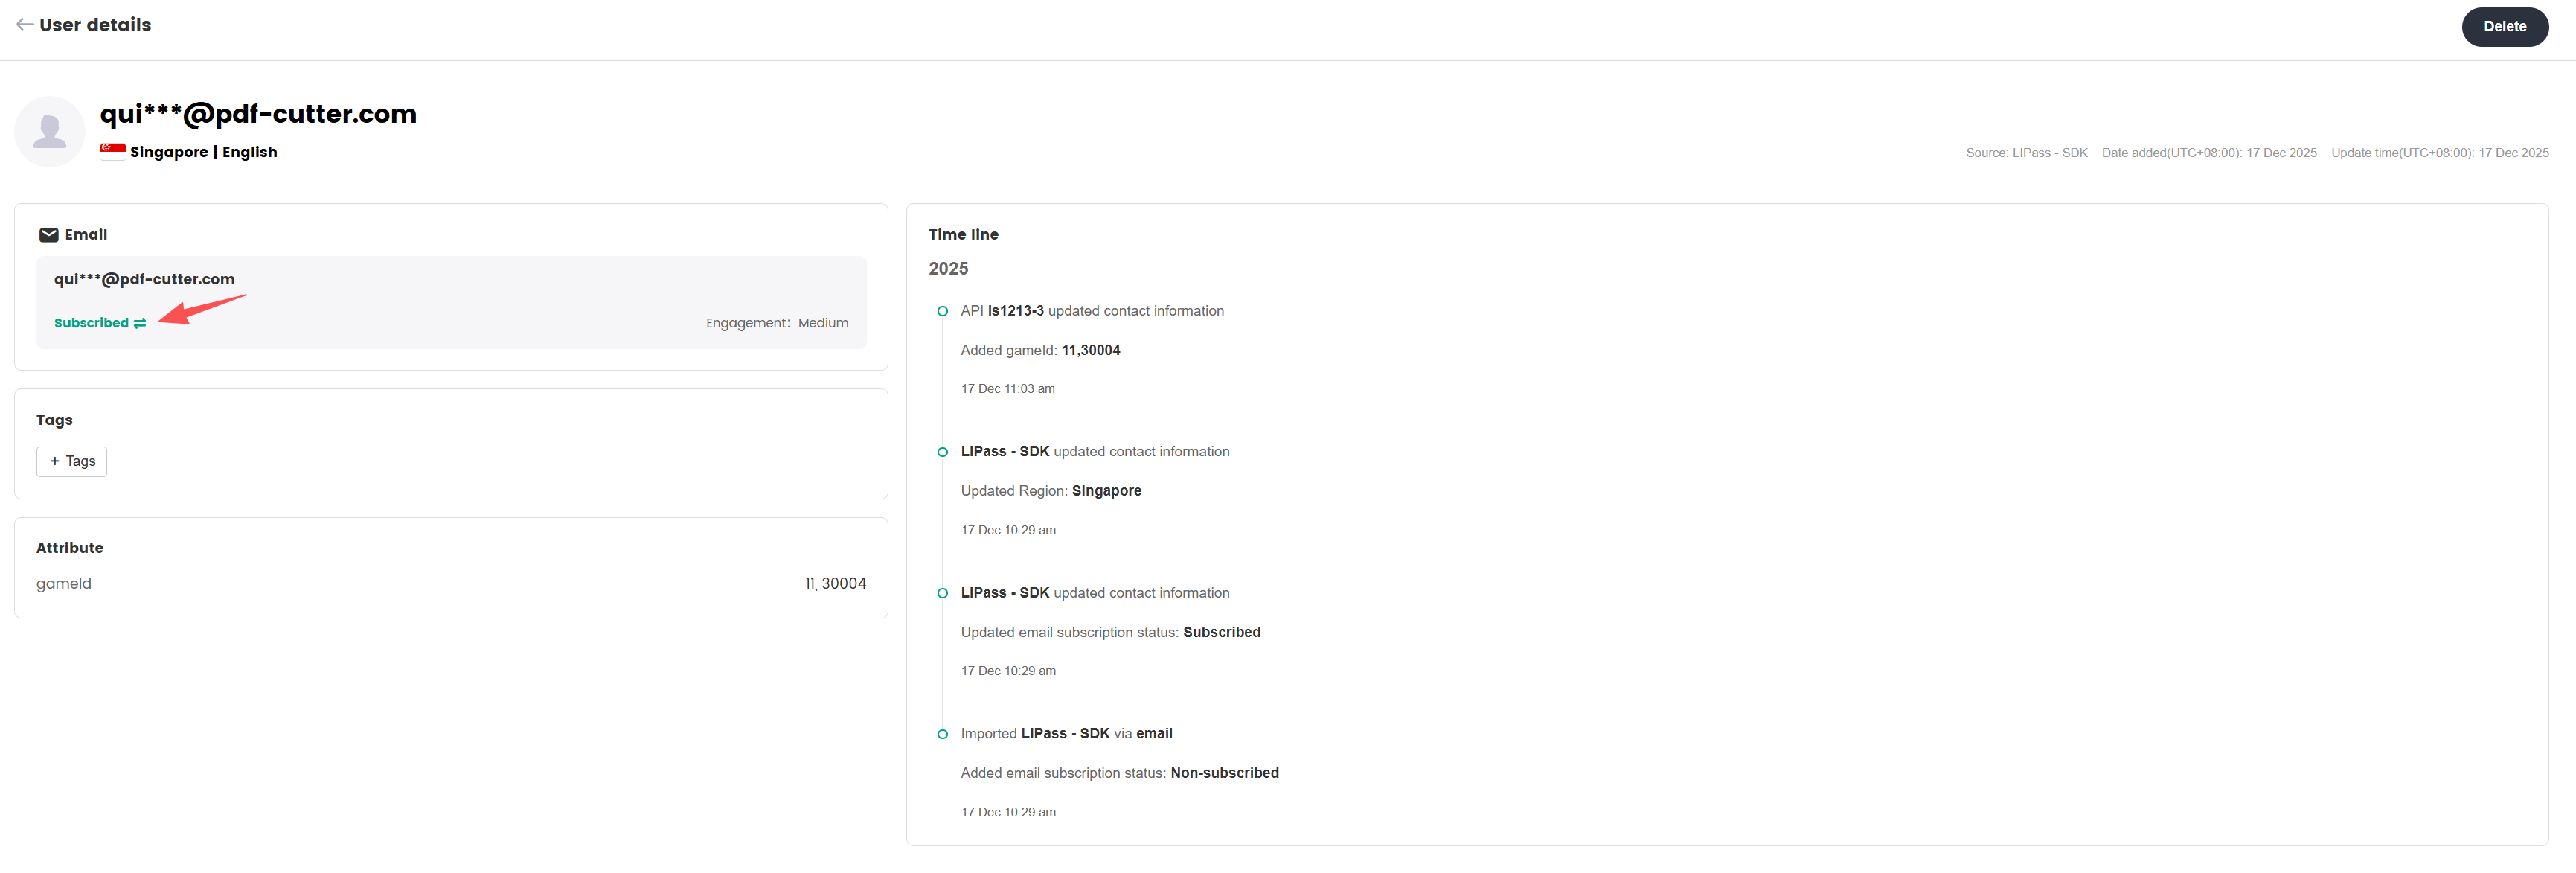
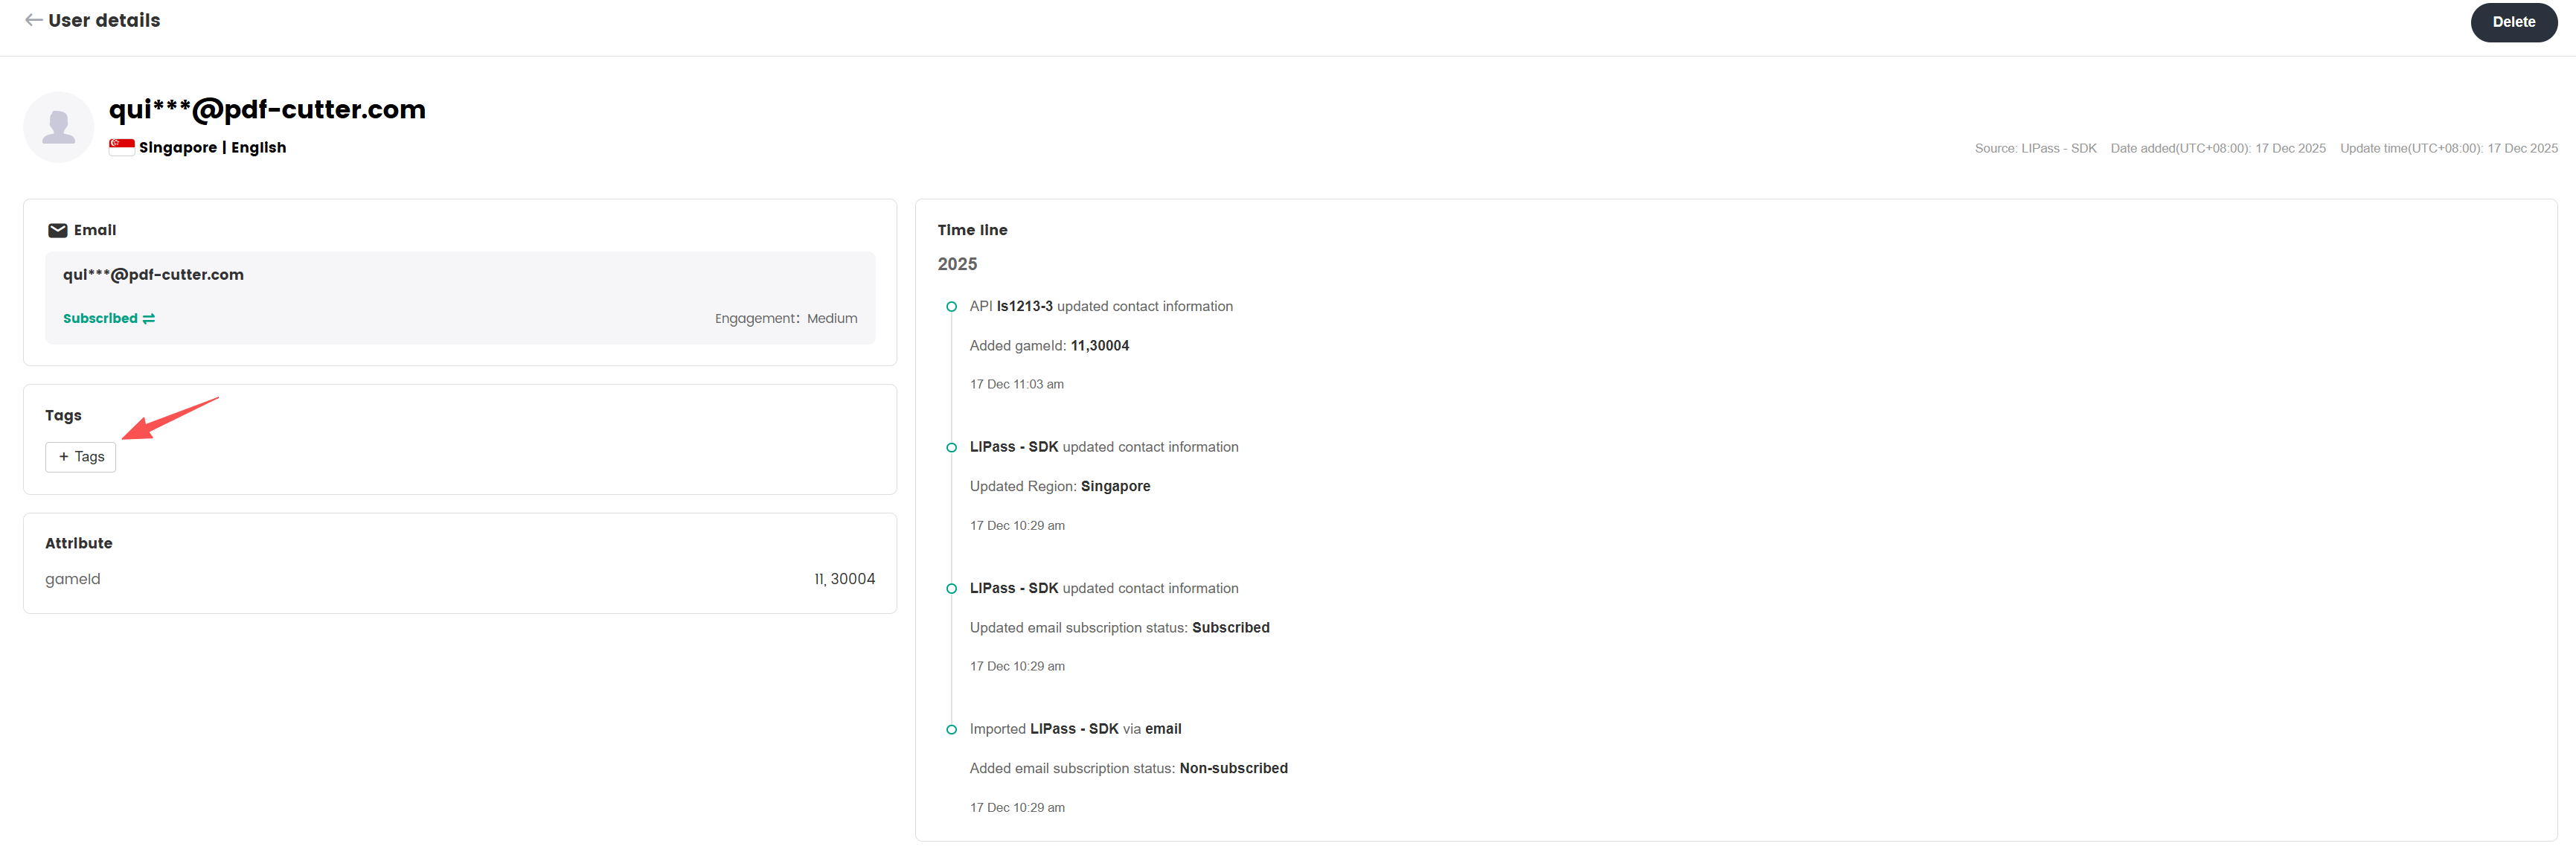
From the Contact details page, users with Owner, Admin, and Manager privileges can also make changes to contact information manually, including:
Permanently delete a contact
Generally used when a contact requests to have their personal information removed, results in the removal of all information related to the contact.
Manually change the subscription status of a contact
Generally used when a contact requests to change their subscription status.
Manually change the tags of a contact
Generally used under certain operating conditions, when the tags of a contact have to be changed.
Bulk delete contacts
Currently, only the Owner role has permissions to bulk delete contacts. Contacts may be bulk deleted either partially or in whole based on the selection.
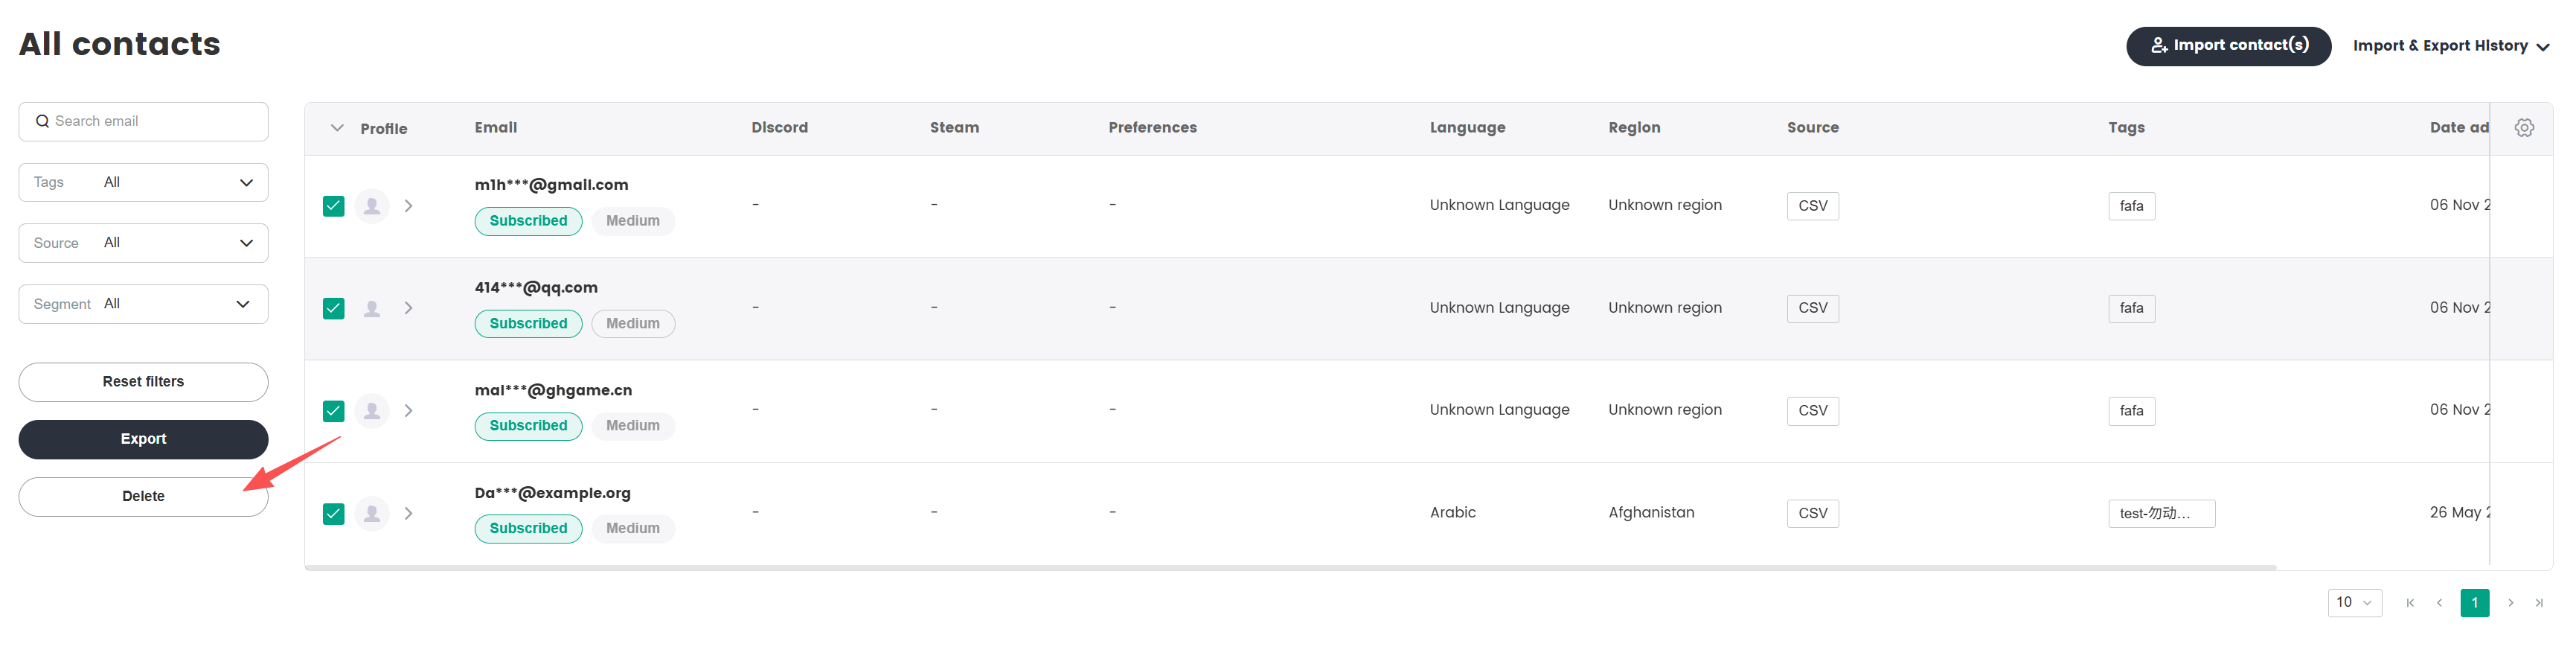
In the SmartLink navigation bar, select Contacts page,then select All Contacts under Contacts.
Select the contacts to be deleted, then click Delete.
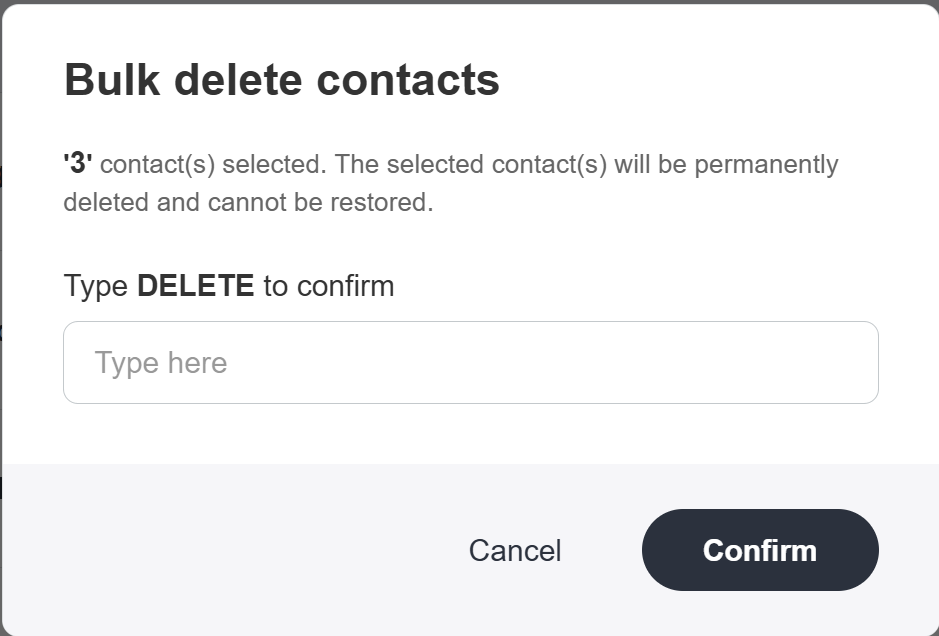
Enter DELETE in the popup, then click Confirm to delete all selected contacts.
Bulk export contacts
Currently, only the Owner role has permissions to export contacts in bulk. Contacts may be bulk exported either in whole or through a filter.
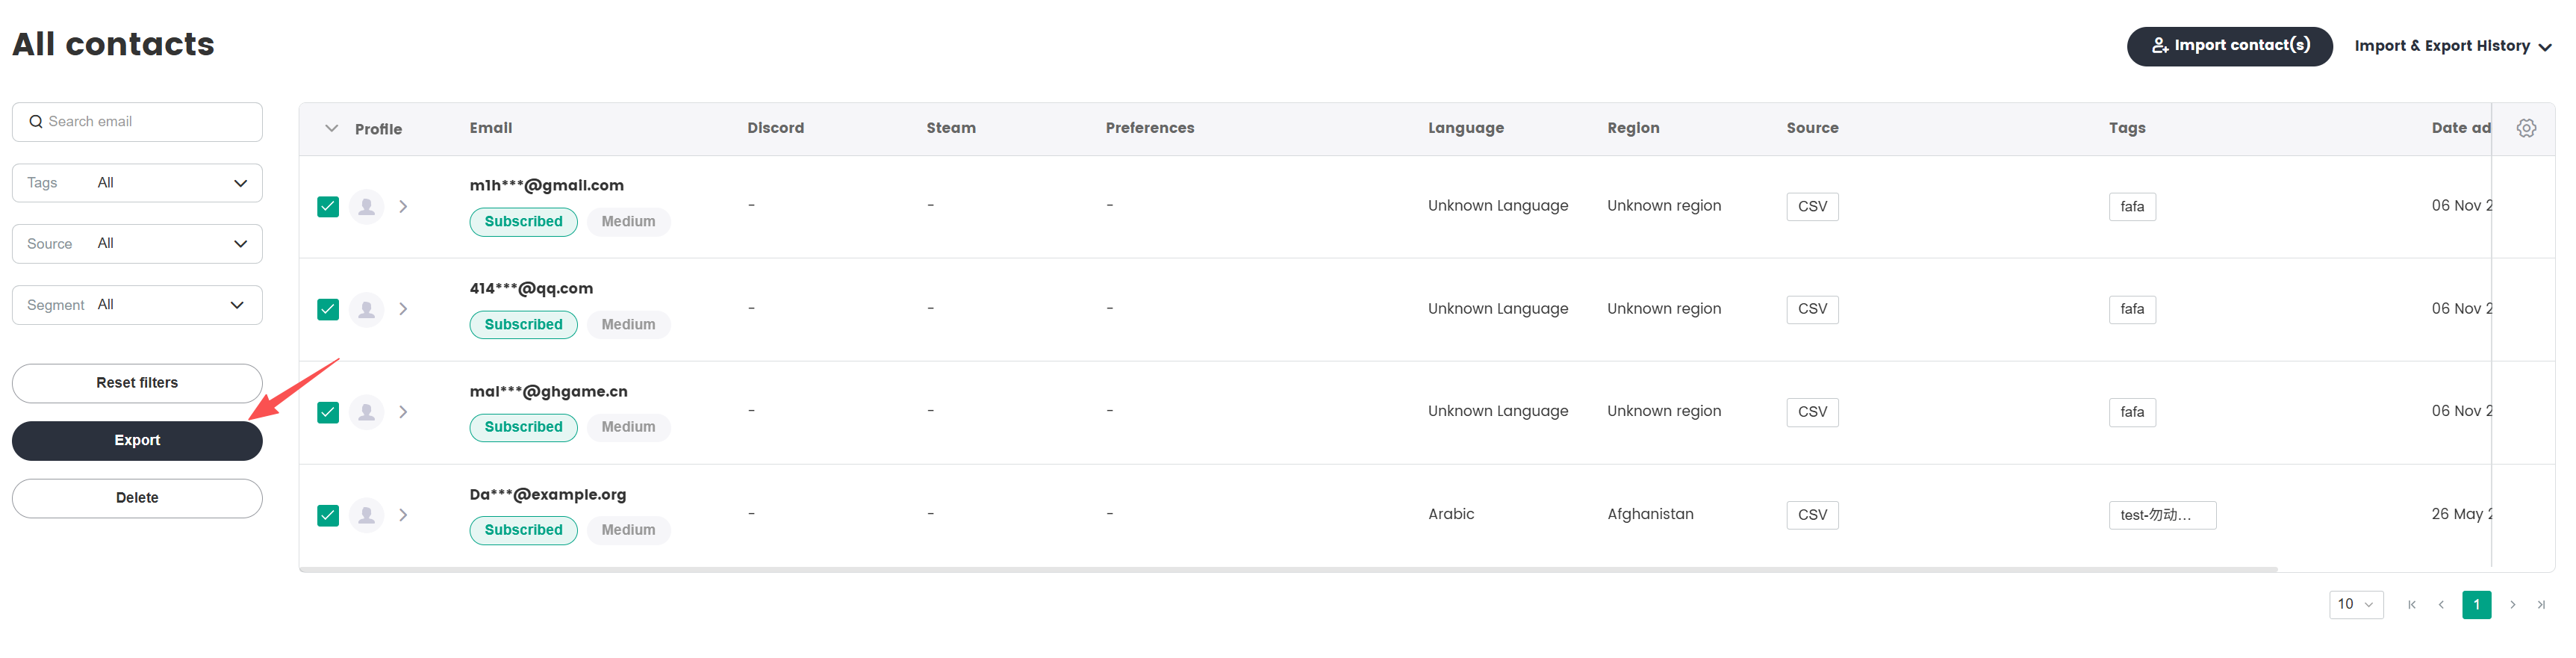
In the SmartLink navigation bar, select Contacts page,then select All Contacts under Contacts.
In the list of contacts, click Export to export all contacts in the project, or Export segment after filtering to export all filtered contacts.
Export all contacts:
Export all filtered contacts:

From the popup, select the attributes to be exported, then click Confirm to export the list of contacts.
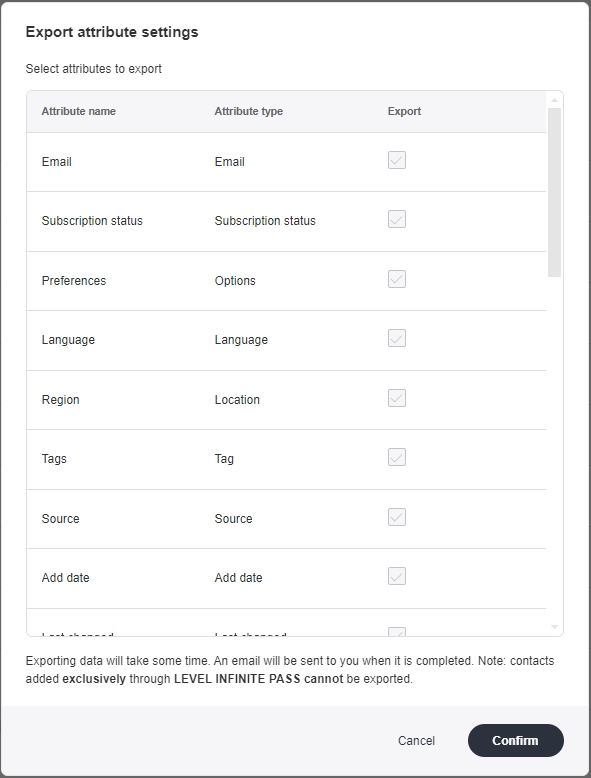 note
noteContacts added exclusively through LEVEL INFINITE PASS cannot be exported.
When the export is completed, go to Manage contacts > Export history from the top right of the page, then click Download CSV from the Export history page to download the list of contacts.
