Player Journey
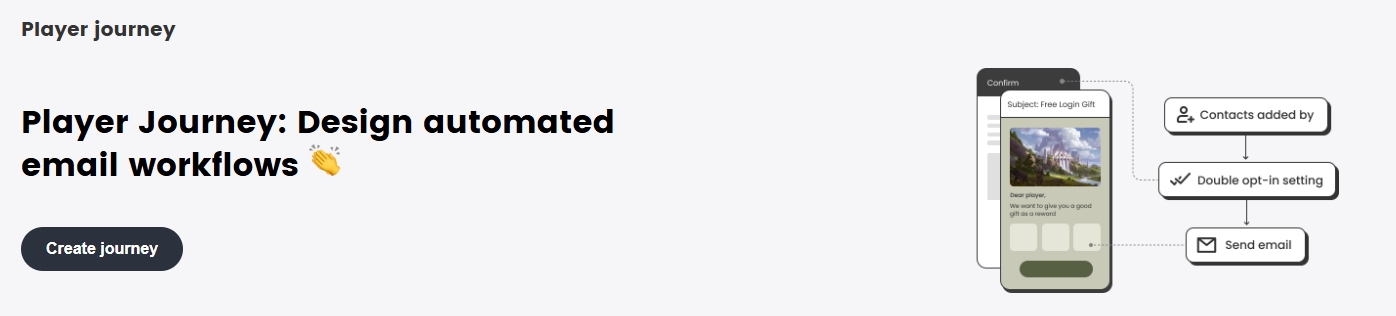
The player journey allows you to set up automated personalized emails that are triggered when a contact is imported through an API, through a form, or has a new tag added to them. This helps you build a deep and meaningful relationship with your contacts.
Procedures
In the SmartLink navigation bar,select Email, then select Journeys under Campaigns.
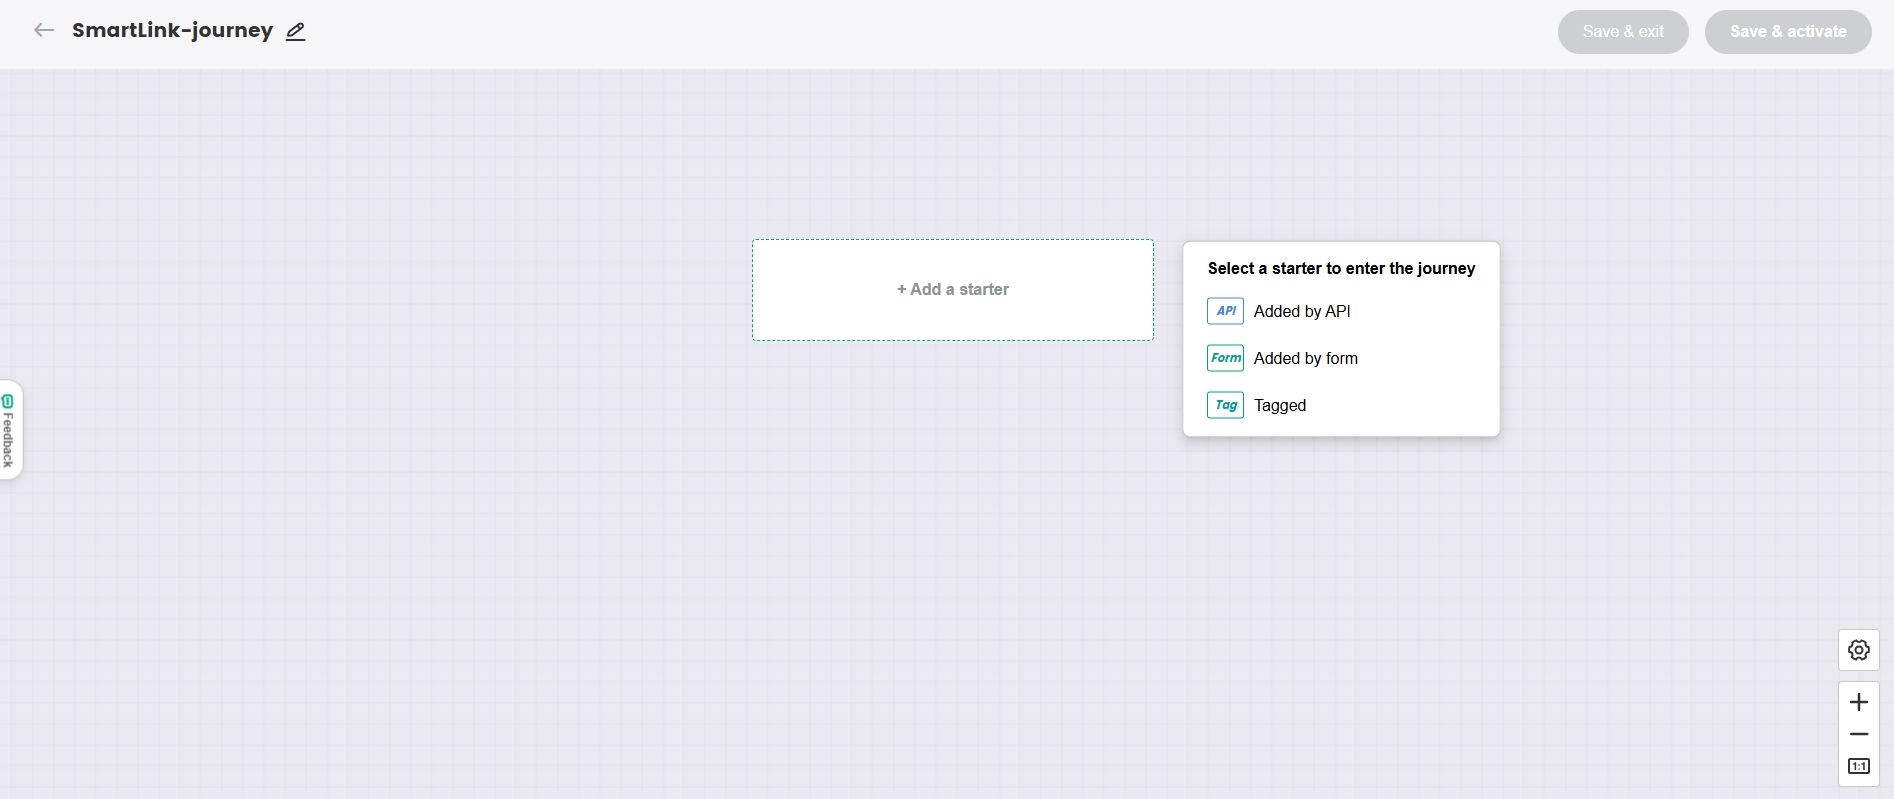
Click Create journey, enter a name for the automation in the popup, then click Confirm.
In the player journey builder, select the contact source or tags to which you want to send emails.
 note
noteWhen importing contacts via API or forms, you can specify their subscription status to determine their journey eligibility.
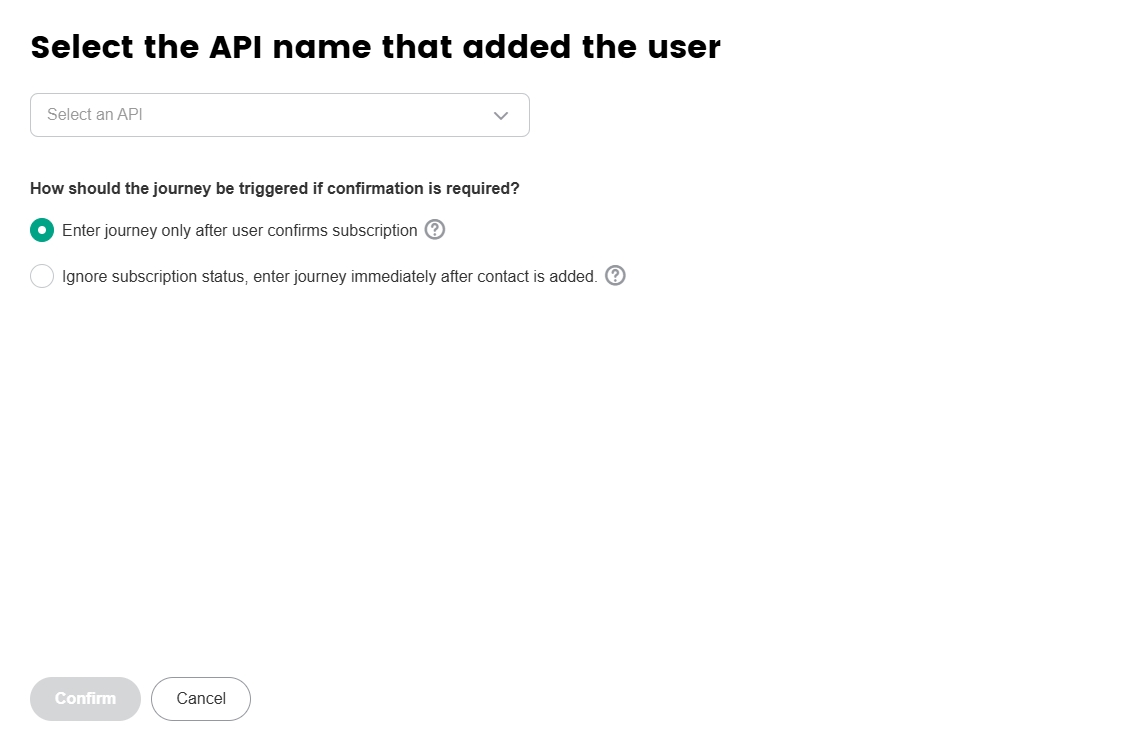
[Optional] To enhance the flexibility of user journey configuration, you can choose to send custom emails to subscribed contacts immediately or to add a delay. The system supports differentiated journey strategies tailored to segmented user profiles, enabling more granular operational management.
Click Add journey point, then freely select a combination of conditions and actions that suits your needs.
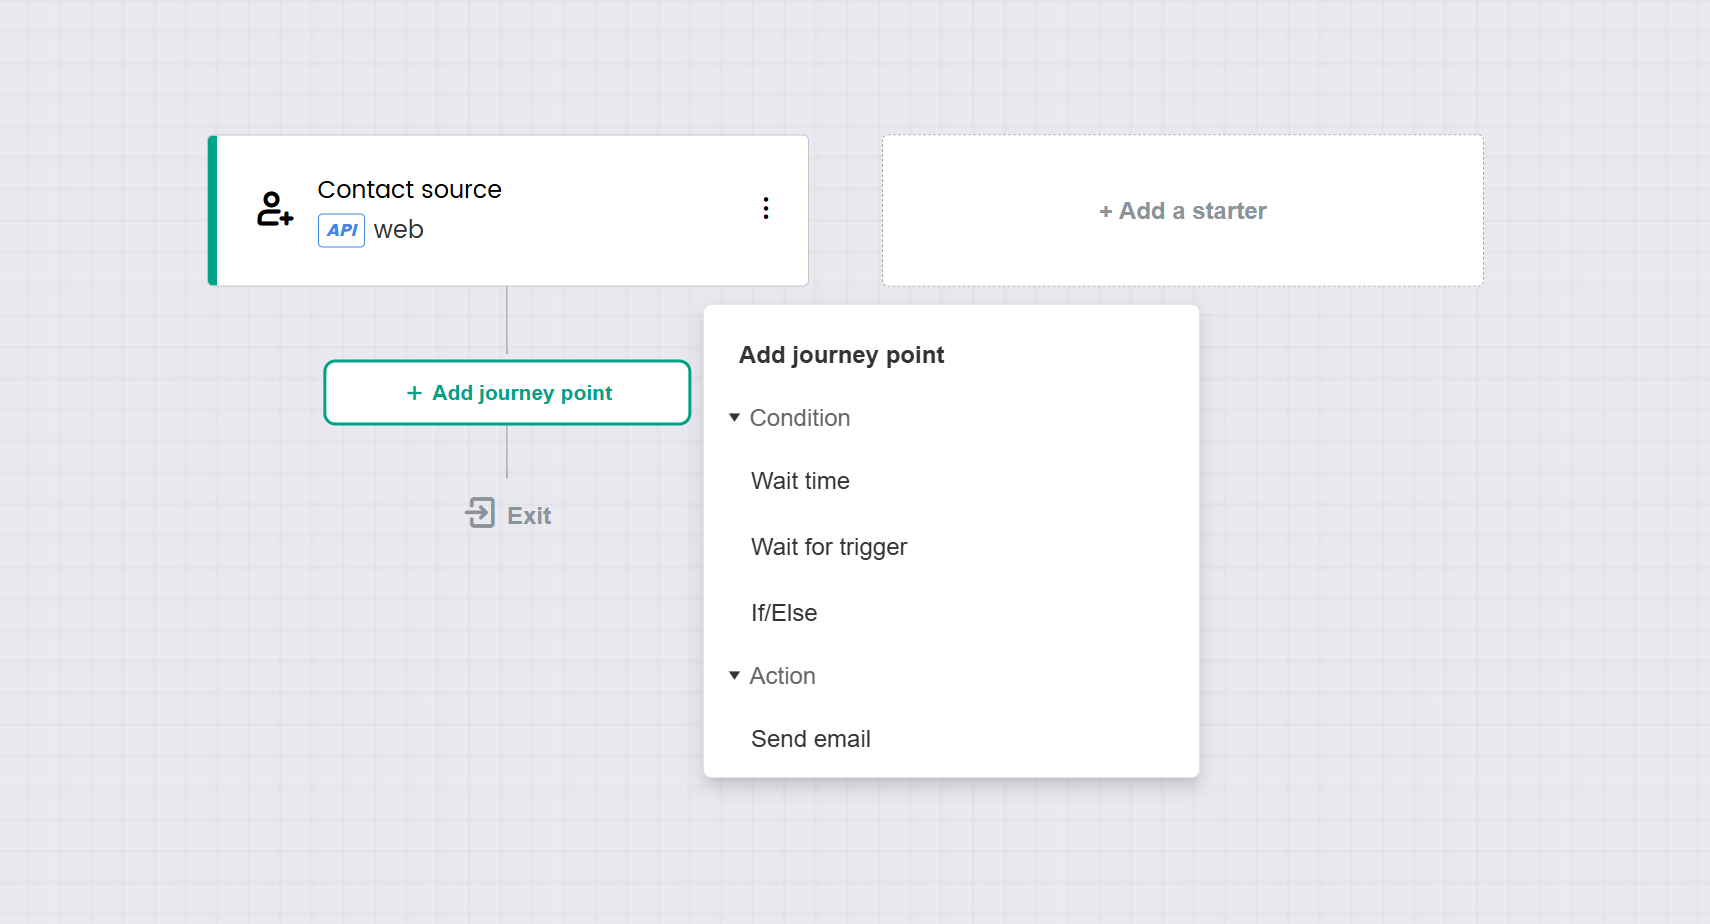
- Wait time: Proceed to the next journey point after the set wait time for contacts that have succesfully subscribed.
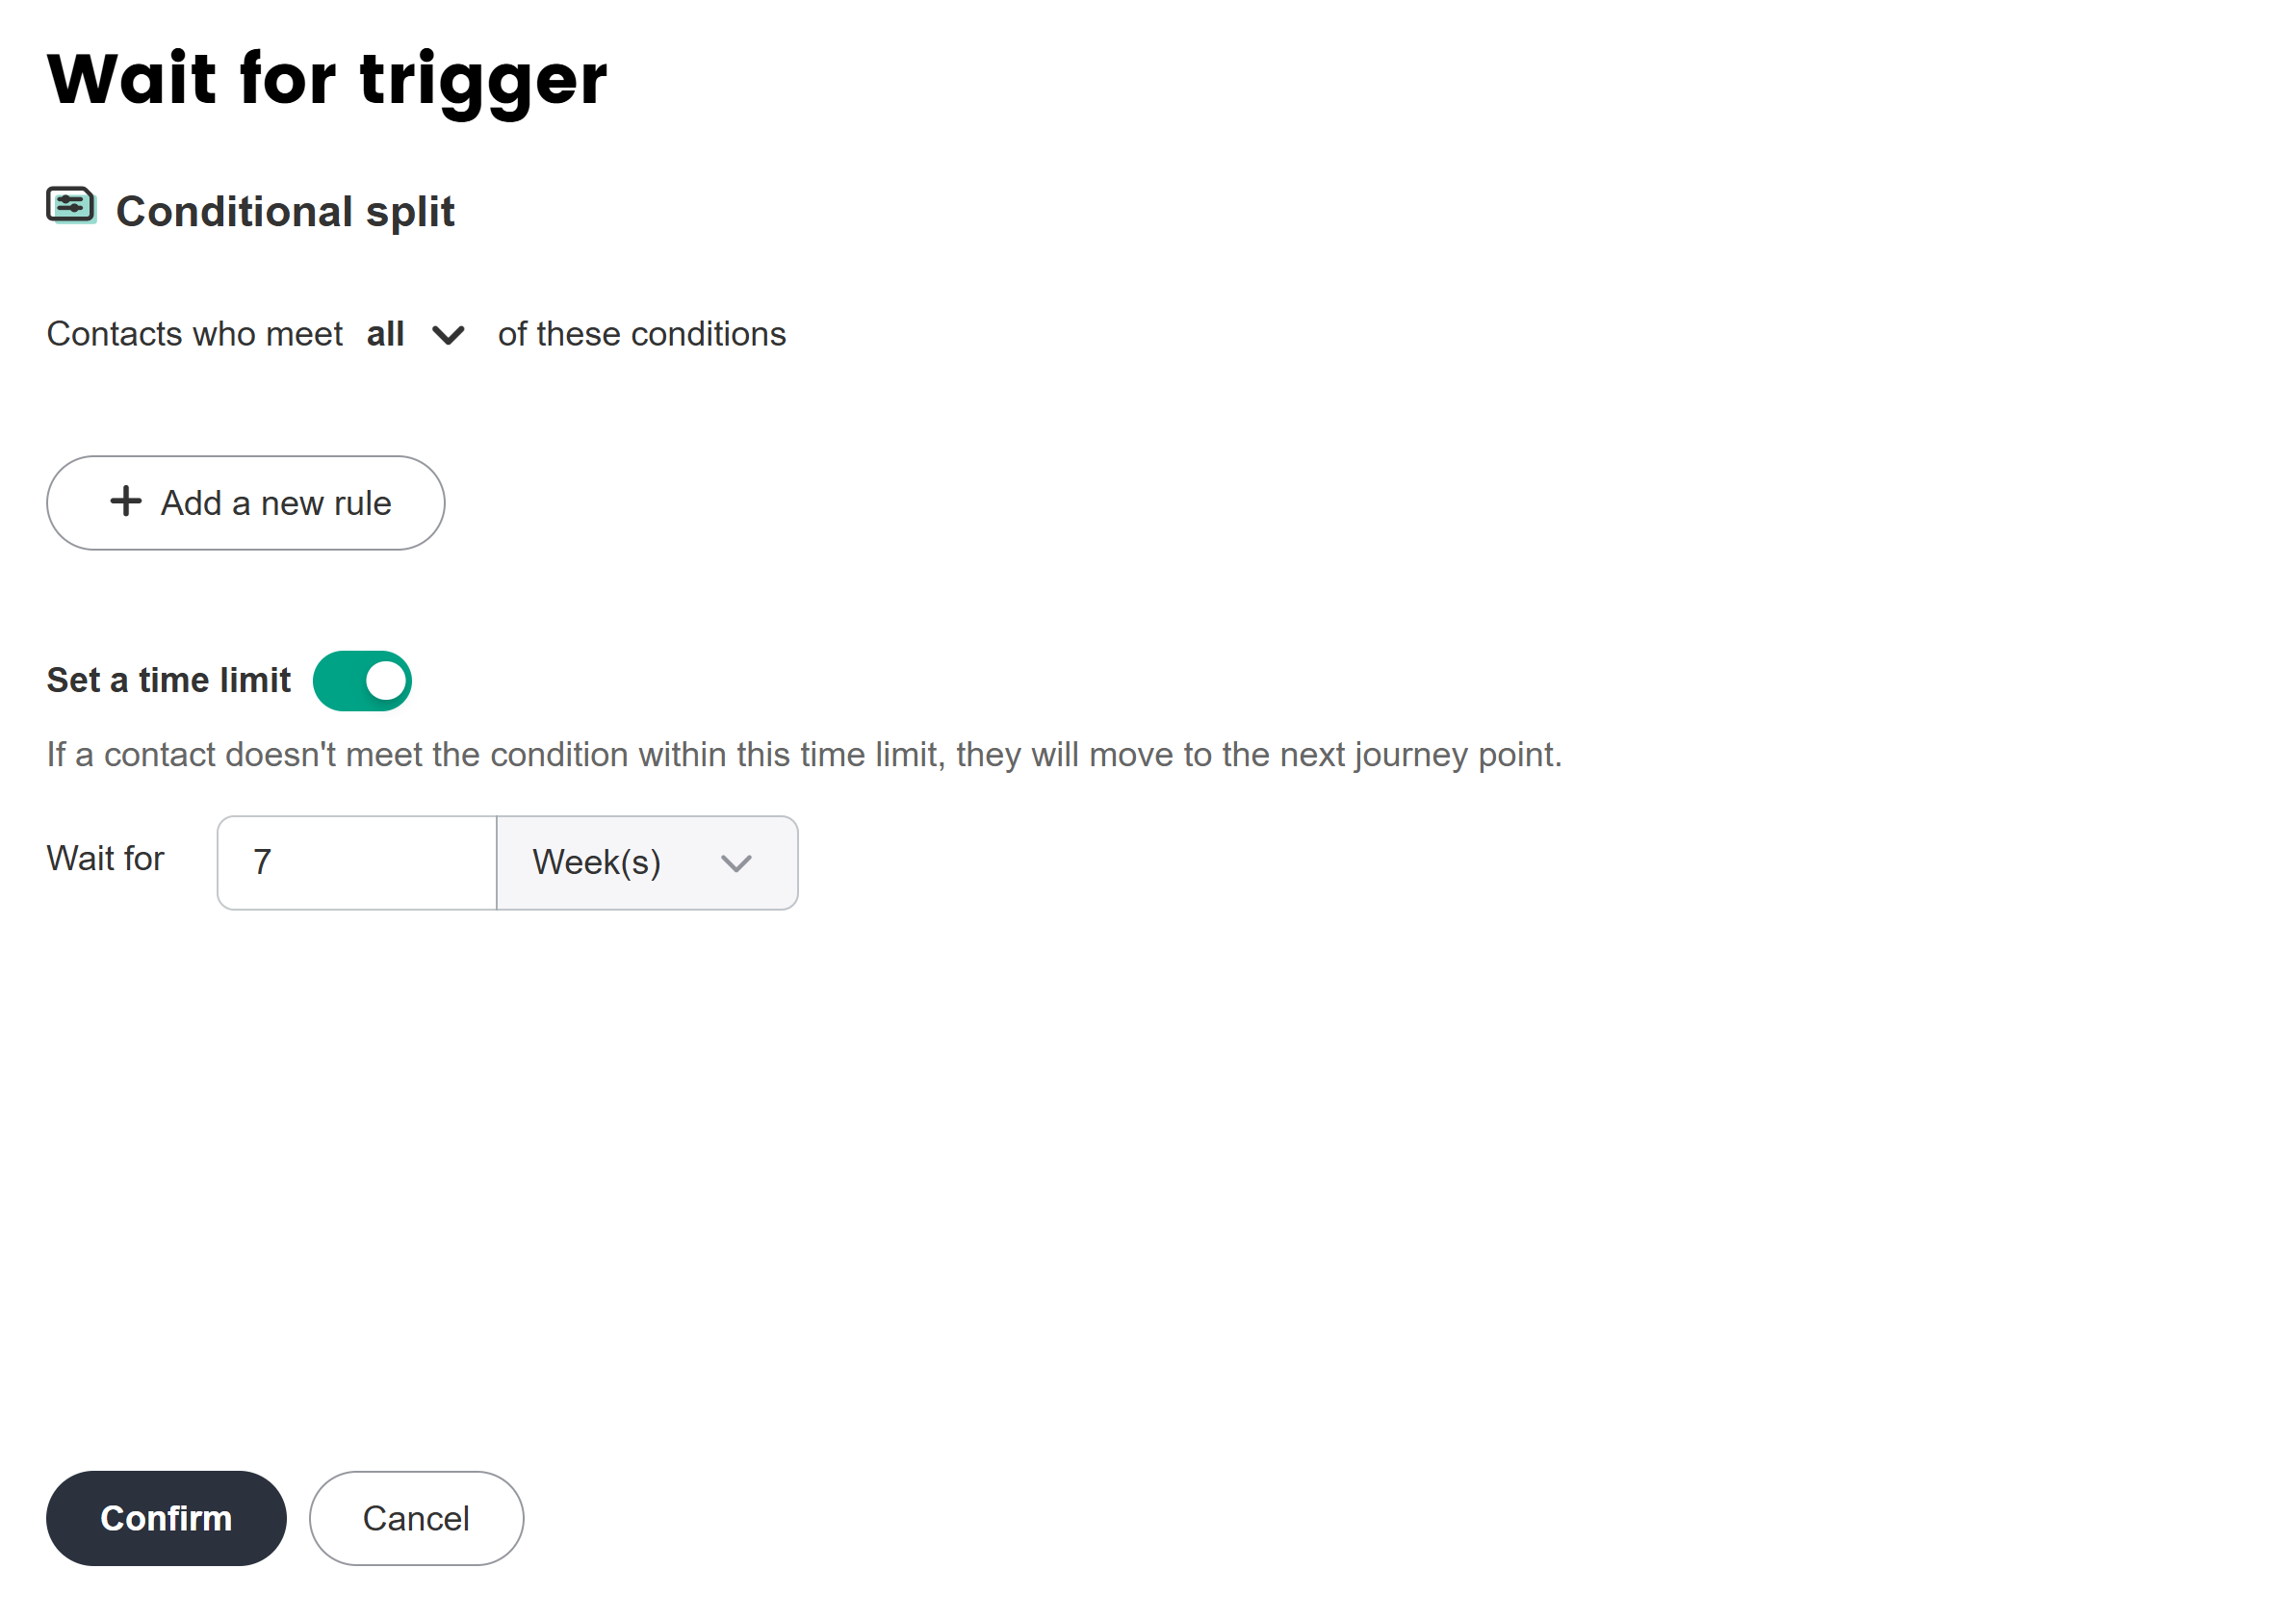
After configuring the corresponding wait time, click Confirm. - Wait for trigger:Proceed to the next journey point when the following conditions have been met
- Segment (required):Checks if the player in the current node meets the specified conditions. If so, proceeds to the next journey point.
- Time limit (optional):If the segment condition is not met, but the set waiting time has passed, the player will automatically proceed to the next journey point.
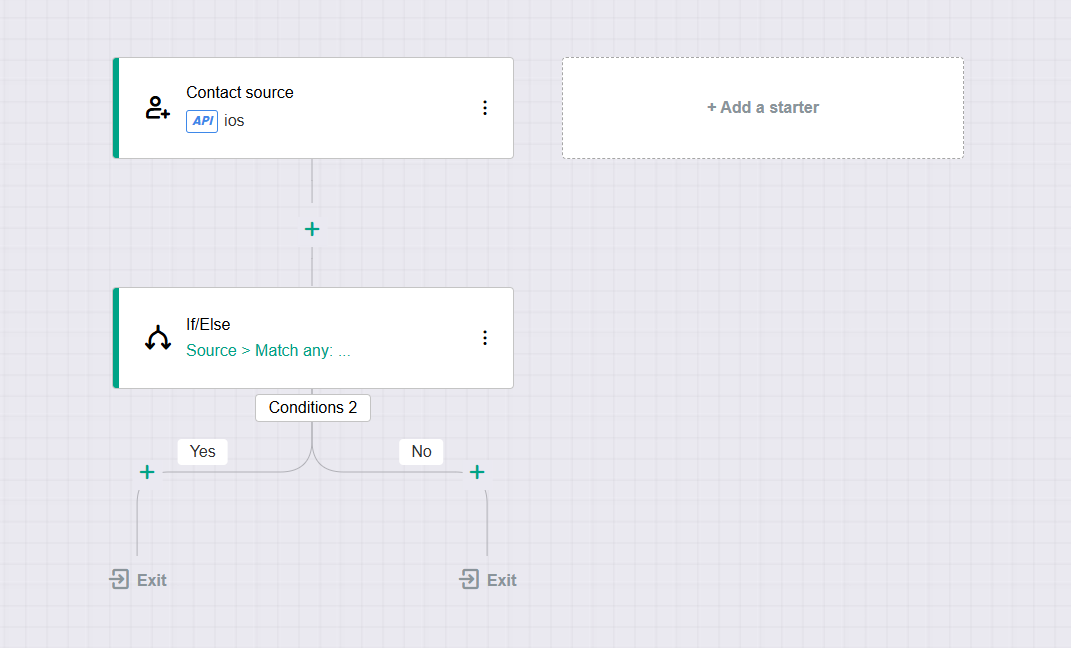
- If/Else: Determine if contacts meet the conditions based on properties such as their tags, source, and attributes, then proceed to the next journey point according to the derived Yes/No result.
After configuring the conditional split, click Confirm.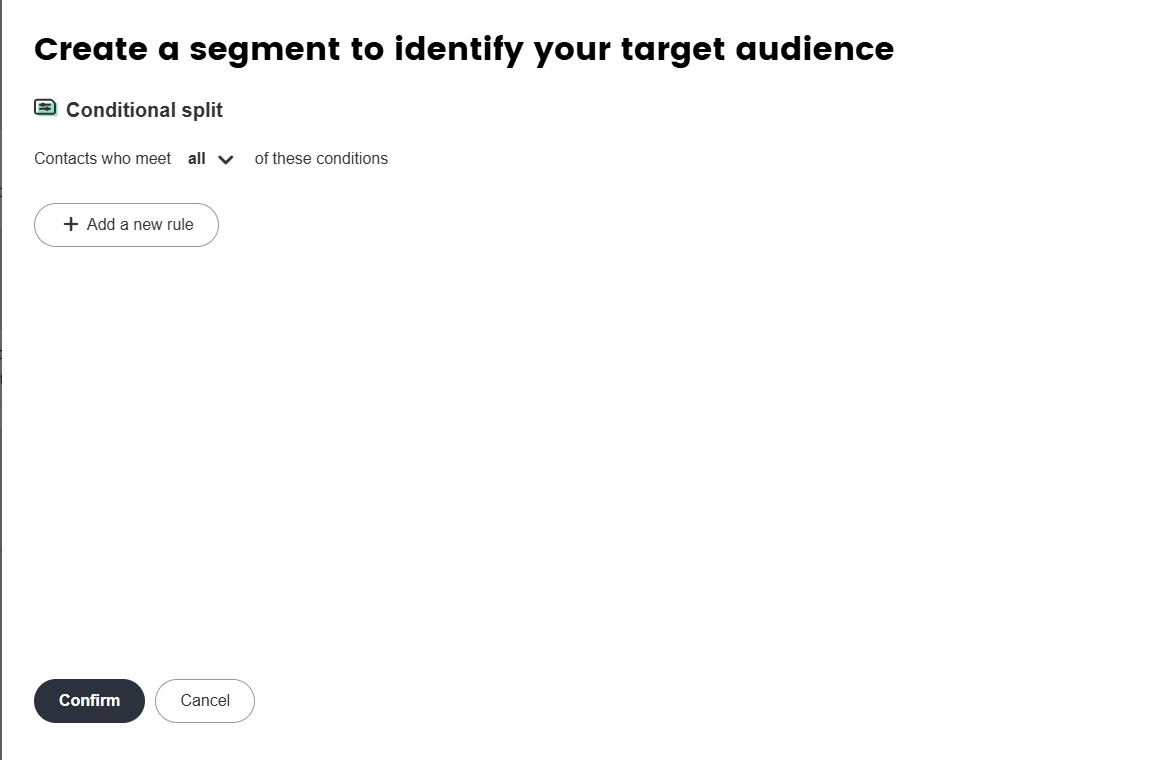
- Send email: Send a custom email.
After configuring the sender information and contact email, choose to enable or disable send rate limits, then click Confirm.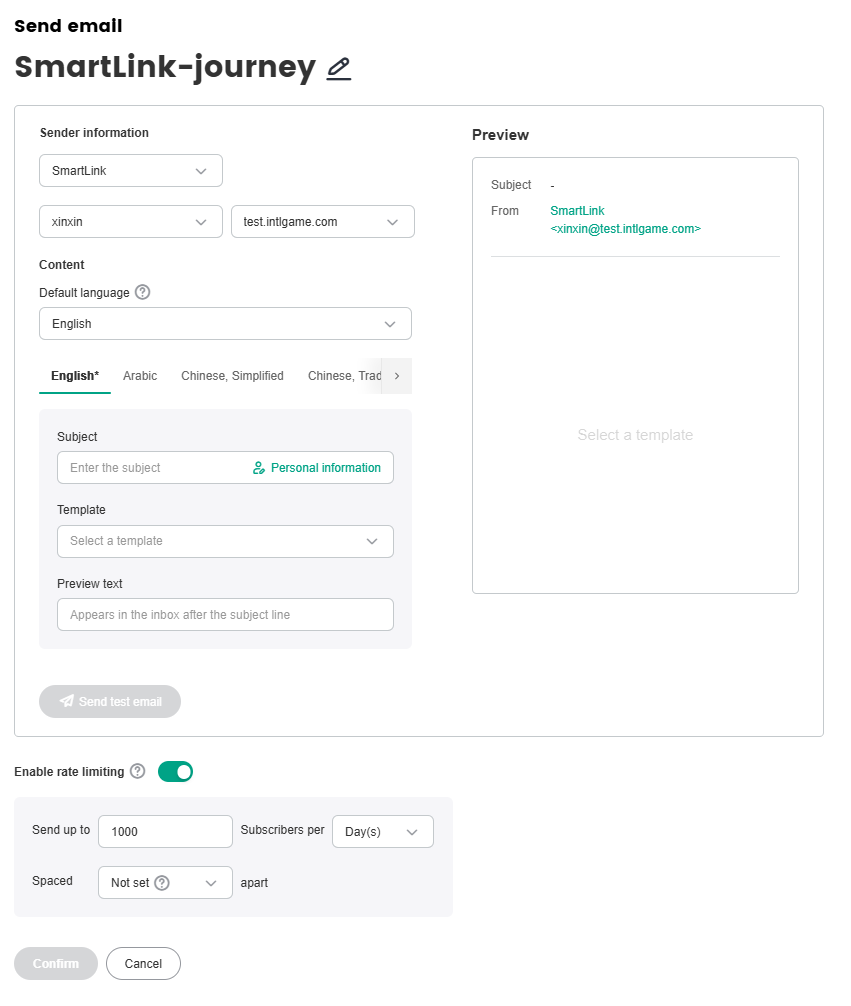
After finalizing the player journey configurations, click Save and activate automation.
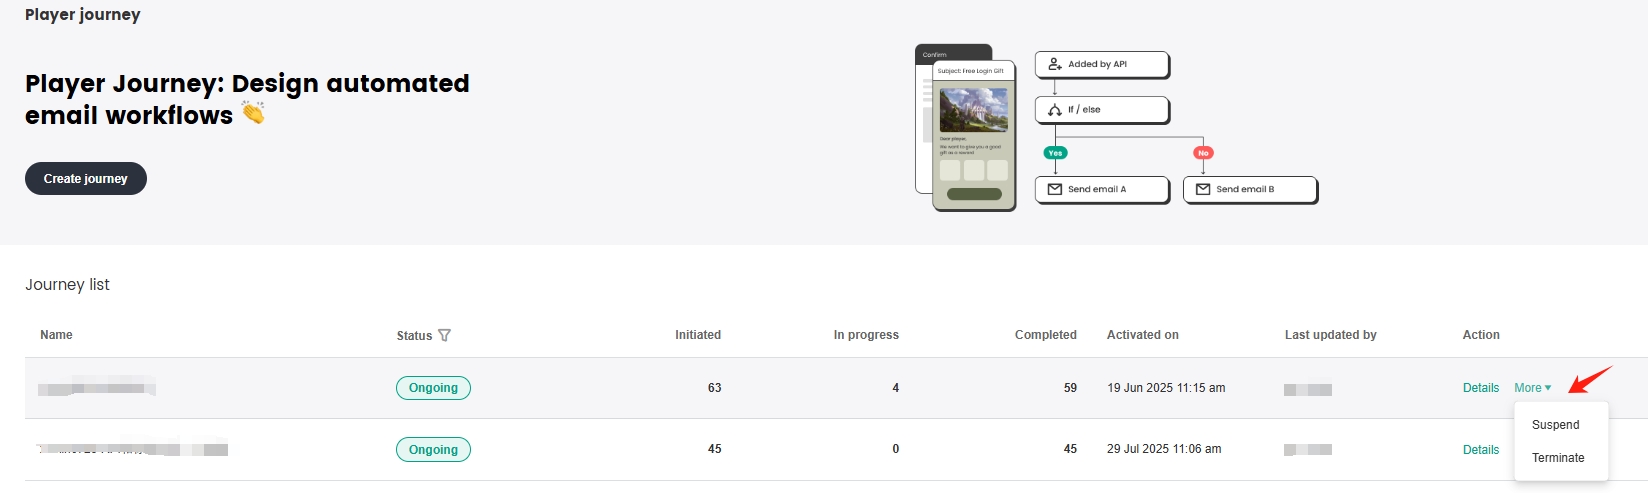
In the journey list, you can view the number of contacts at each different journey stage.
To suspend or terminate an automation, click More > Suspend/Terminate under Action.